소개
Model Number : HP x2 10-p010wm
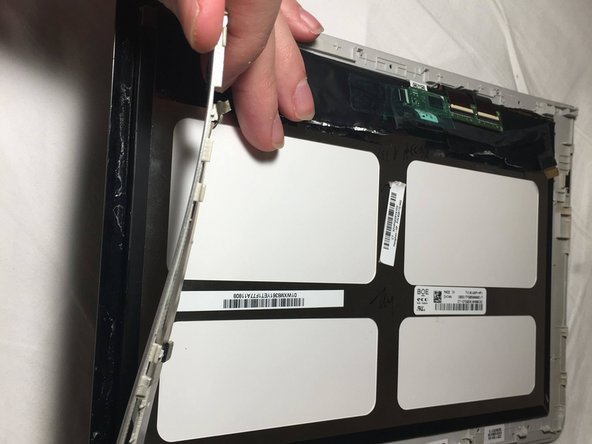
If your device’s screen is unresponsive or it does not turn on, it is most likely that you need to replace your screen.
This guide will show you how to take apart the screen in order to remove it from its plastic frame to replace it. But we recommend you to check our troubleshooting page first.
필요한 것


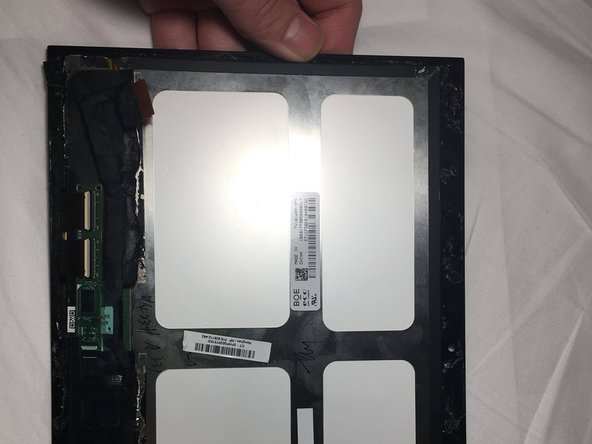
To reassemble your device, follow these instructions in reverse order.
To reassemble your device, follow these instructions in reverse order.
다른 한 분이 해당 안내서를 완성하였습니다.
팀

UMass Dartmouth, Team S4-G3, Saloman Fall 2019 UMass Dartmouth, Team S4-G3, Saloman Fall 2019 회원
UMASSD-SALOMAN-F19S4G3
3 회원들
안내서 3개 작성하였습니다