주요 콘텐츠로 건너뛰기

이 안내서에는 최근 변경 사항이 더 있습니다. 최신 비검증 버전으로 전환하십시오.

HTC Desire 530 Screen Replacement

필요한 것

  1. HTC Desire 530 Screen Replacement, Battery: 1 단계, 이미지 1/2 HTC Desire 530 Screen Replacement, Battery: 1 단계, 이미지 2/2
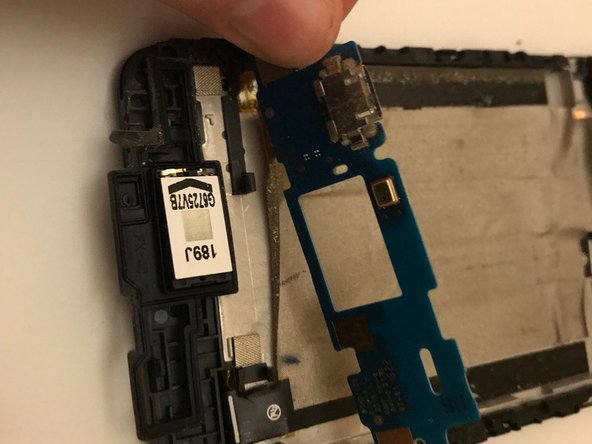
    • Use the plastic opening tools to remove the plastic speaker covers that are attached through an adhesive layer.

    • They may be difficult to peel off and you might want to consider loosening the adhesive layer by running a hair dryer or a heat gun over it briefly to allow them to peel off easily.

  2. HTC Desire 530 Screen Replacement: 2 단계, 이미지 1/3 HTC Desire 530 Screen Replacement: 2 단계, 이미지 2/3 HTC Desire 530 Screen Replacement: 2 단계, 이미지 3/3
    • Use the T5 Torx screwdriver to remove the four screws in each corner.

    • Make sure to take out any SD cards, located on the left side of the phone before proceeding to the next step.

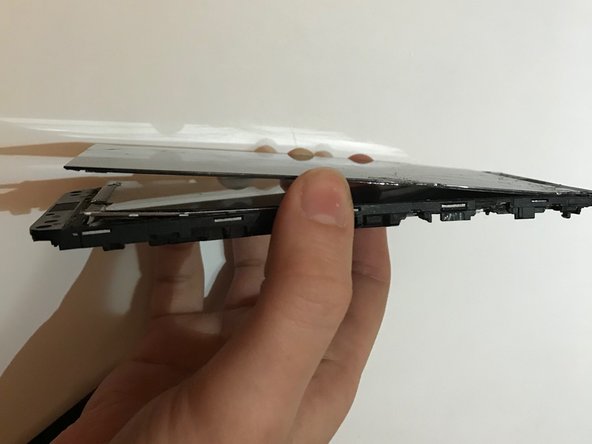
    • Use the plastic opening tool to pry the front of the device off. Fully go around the front with the plastic opening tool before attempting to pull it off.

  3. HTC Desire 530 Screen Replacement: 3 단계, 이미지 1/3 HTC Desire 530 Screen Replacement: 3 단계, 이미지 2/3 HTC Desire 530 Screen Replacement: 3 단계, 이미지 3/3
    • Dislocate the small piece with the wires connected using a nylon spudger.

    • Loosen the adhesive layer for the battery by running a hair dryer over it briefly. After the adhesive is loosened you can pry the battery out with a plastic opening tool.

  4. HTC Desire 530 Screen Replacement: 4 단계, 이미지 1/2 HTC Desire 530 Screen Replacement: 4 단계, 이미지 2/2
    • After prying, simply lift the battery up and out of the device.

  5. HTC Desire 530 Screen Replacement, Screen: 5 단계, 이미지 1/2 HTC Desire 530 Screen Replacement, Screen: 5 단계, 이미지 2/2
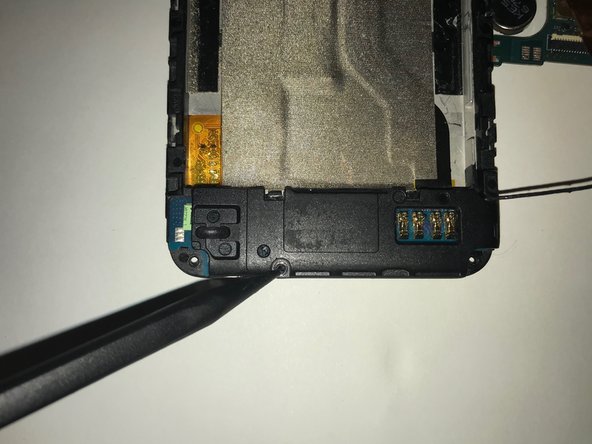
    • After the battery has been removed, there are two screws that also need to be removed

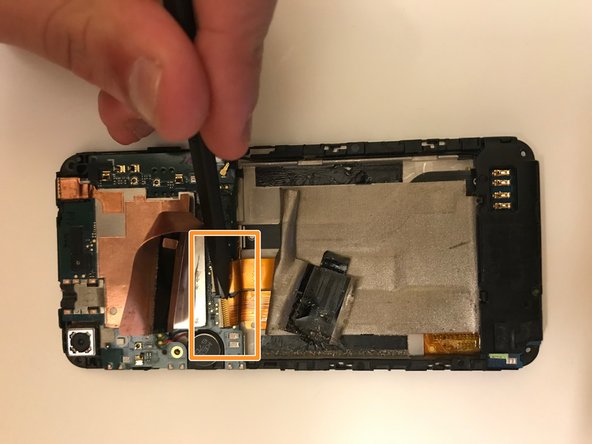
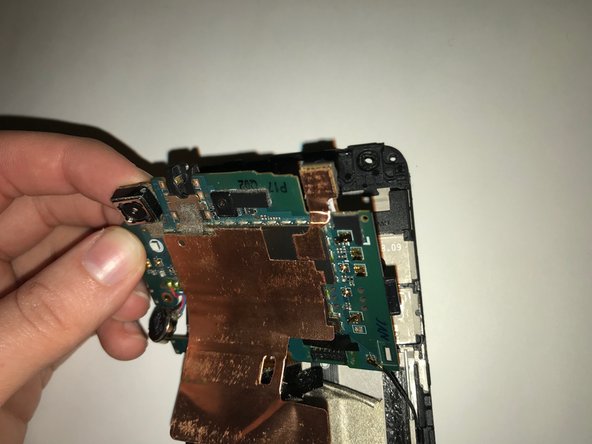
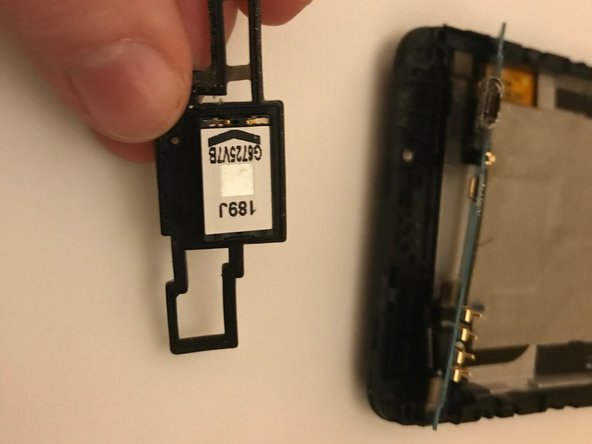
    • There are two gold strips that you must disconnect from the motherboard, They simply pop right off.

  6. HTC Desire 530 Screen Replacement: 6 단계, 이미지 1/3 HTC Desire 530 Screen Replacement: 6 단계, 이미지 2/3 HTC Desire 530 Screen Replacement: 6 단계, 이미지 3/3
    • Remove the circular piece from the motherboard.

    • Proceed to pry off the motherboard. Go around all edges with the plastic opening tool and it should come off with ease.

  7. HTC Desire 530 Screen Replacement: 7 단계, 이미지 1/3 HTC Desire 530 Screen Replacement: 7 단계, 이미지 2/3 HTC Desire 530 Screen Replacement: 7 단계, 이미지 3/3
    • Next, the motherboard should still be connected by a wire that leads to the bottom portion of the phone.

    • To remove the black plastic piece there is one screw that needs to be removed then you can pry it off with the plastic opening tool.

  8. HTC Desire 530 Screen Replacement: 8 단계, 이미지 1/3 HTC Desire 530 Screen Replacement: 8 단계, 이미지 2/3 HTC Desire 530 Screen Replacement: 8 단계, 이미지 3/3
    • To fully remove the motherboard the last step is to disconnect the wire that was previously mentioned.

    • Remove the motherboard.

    • Removal of wire from daughterboard is optional.

  9. HTC Desire 530 Screen Replacement: 9 단계, 이미지 1/3 HTC Desire 530 Screen Replacement: 9 단계, 이미지 2/3 HTC Desire 530 Screen Replacement: 9 단계, 이미지 3/3
    • After the phone is gutted, all that is left is to pry the actual screen off from the backing and prepare for replacement.

결론

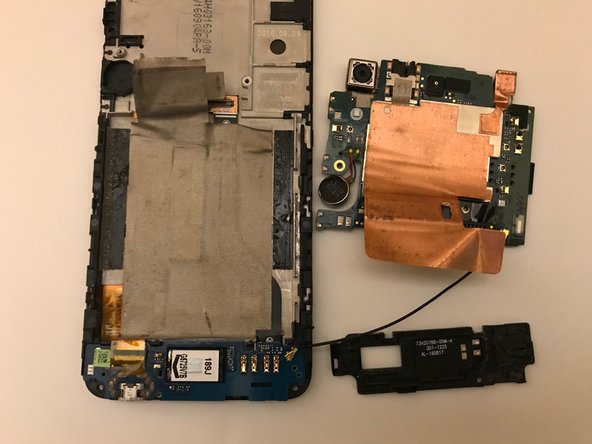
To reassemble your device, follow these instructions in reverse order.

다른 2명이 해당 안내서를 완성하였습니다.

Thomas Morin

회원 가입일: 10/25/18

241 평판

안내서 2개 작성하였습니다

UMASSD-PEAK-F18S3G2 UMASSD-PEAK-F18S3G2 회원

Community

3 회원들

안내서 10개 작성하였습니다

댓글 한 개

Excellent… thank you

Mark Bourne - 답글

댓글 쓰기

조회 통계:

24 시간 전: 0

7일 전: 3

30일 전: 4

전체 시간: 1,463