소개
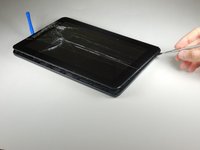
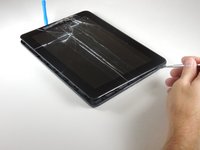
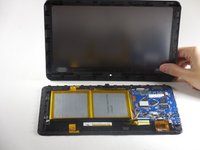
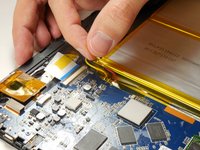
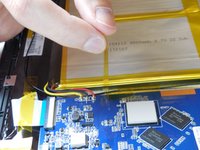
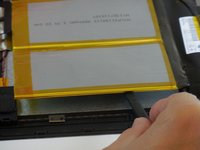
If your device is unable to hold onto a charge or power on, there may be a problem with its battery. This guide will show you how to replace the battery for the Hannspree Hannspad SN1AT71.
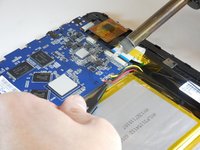
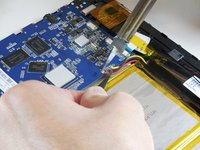
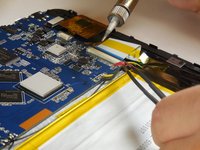
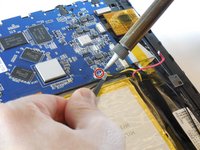
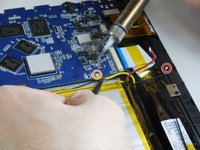
The battery replacement will require soldering. Soldering increases the difficulty of replacing the battery. For soldering assistance, there is a tutorial on the iFixit website.
If your battery is swollen, take appropriate precautions.
The battery can be refurbished, so don’t forget to recycle your battery.
필요한 것


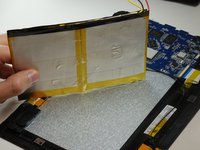
To reassemble your device, follow these instructions in reverse order.
To reassemble your device, follow these instructions in reverse order.
다른 9명이 해당 안내서를 완성하였습니다.
팀

Colorado Springs, Team 9-4, Panko Spring 2015 Colorado Springs, Team 9-4, Panko Spring 2015 회원
UCCS-PANKO-S15S9G4
3 회원들
안내서 10개를 작성함
댓글 3개
Easy to follow,but, can't find a battery anywhere, so really No use
Matthew,
Great job!!
I followed your instructions and no problem
Thanks
Me Eisenhut