필요한 것
-
-
With the printer powered on, enter the menu screen and select the "Config. Rápida" (Quick Setup) option.
-
In the quick settings, select the "Retreat Table" option.
-
-
-
When the table is in the position shown in the photo, press the Reset button on the left side of the machine, as shown.
-
Select the "Pré-aquecer PLA" (Preheat PLA) option from the quick settings menu.
-
-
-
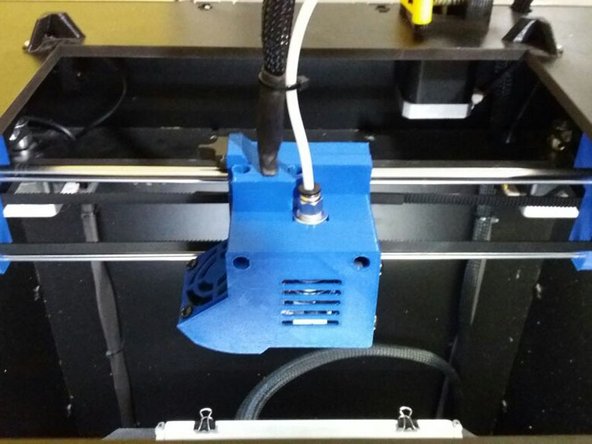
With the table in place, manually push the head to the center of the machine for easier handling.
-
-
-
-
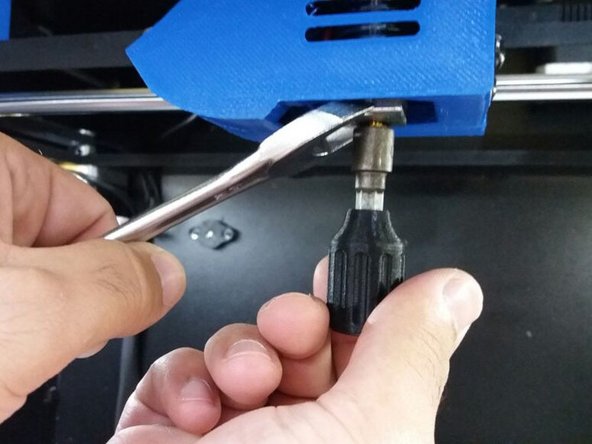
Position the 20mm Fork Spanner, as shown in the figure, locking the inside of the head in order to prevent the nozzle from spinning.
-
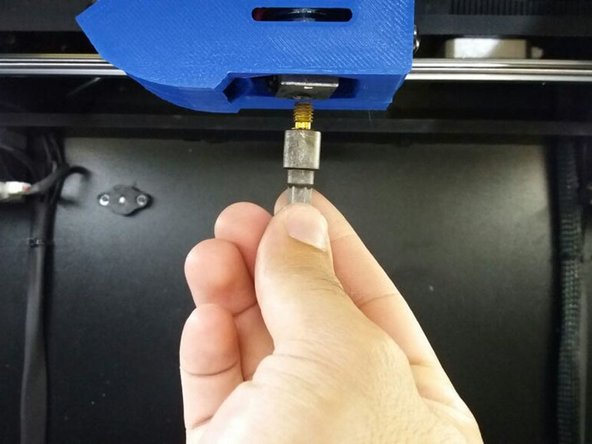
With the 7mm Fork Wrench, remove the nozzle from the head.
-
-
-
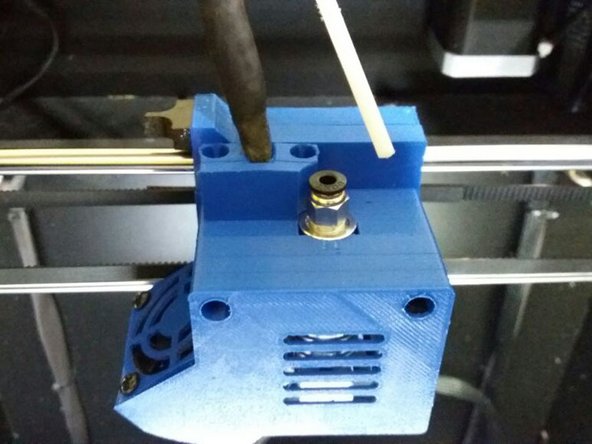
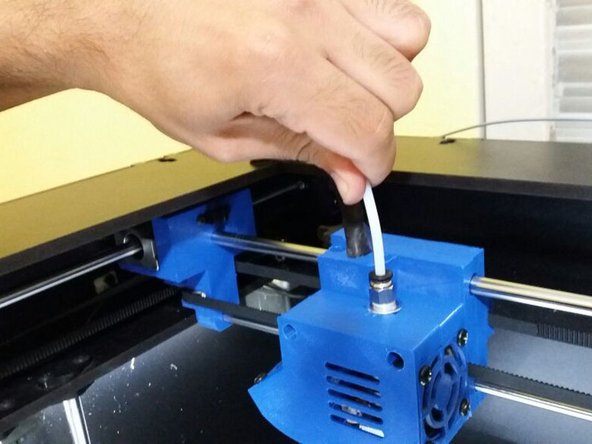
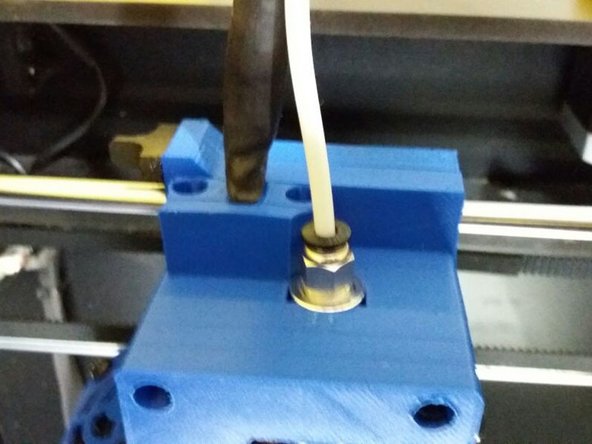
With your hands, pull the PTFE tube from the head, pressing the black part of the piece where the tube is fitted.
-
-
-
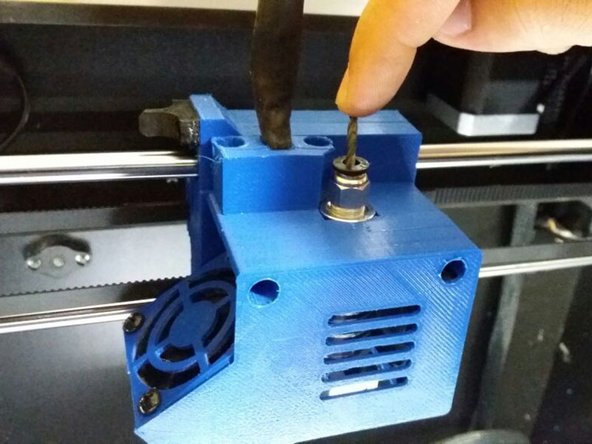
Positioning the bit in the indicated hole, push it down until the inner PTFE comes out from under the head (where the nozzle hole is).
-
-
-
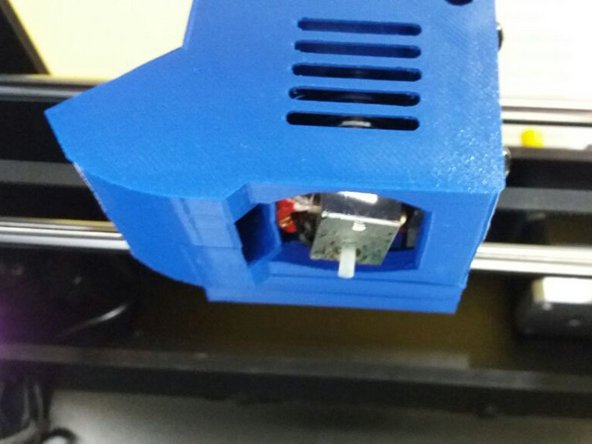
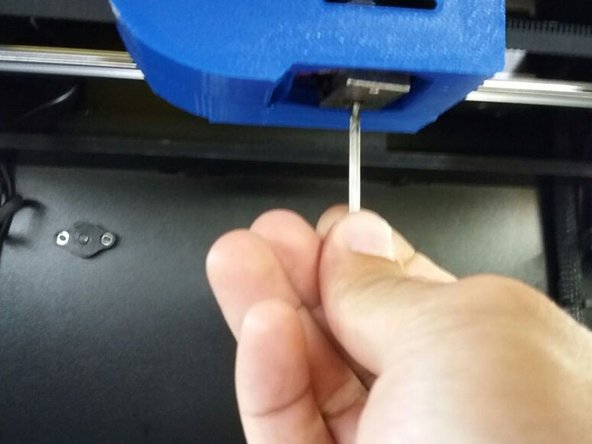
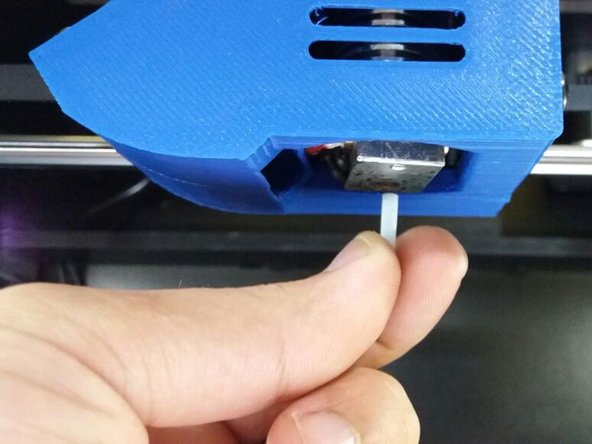
Finish removing the internal PTFE and replace it with a new one or clean it.
-
With the drill, clean the nozzle hole as shown in the picture.
-
Put the new inner PTFE in place as shown.
-
-
-
Replace the nozzle at the bottom of the head and the PTFE at the top, pushing it all the way down with your hands.
-
-
-
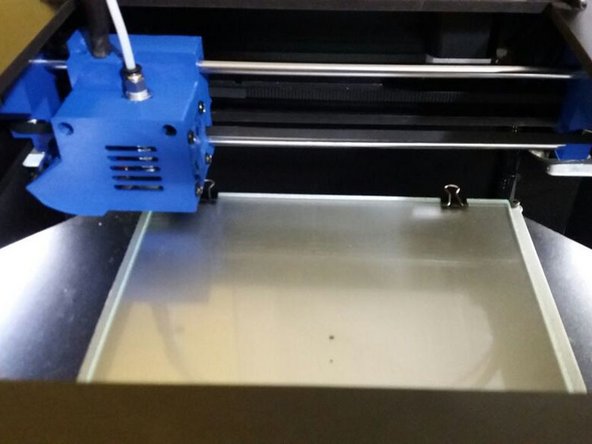
Reposition the table, in the option "Home XYZ" of the menu, in the section of quick setup and wait for it to be in the position indicated by the figure
-
You are ready to continue your prints!
You are ready to continue your prints!
다른 한 분이 해당 안내서를 완성하였습니다.
다음 번역가들에게 특별히 감사 드립니다:
100%
이 번역자 분들은 저희가 세상을 수리하는데 동참해 주시는 분입니다! 기여하시겠습니까?
번역 시작하기 ›


