주요 콘텐츠로 건너뛰기

Hisense Sero 8 Speaker Replacement

필요한 것

  1. Hisense Sero 8 Speaker Replacement, Speaker: 1 단계, 이미지 1/3 Hisense Sero 8 Speaker Replacement, Speaker: 1 단계, 이미지 2/3 Hisense Sero 8 Speaker Replacement, Speaker: 1 단계, 이미지 3/3
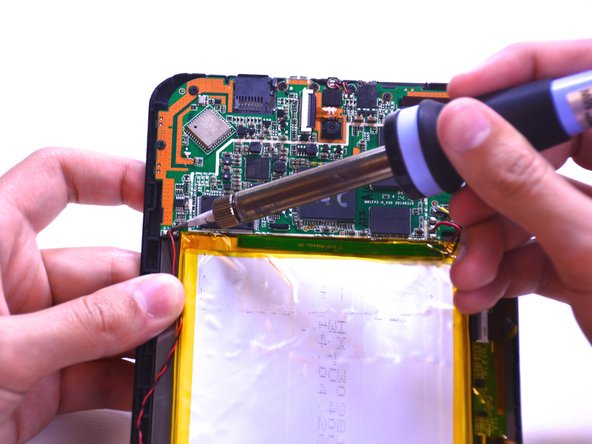
    • Remove the back cover of the device using a combination of both plastic opening tools.

    • Use your plastic opening tool to pry open a corner of the device. Continue using the tool down the side of the device to open it completely.

  2. Hisense Sero 8 Speaker Replacement: 2 단계, 이미지 1/1
    • Remove the black tape located to the left of the device.

  3. Hisense Sero 8 Speaker Replacement: 3 단계, 이미지 1/1
    • Use a Phillips head #00 screwdriver to remove the two 4.43mm screws on the bottom that keep the speakers in place.

  4. Hisense Sero 8 Speaker Replacement: 4 단계, 이미지 1/2 Hisense Sero 8 Speaker Replacement: 4 단계, 이미지 2/2
    • Unsolder the red and black wires connecting the speaker to the motherboard. Take a look at this guide to learn how to solder and unsolder connections.

  5. Hisense Sero 8 Speaker Replacement: 5 단계, 이미지 1/2 Hisense Sero 8 Speaker Replacement: 5 단계, 이미지 2/2
    • Use the spudger tool to remove the speaker panel carefully.

결론

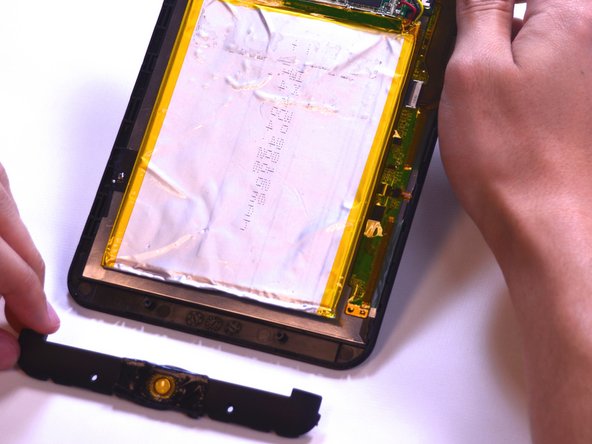
To reassemble your device, follow these instructions in reverse order.

다른 한 분이 해당 안내서를 완성하였습니다.

Katharina

회원 가입일: 02/23/15

506 평판

안내서 2개 작성하였습니다

USF Tampa, Team 1-2, Leahy Winter 2015 USF Tampa, Team 1-2, Leahy Winter 2015 회원

USFT-LEAHY-W15S1G2

3 회원들

안내서 10개 작성하였습니다

댓글 0개

댓글 쓰기

조회 통계:

24 시간 전: 0

7일 전: 0

30일 전: 1

전체 시간: 565