주요 콘텐츠로 건너뛰기

Hover-1 Eagle Back Wheel Replacement

필요한 것

  1. Hover-1 Eagle Back Wheel Replacement, Back Wheel: 1 단계, 이미지 1/1
    • Peel off the reflective red axle sticker using a plastic spudger.

  2. Hover-1 Eagle Back Wheel Replacement: 2 단계, 이미지 1/1
    • Use a Phillips #2 screwdriver to remove the 2mm screw located underneath the reflective sticker.

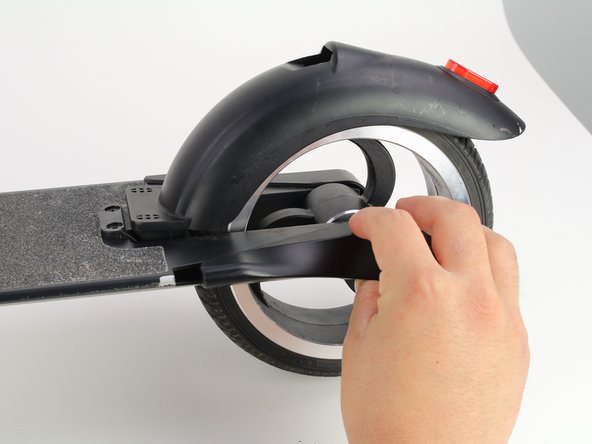
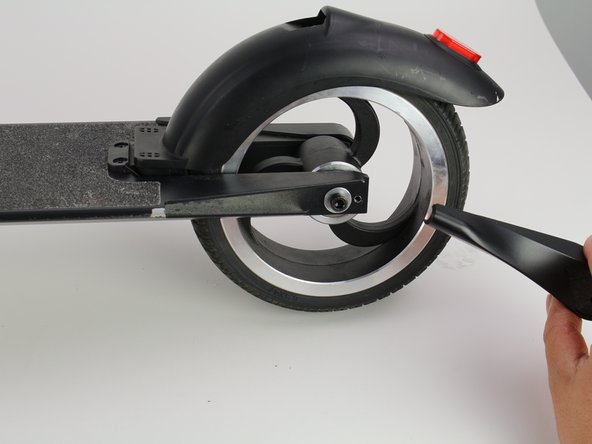
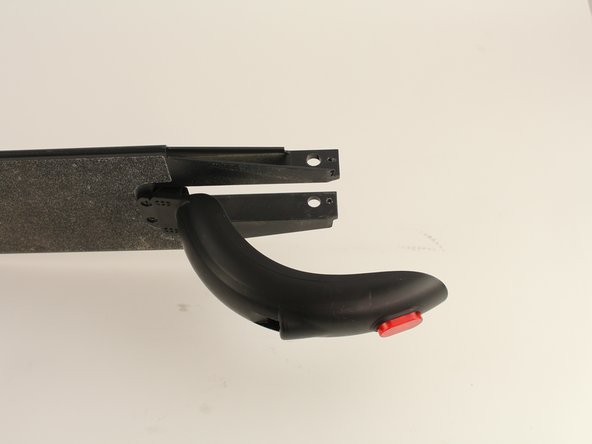
  3. Hover-1 Eagle Back Wheel Replacement: 3 단계, 이미지 1/3 Hover-1 Eagle Back Wheel Replacement: 3 단계, 이미지 2/3 Hover-1 Eagle Back Wheel Replacement: 3 단계, 이미지 3/3
    • Grip the deck flare and slide it towards the tail end of the scooter.

  4. Hover-1 Eagle Back Wheel Replacement: 4 단계, 이미지 1/1
    • Remove the 6 mm axle screws by using a hex bit 5.0.

    • Make sure to try loosening both sides. One of the axle screws spins freely and will not loosen.

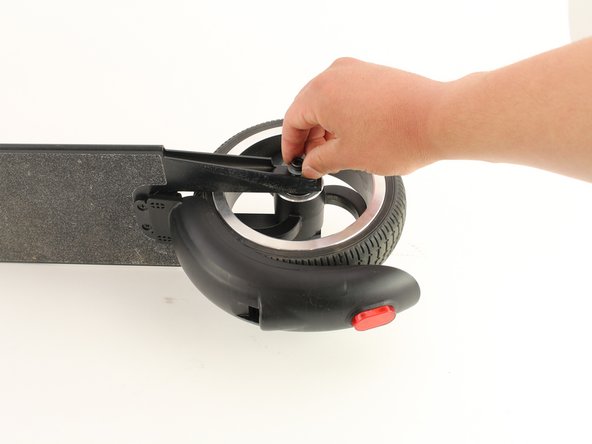
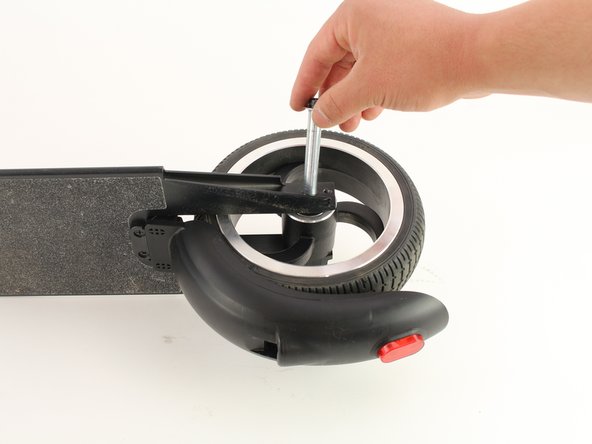
  5. Hover-1 Eagle Back Wheel Replacement: 5 단계, 이미지 1/3 Hover-1 Eagle Back Wheel Replacement: 5 단계, 이미지 2/3 Hover-1 Eagle Back Wheel Replacement: 5 단계, 이미지 3/3
    • Repeat Steps 1-3 for the other side.

    • Apply pressure to the axle using a hex bit 5.0 to push it slightly out on the other side.

    • Take hold of the 6 mm axle screw on the opposite side and remove the axle by pulling firmly towards you.

  6. Hover-1 Eagle Back Wheel Replacement: 6 단계, 이미지 1/2 Hover-1 Eagle Back Wheel Replacement: 6 단계, 이미지 2/2
    • Pull backwards to remove the back wheel.

    • Washers may fall when the wheel is removed, so make sure to catch or gather the washers.

결론

To reassemble your device, repeat Steps 1-4 in reverse order.

다른 4명이 해당 안내서를 완성하였습니다.

Andrew Gaskell

회원 가입일: 01/23/20

1,008 평판

안내서 5개 작성하였습니다

Cal Poly, Team S1-G2, White Winter 2020 Cal Poly, Team S1-G2, White Winter 2020 회원

CPSU-WHITE-W20S1G2

4 회원들

안내서 6개 작성하였습니다

댓글 한 개

Where do you buy the wheels

Thanks

antonio flores - 답글

댓글 쓰기

조회 통계:

24 시간 전: 0

7일 전: 5

30일 전: 41

전체 시간: 2,248