주요 콘텐츠로 건너뛰기

Hover-1 Eagle LED Headlight Replacement

필요한 것

  1. Hover-1 Eagle LED Headlight Replacement, LED Headlight: 1 단계, 이미지 1/3 Hover-1 Eagle LED Headlight Replacement, LED Headlight: 1 단계, 이미지 2/3 Hover-1 Eagle LED Headlight Replacement, LED Headlight: 1 단계, 이미지 3/3
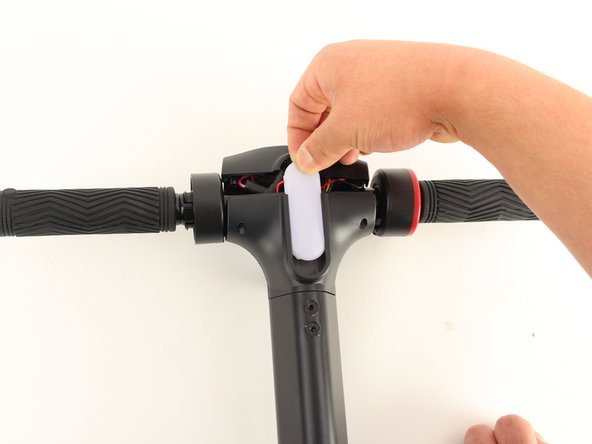
    • Remove the four screws from the bottom side of the display housing using a Phillips #2 screwdriver.

  2. Hover-1 Eagle LED Headlight Replacement: 2 단계, 이미지 1/3 Hover-1 Eagle LED Headlight Replacement: 2 단계, 이미지 2/3 Hover-1 Eagle LED Headlight Replacement: 2 단계, 이미지 3/3
    • Carefully remove the top of the housing containing the display screen.

    • Remove the top of the housing slowly to avoid damaging the wires.

  3. Hover-1 Eagle LED Headlight Replacement: 3 단계, 이미지 1/2 Hover-1 Eagle LED Headlight Replacement: 3 단계, 이미지 2/2
    • Slide the LED light cover upwards out of the display housing

    • Be gentle when removing the LED light cover to avoid damaging the LED's connecting wires.

    • The LED circuit board should slide out with the LED light cover.

    • To reassemble, align the prongs of the LED cover with the holes in the LED circuit board.

  4. Hover-1 Eagle LED Headlight Replacement: 4 단계, 이미지 1/3 Hover-1 Eagle LED Headlight Replacement: 4 단계, 이미지 2/3 Hover-1 Eagle LED Headlight Replacement: 4 단계, 이미지 3/3
    • Using a soldering iron, desolder the black and red wires from the LED circuit board.

    • To reassemble, solder the same black and red wires onto the new LED circuit board.

결론

To reassemble your device, follow these instructions in reverse order.

다른 4명이 해당 안내서를 완성하였습니다.

Andrew Gaskell

회원 가입일: 01/23/20

1,008 평판

안내서 5개 작성하였습니다

Cal Poly, Team S1-G2, White Winter 2020 Cal Poly, Team S1-G2, White Winter 2020 회원

CPSU-WHITE-W20S1G2

4 회원들

안내서 6개 작성하였습니다

댓글 0개

댓글 쓰기

조회 통계:

24 시간 전: 2

7일 전: 3

30일 전: 8

전체 시간: 1,028