주요 콘텐츠로 건너뛰기

How to Apply Flash Unit Adhesives in Your Google Pixel 8a

필요한 것

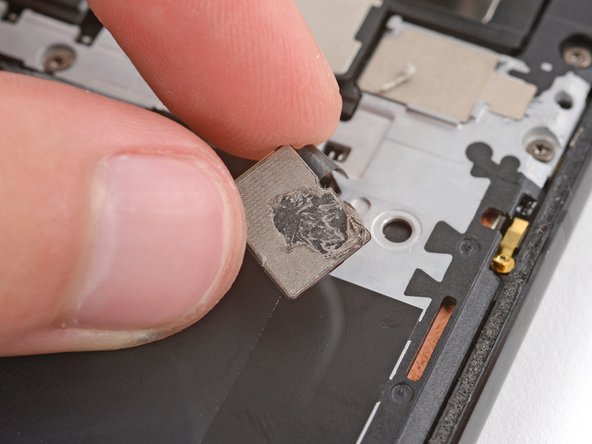
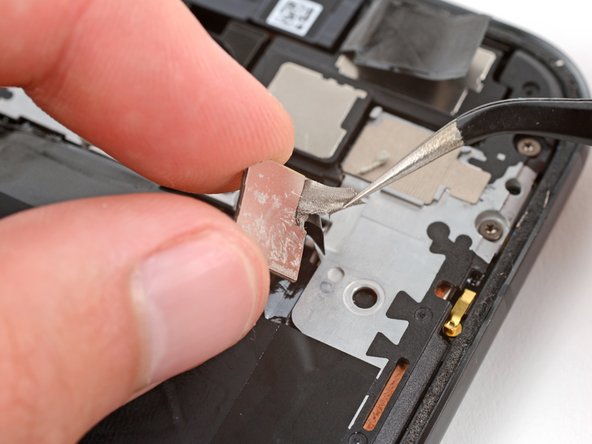
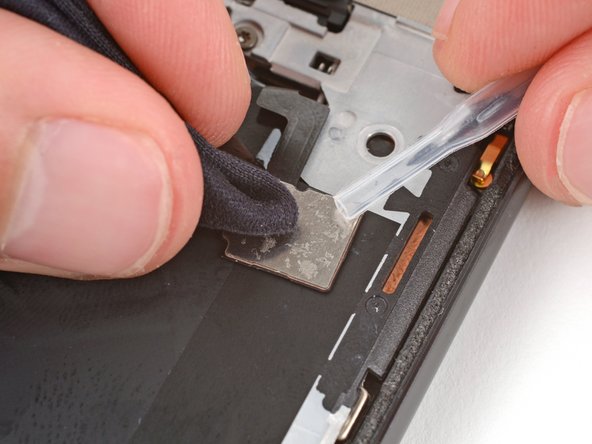
  1. How to Apply Flash Unit Adhesives in Your Google Pixel 8a, Apply the logic board cover adhesive: 1 단계, 이미지 1/3 How to Apply Flash Unit Adhesives in Your Google Pixel 8a, Apply the logic board cover adhesive: 1 단계, 이미지 2/3 How to Apply Flash Unit Adhesives in Your Google Pixel 8a, Apply the logic board cover adhesive: 1 단계, 이미지 3/3
    • Use tweezers to remove the conductive tape adhesive from the top right corner of the motherboard cover.

    • Use the flat end of a spudger to scrape up any remaining bits of adhesive.

    • Use a pipette or syringe to apply a few drops of highly-concentrated isopropyl alcohol (over 90%) to the adhesive residue and wipe it away with a microfiber cloth.

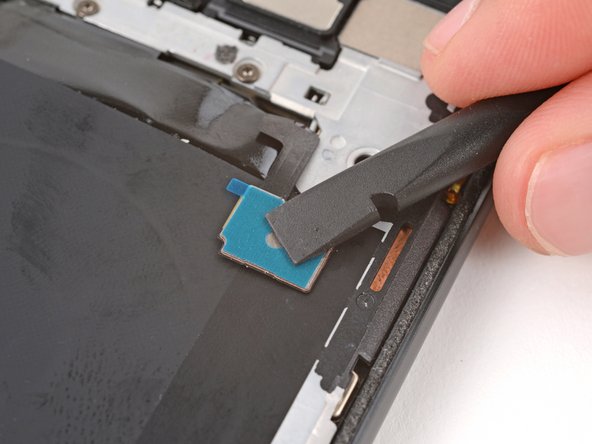
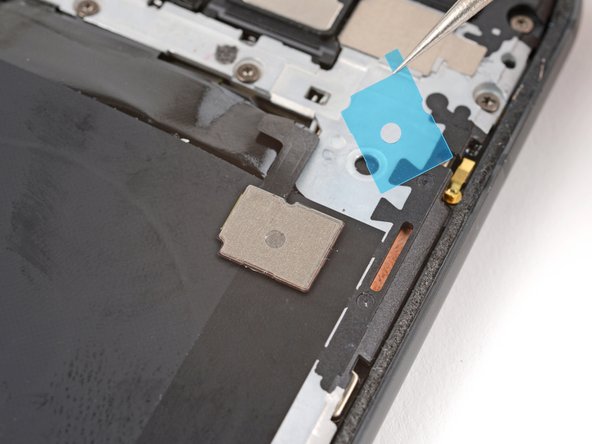
  2. How to Apply Flash Unit Adhesives in Your Google Pixel 8a: 2 단계, 이미지 1/3 How to Apply Flash Unit Adhesives in Your Google Pixel 8a: 2 단계, 이미지 2/3 How to Apply Flash Unit Adhesives in Your Google Pixel 8a: 2 단계, 이미지 3/3
    • Remove the conductive tape adhesive from its larger clear backing and put it into place with the tab on the right.

    • Use the flat end of a spudger to press down and secure the conductive tape.

    • Remove the remaining liner.

  3. How to Apply Flash Unit Adhesives in Your Google Pixel 8a, Apply the flash unit adhesive: 3 단계, 이미지 1/2 How to Apply Flash Unit Adhesives in Your Google Pixel 8a, Apply the flash unit adhesive: 3 단계, 이미지 2/2
    • Check the condition of the adhesive on the bottom of the flash unit.

    • If the adhesive is undamaged and still sticky, you can skip the rest of this guide and return to your original repair guide.

    • If the adhesive is damaged or no longer sticky, follow the next three steps to replace it.

  4. How to Apply Flash Unit Adhesives in Your Google Pixel 8a: 4 단계, 이미지 1/3 How to Apply Flash Unit Adhesives in Your Google Pixel 8a: 4 단계, 이미지 2/3 How to Apply Flash Unit Adhesives in Your Google Pixel 8a: 4 단계, 이미지 3/3
    • During the remaining steps, be very careful not to strain or tear the delicate flash unit cable.

    • Use a spudger and tweezers to carefully scrape up and remove the old adhesive from the bottom of the flash unit.

    • Use a pipette or syringe to apply a few drops of highly-concentrated isopropyl alcohol (over 90%) to the adhesive residue and wipe it away with a microfiber cloth.

  5. How to Apply Flash Unit Adhesives in Your Google Pixel 8a: 5 단계, 이미지 1/3 How to Apply Flash Unit Adhesives in Your Google Pixel 8a: 5 단계, 이미지 2/3 How to Apply Flash Unit Adhesives in Your Google Pixel 8a: 5 단계, 이미지 3/3
    • Remove the flash unit adhesive from its larger, clear liner and put it into place on the bottom of the flash unit.

    • Use the flat end of a spudger to press down and secure the adhesive.

    • Remove the remaining liner.

  6. How to Apply Flash Unit Adhesives in Your Google Pixel 8a: 6 단계, 이미지 1/1
    • Firmly press the flash unit into place on the logic board cover to secure it with the adhesive.

    • Return to your original guide and continue with reassembly.

결론

Repair didn’t go as planned? Try some basic troubleshooting, or ask our Answers community for help.

Spencer Day

회원 가입일: 09/14/22

59,598 평판

안내서 430개 작성하였습니다

iFixit iFixit 회원

Staff

141 회원들

안내서 17,850개 작성하였습니다

댓글 0개

댓글 쓰기

조회 통계:

24 시간 전: 2

7일 전: 9

30일 전: 44

전체 시간: 60