주요 콘텐츠로 건너뛰기

How to Apply New Outer Screen Adhesive in Your Google Pixel Fold

필요한 것

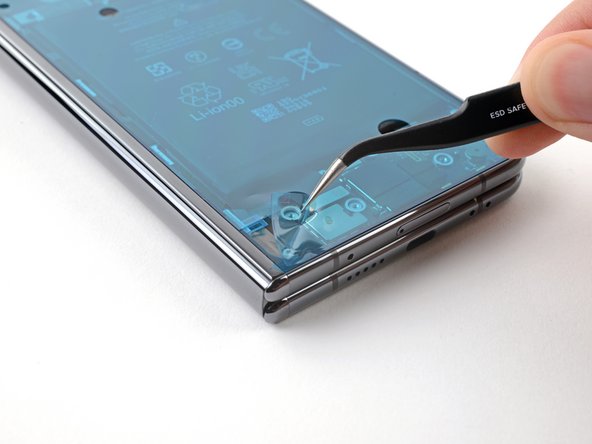
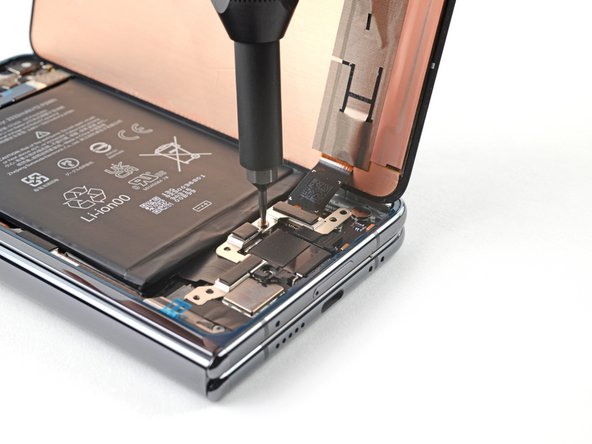
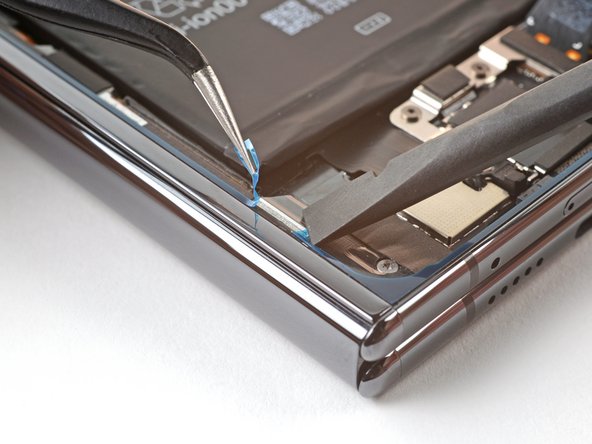
  1. How to Apply New Outer Screen Adhesive in Your Google Pixel Fold, Apply the top right adhesive: 1 단계, 이미지 1/3 How to Apply New Outer Screen Adhesive in Your Google Pixel Fold, Apply the top right adhesive: 1 단계, 이미지 2/3 How to Apply New Outer Screen Adhesive in Your Google Pixel Fold, Apply the top right adhesive: 1 단계, 이미지 3/3
    • If you're reusing the small top right adhesive, skip the steps including it.

    • Peel off the new small top right adhesive strip from its clear liner.

    • Place the new adhesive on the top right bracket of the frame.

    • Use a spudger, or your fingers, to press down the adhesive to adhere it.

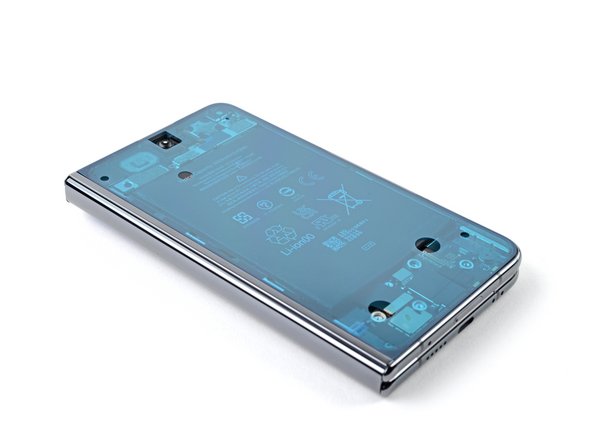
  2. How to Apply New Outer Screen Adhesive in Your Google Pixel Fold, Align the adhesive: 2 단계, 이미지 1/3 How to Apply New Outer Screen Adhesive in Your Google Pixel Fold, Align the adhesive: 2 단계, 이미지 2/3 How to Apply New Outer Screen Adhesive in Your Google Pixel Fold, Align the adhesive: 2 단계, 이미지 3/3
    • Before removing any liners, check if the large perimeter adhesive matches the frame.

    • The clear liner should face the frame.

    • Look for cutouts in the liner to help orient the adhesive.

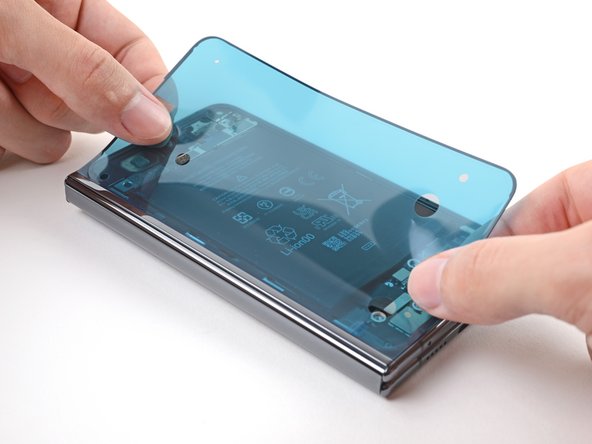
  3. How to Apply New Outer Screen Adhesive in Your Google Pixel Fold, Apply the adhesive: 3 단계, 이미지 1/3 How to Apply New Outer Screen Adhesive in Your Google Pixel Fold, Apply the adhesive: 3 단계, 이미지 2/3 How to Apply New Outer Screen Adhesive in Your Google Pixel Fold, Apply the adhesive: 3 단계, 이미지 3/3
    • Be careful during this step, as it's easy to stick the adhesive in the wrong spot. Take your time and work slowly.

    • Peel off the new adhesive strip from its clear liner.

    • Align the adhesive over the frame, starting with the top left and bottom left edges.

    • Place the adhesive over the perimeter of the frame.

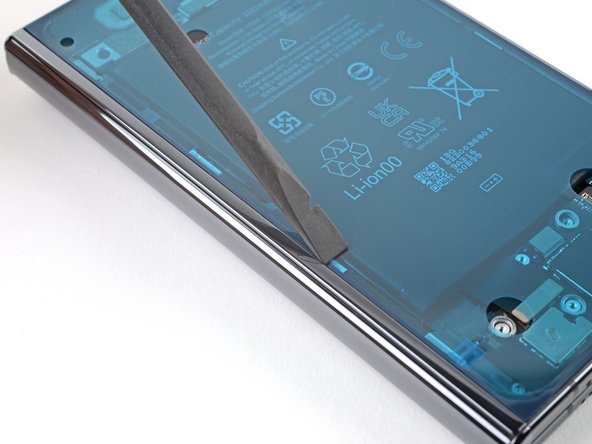
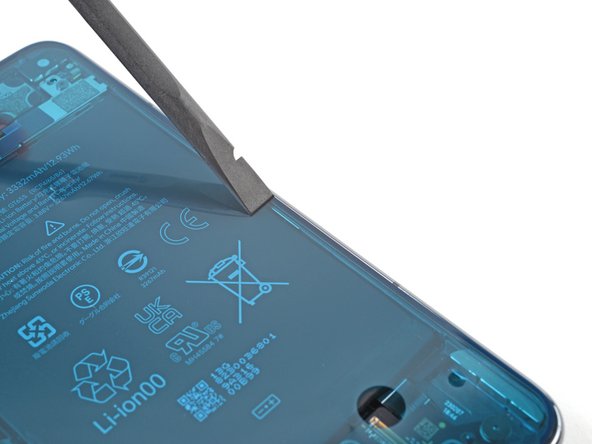
  4. How to Apply New Outer Screen Adhesive in Your Google Pixel Fold: 4 단계, 이미지 1/3 How to Apply New Outer Screen Adhesive in Your Google Pixel Fold: 4 단계, 이미지 2/3 How to Apply New Outer Screen Adhesive in Your Google Pixel Fold: 4 단계, 이미지 3/3
    • Use flat end of a spudger, or your fingers, to press down the adhesive and adhere it to the frame.

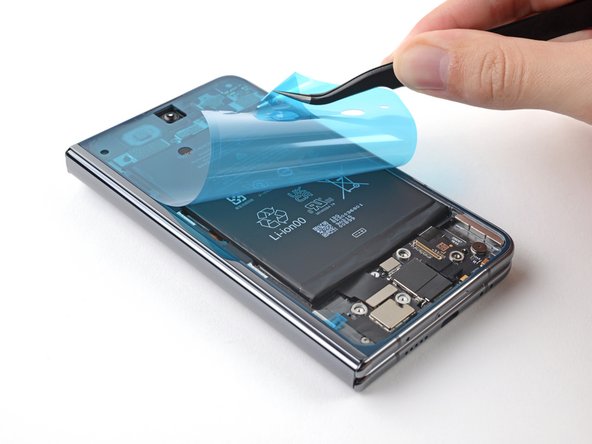
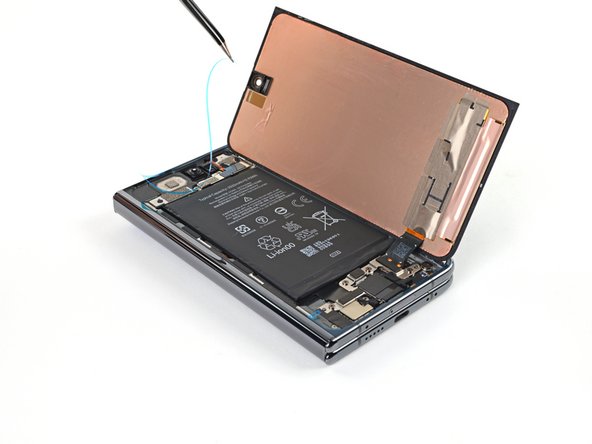
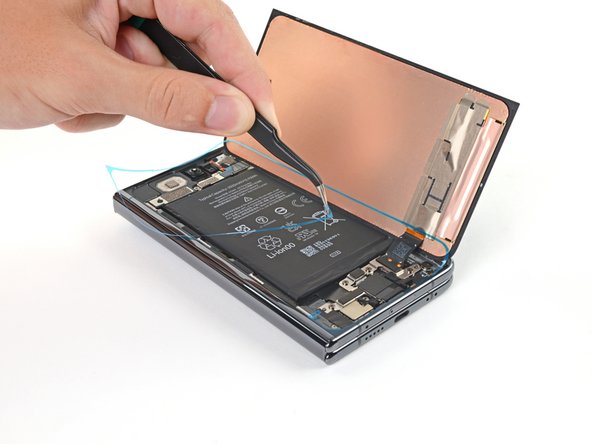
  5. How to Apply New Outer Screen Adhesive in Your Google Pixel Fold, Peel the large liner: 5 단계, 이미지 1/2 How to Apply New Outer Screen Adhesive in Your Google Pixel Fold, Peel the large liner: 5 단계, 이미지 2/2
    • Peel up the segmented tab at the bottom left corner of the large blue liner.

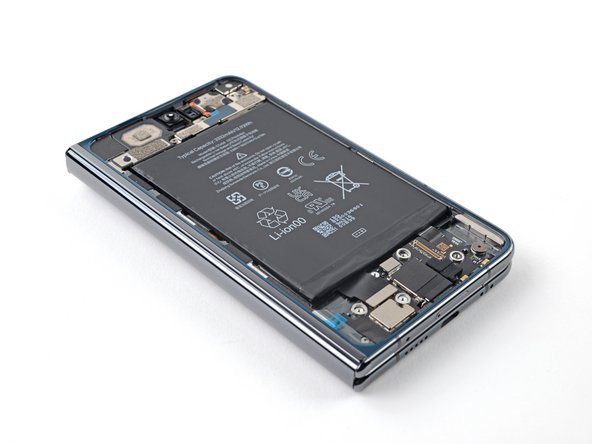
  6. How to Apply New Outer Screen Adhesive in Your Google Pixel Fold, Reconnect the back glass: 6 단계, 이미지 1/3 How to Apply New Outer Screen Adhesive in Your Google Pixel Fold, Reconnect the back glass: 6 단계, 이미지 2/3 How to Apply New Outer Screen Adhesive in Your Google Pixel Fold, Reconnect the back glass: 6 단계, 이미지 3/3
    • Lift the tab and peel off the large blue liner to expose the secondary liner.

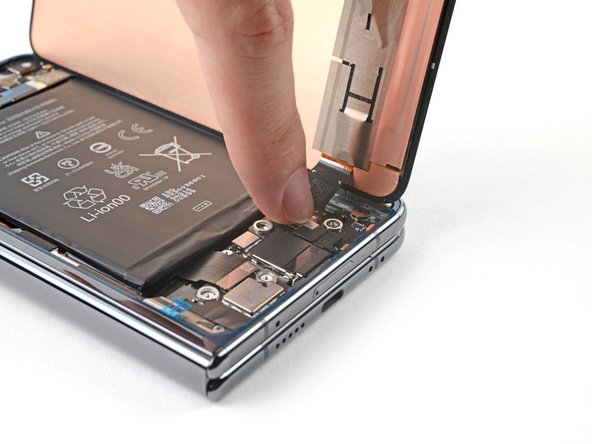
  7. How to Apply New Outer Screen Adhesive in Your Google Pixel Fold, Reconnect the screen: 7 단계, 이미지 1/3 How to Apply New Outer Screen Adhesive in Your Google Pixel Fold, Reconnect the screen: 7 단계, 이미지 2/3 How to Apply New Outer Screen Adhesive in Your Google Pixel Fold, Reconnect the screen: 7 단계, 이미지 3/3
    • Support the screen with your hand or prop it up on something sturdy.

    • Reconnect the screen cable.

    • Reconnect the flip battery cable.

    • Use a Torx Plus 3IP driver to refasten the bottom bracket.

  8. How to Apply New Outer Screen Adhesive in Your Google Pixel Fold, Peel the secondary liner: 8 단계, 이미지 1/2 How to Apply New Outer Screen Adhesive in Your Google Pixel Fold, Peel the secondary liner: 8 단계, 이미지 2/2
    이 단계에 사용된 도구:
    Tweezers
    $4.99
    구매
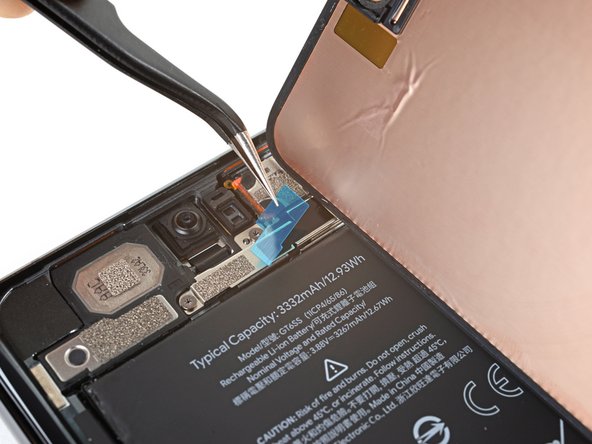
    • Use tweezers, or your fingers, to peel up either one of the tabs at the top right corner of the secondary liner.

    • If the adhesive starts separating, use a spudger to hold it down while peeling.

  9. How to Apply New Outer Screen Adhesive in Your Google Pixel Fold, Apply the back glass: 9 단계, 이미지 1/3 How to Apply New Outer Screen Adhesive in Your Google Pixel Fold, Apply the back glass: 9 단계, 이미지 2/3 How to Apply New Outer Screen Adhesive in Your Google Pixel Fold, Apply the back glass: 9 단계, 이미지 3/3
    • Lift the tab and peel off the secondary liner to expose the top adhesive.

  10. How to Apply New Outer Screen Adhesive in Your Google Pixel Fold, Expose the top right adhesive: 10 단계, 이미지 1/2 How to Apply New Outer Screen Adhesive in Your Google Pixel Fold, Expose the top right adhesive: 10 단계, 이미지 2/2
    • Remove the blue liner from the top right adhesive strip.

  11. How to Apply New Outer Screen Adhesive in Your Google Pixel Fold, Apply the screen: 11 단계, 이미지 1/2 How to Apply New Outer Screen Adhesive in Your Google Pixel Fold, Apply the screen: 11 단계, 이미지 2/2
    • Align the screen over its cutout in the frame.

    • Place a right edge of the screen on the frame, making sure there are no gaps or jutting adhesive.

    • Place the left edge of the screen on the frame.

  12. How to Apply New Outer Screen Adhesive in Your Google Pixel Fold: 12 단계, 이미지 1/3 How to Apply New Outer Screen Adhesive in Your Google Pixel Fold: 12 단계, 이미지 2/3 How to Apply New Outer Screen Adhesive in Your Google Pixel Fold: 12 단계, 이미지 3/3
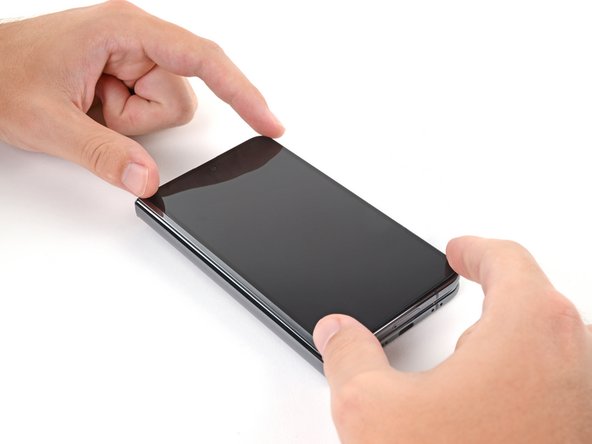
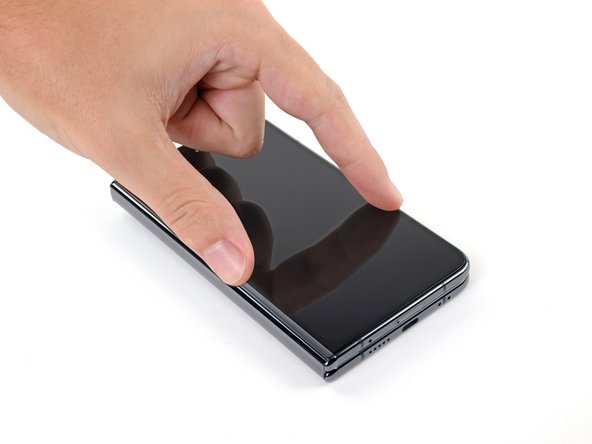
    • Press down along the perimeter of the screen to adhere it to the frame.

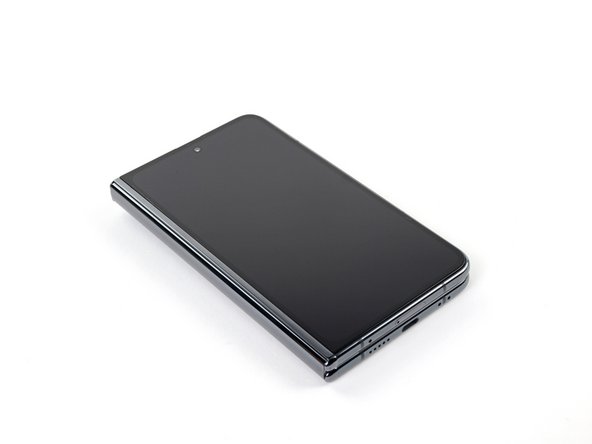
    • Let the phone sit a few hours for the adhesive to cure.

결론

Repair didn’t go as planned? Try some basic troubleshooting, or ask our Google Pixel Fold Answers Community for help.

Alex Diaz-Kokaisl

회원 가입일: 01/16/22

127,654 평판

안내서 592개 작성하였습니다

iFixit iFixit 회원

Staff

141 회원들

안내서 17,893개 작성하였습니다

댓글 0개

댓글 쓰기

조회 통계:

24 시간 전: 3

7일 전: 4

30일 전: 20

전체 시간: 246