소개
Use this guide when your PlayStation Dual Sense V1 Controller experiences stick drift. Stick drift is when an in-game character or object makes an involuntary move on the screen even when the joysticks are not moved. This can disrupt games and cause frustration for users.
For more information on what causes stick drift in PlayStation Dual Sense V1 Controllers, read this tech news article that discusses the causes.
Note that this guide details only how to fix stick drift for the PlayStation Dual Sense V1 Controller for PlayStation 5. This is not to be confused with the Dualshock 4 Controller for PlayStation 4.
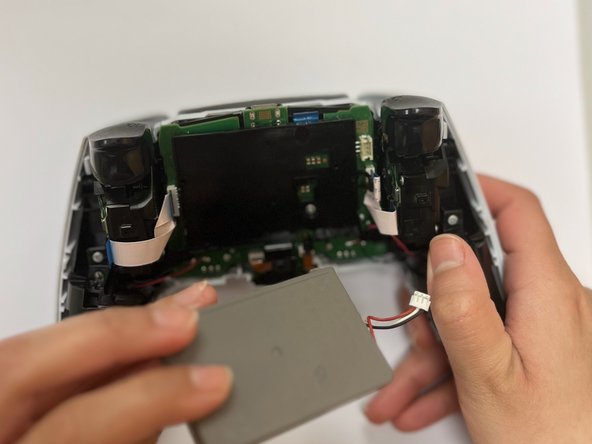
Before starting, make sure that your controller is powered off completely.
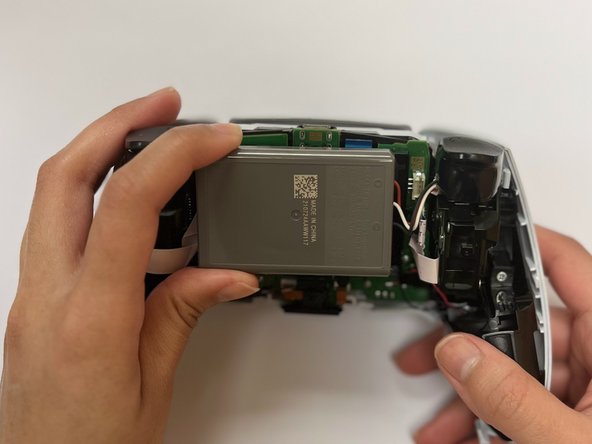
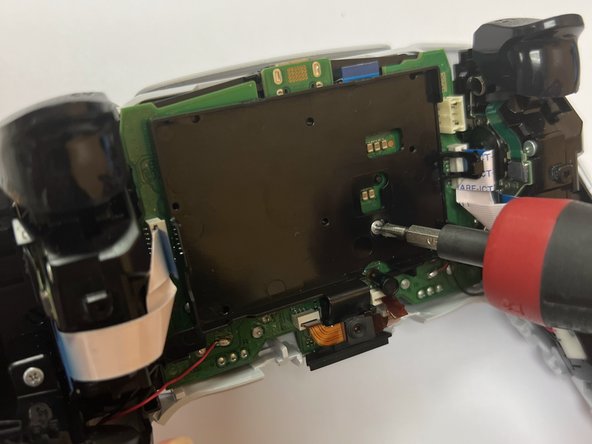
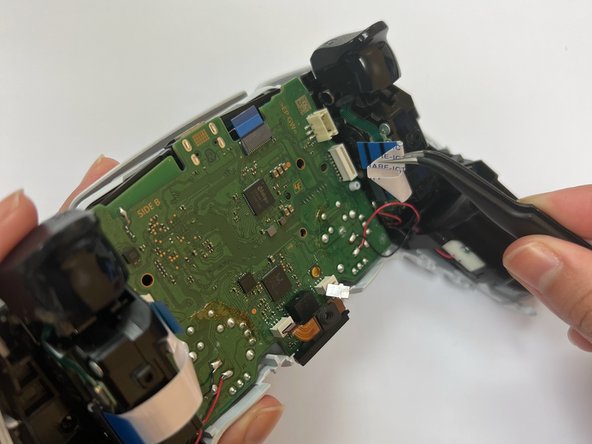
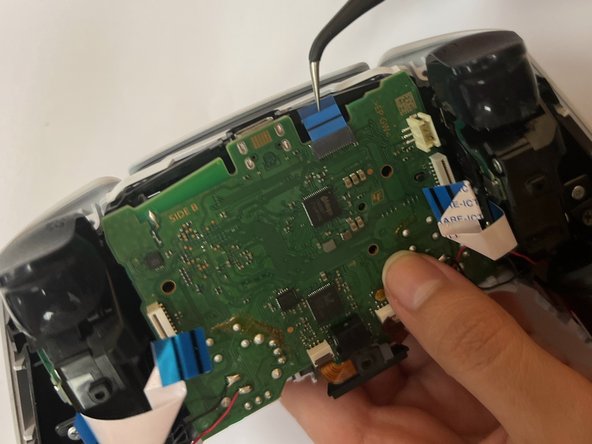
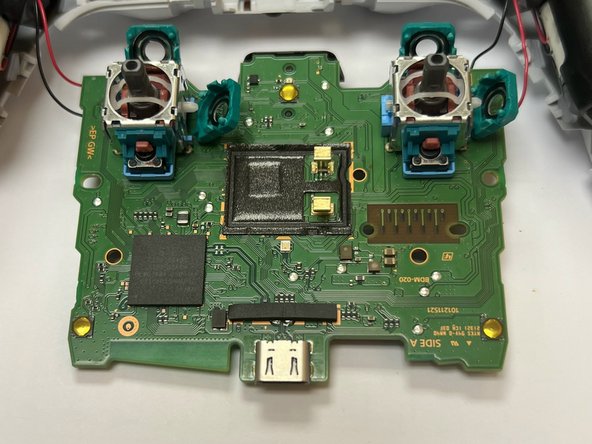
This guide will give instructions to users on how to properly access the inside of their controller. This is used to locate the areas of the joysticks that are covered and use 99.8% isopropyl alcohol to clean around these dirty areas. The alcohol works to break down any materials that are causing the joysticks to make unwanted movements.
This guide does not instruct users on how to fix other issues that cause stick drift such as internal issues and broken joysticks. For other information on repairs that may potentially fix stick drift in your Dual Sense V1 Controller, see the DualSense Controller V1 Repair and DualSense Joystick Replacement pages.
필요한 것
-
-
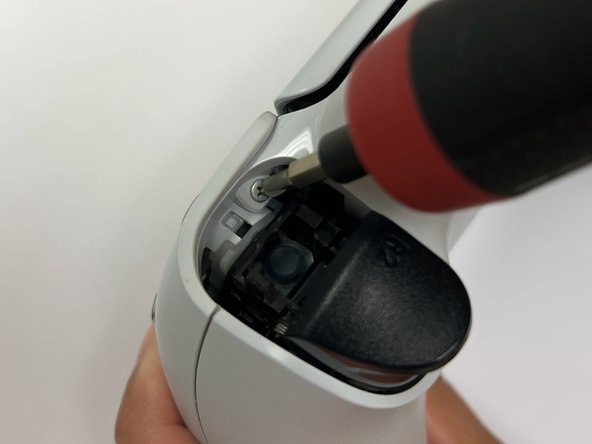
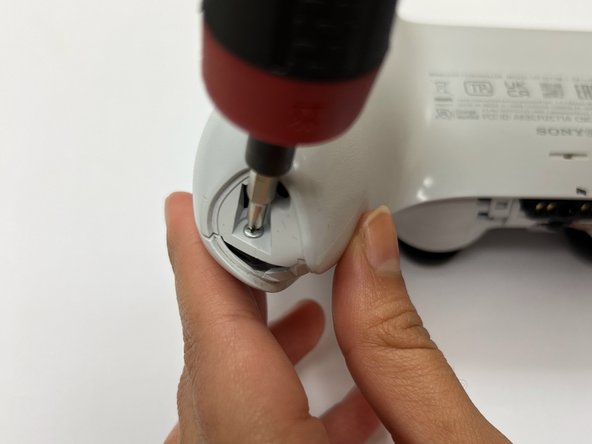
Insert an opening tool into the bottom right corner of the controller.
-
Lift upwards with the opening tool.
-
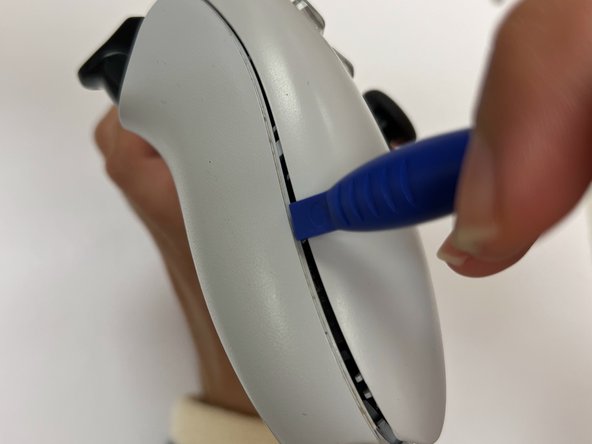
Continue using the opening tool to pry up the inner sides of the black rim.
-
Repeat on the opposite side.
-
-


To reassemble your device, follow these instructions in reverse order.
To reassemble your device, follow these instructions in reverse order.
다른 15명이 해당 안내서를 완성하였습니다.
팀

CSU Los Angeles, Team 4-8, Kershman Fall 2023 CSU Los Angeles, Team 4-8, Kershman Fall 2023 회원
CSULA-KERSHMAN-F23S4G8
1 회원
안내서 5개 작성하였습니다
댓글 6개
Just cleaning the carbon track on the potentiometer is not really a long term fix for stick drift. Better fixes would be to either replace the photometers or to replace the complete stick with a hall-effect joy stick.
David Fear - 답글
Do you have a link?
Nora -
I did it, sadly cleaning wasn't enough. So I guess I'll have to replace something.
There is now a real fix for this, hall effect mod by Jun Zheng. About $25 per pair of mods. Check out the guys YouTube, link to his AliExpress store in his video description. Just use the guide here for disassembly. https://youtube.com/@junZeng-520?si=UYbf...
Upon reassembly I get the three orange blinks error. Research says there’s a ribbon connection error, is that right? I went through steps again and checked all connections, but no change. Have I short circuited something? Would replacing the potentiometer even fix it at this point? Have I damaged a ribbon? (There is no visible damage).