주요 콘텐츠로 건너뛰기

How to Install a 2.5" SSD Into a Silicone Enclosure

  1. How to Install a 2.5" SSD Into a Silicone Enclosure, Insert the SSD into the enclosure: 1 단계, 이미지 1/2 How to Install a 2.5" SSD Into a Silicone Enclosure, Insert the SSD into the enclosure: 1 단계, 이미지 2/2
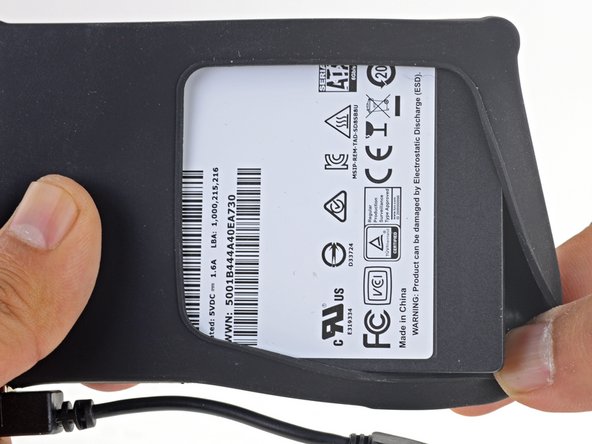
    • Before you insert the new hard drive, note the orientation of the SATA connectors embedded in the enclosure:

    • The wide power SATA port

    • The narrower data SATA port

  2. How to Install a 2.5" SSD Into a Silicone Enclosure: 2 단계, 이미지 1/3 How to Install a 2.5" SSD Into a Silicone Enclosure: 2 단계, 이미지 2/3 How to Install a 2.5" SSD Into a Silicone Enclosure: 2 단계, 이미지 3/3
    • Using the previous step, orient the new drive so that its SATA connectors will align with the enclosure's.

    • Slide the drive into the enclosure's opening.

    • Push the drive into the enclosure until it stops sliding and the SATA connectors are completely seated.

  3. How to Install a 2.5" SSD Into a Silicone Enclosure: 3 단계, 이미지 1/3 How to Install a 2.5" SSD Into a Silicone Enclosure: 3 단계, 이미지 2/3 How to Install a 2.5" SSD Into a Silicone Enclosure: 3 단계, 이미지 3/3
    • Stretch the remaining enclosure corners over the drive so that the silicone cover encapsulates the drive.

결론

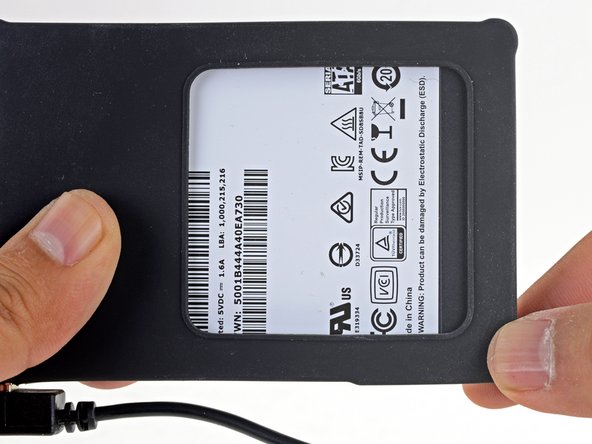
Your drive is ready to be used!

다른 3명이 해당 안내서를 완성하였습니다.

Arthur Shi

회원 가입일: 01/03/18

248,451 평판

안내서 503개 작성하였습니다

iFixit iFixit 회원

Staff

136 회원들

안내서 16,573개 작성하였습니다

댓글 0개

댓글 쓰기

조회 통계:

24 시간 전: 1

7일 전: 8

30일 전: 39

전체 시간: 1,410