소개
This repair guide was authored by the iFixit staff and hasn’t been endorsed by Google. Learn more about our repair guides here.
Follow this guide to install a battery in your Google Pixel 8 Pro.
Remove your battery if you haven't done so already.
필요한 것
-
이 단계에 사용된 도구:Tweezers$4.99
-
Use the flat end of a spudger to scrape up and remove all the old adhesive from the frame.
-
Use your fingers or tweezers to pick off big chunks.
-
-
이 단계에 사용된 도구:Microfiber Cleaning Cloths$3.99
-
Once you've removed all the old adhesive, apply a few drops of highly-concentrated (greater than 90%) isopropyl alcohol to any residue left on the frame and wipe it away with a microfiber or lint-free cloth.
-
-
-
-
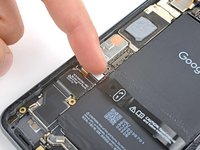
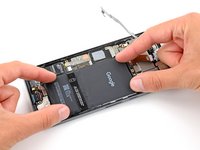
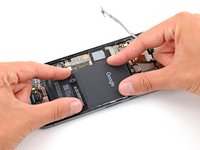
Lay the battery in its recess and temporarily reconnect it to the logic board to check its fit and cable length before adhering it.
-
Once you've found the proper alignment, disconnect the battery and remove it.
-
-
이 단계에 사용된 도구:Tesa 61395 Tape$5.99
-
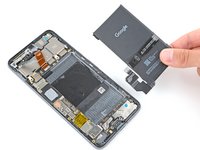
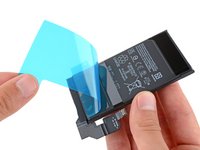
If your battery comes with adhesive pre-installed, remove the plastic liner and firmly press the battery into its recess to secure it with the adhesive.
-
If your battery doesn't have pre-installed adhesive, apply strips of double-sided tape such as Tesa Tape where the old adhesive was and firmly press the battery into its recess to secure it.
-


Repair didn’t go as planned? Try some basic troubleshooting, or ask our Answers community for help.
다른 한 분이 해당 안내서를 완성하였습니다.

