소개
Use this guide to replace the back cover adhesive by applying it to the back cover first.
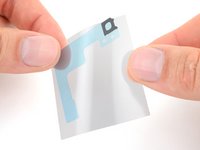
To determine where you first apply the adhesive, match the contours of the adhesive on the clear side with the back cover and the frame. If the clear side matches the frame, follow this guide instead.
The frame-first adhesive tends to have screw holes in the colored lining.
필요한 것
-
-
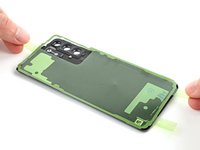
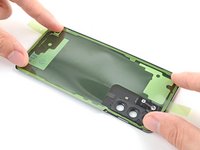
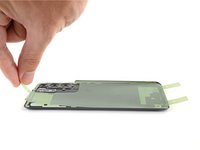
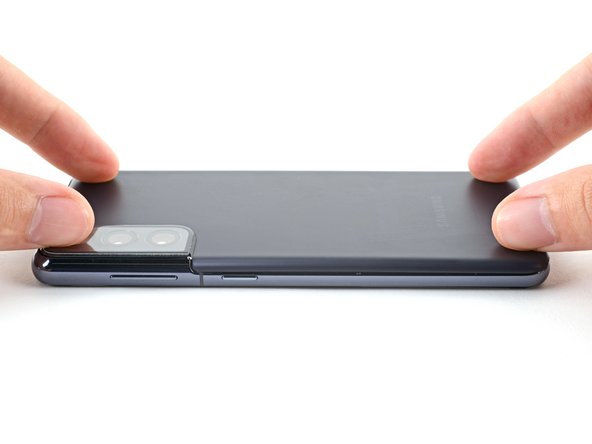
If you're re-using your back cover, remove any adhesive chunks with a pair of tweezers or your fingers. Apply heat and isopropyl alcohol (90% or greater) if you're having trouble removing the adhesive.
-
Repeat the same procedure for any remaining adhesive on the frame.
-
-
-
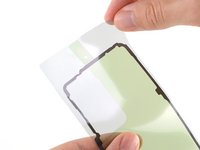
Before removing any liners, position the adhesive strip with the clear liner facing down over the back cover to find the proper orientation.
-
If the adhesive matches the frame instead of the back cover, follow this frame-first adhesive guide.
-
-
-
Peel the clear liner off of the adhesive strip to expose the adhesive.
-
-
-
-
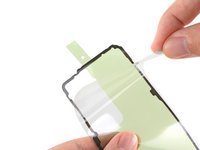
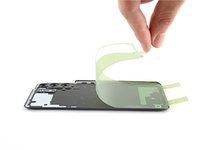
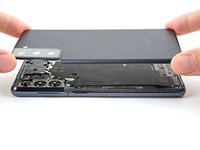
Carefully align the sticky side of the adhesive over the edges of the back cover.
-
Press down on the perimeter of the adhesive strip to bond it to the back cover.
-
-
이 단계에 사용된 도구:Tweezers$4.99
-
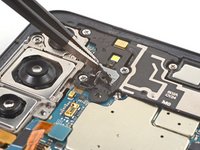
Use tweezers to remove the old microphone gasket. It may be attached to the back cover or the phone.
-
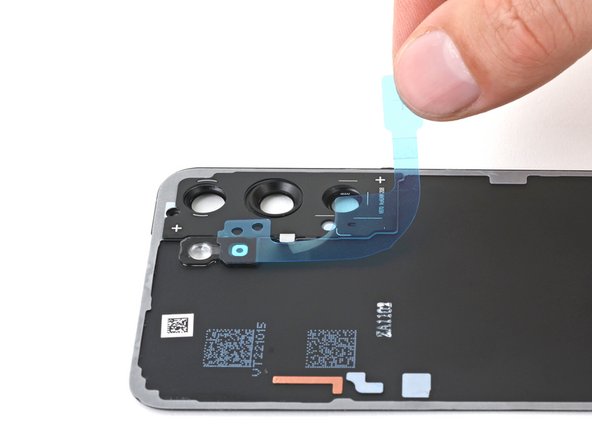
Remove the clear liner from the large L-shaped adhesive piece.
-
Place the square piece of adhesive over the back cover's microphone cutout under the flash unit, with the blue liner tab facing right.
-
Remove the blue liner.
-


다른 26명이 해당 안내서를 완성하였습니다.


3가이드 댓글
Where can I get the genuine adhesive for Galaxy S22 Ultra??
There's a link at the beginning of the instructions.
Shell -
What can I do with my old battery (and daughter board)?