주요 콘텐츠로 건너뛰기

IQ America VD-8810L Motherboard Replacement

필요한 것

  1. IQ America VD-8810L Motherboard Replacement, Motherboard: 1 단계, 이미지 3개 중 1개 IQ America VD-8810L Motherboard Replacement, Motherboard: 1 단계, 이미지 3개 중 2개 IQ America VD-8810L Motherboard Replacement, Motherboard: 1 단계, 이미지 3개 중 3개
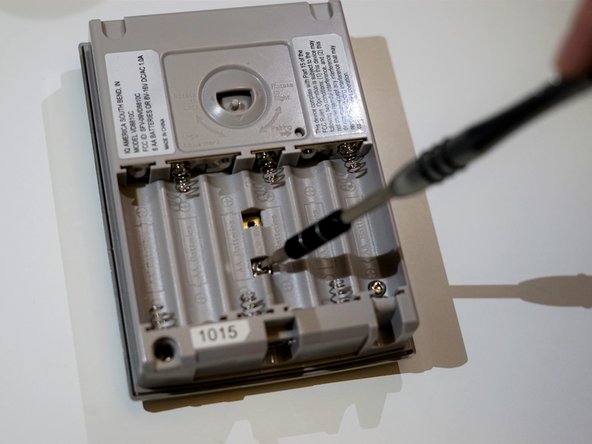
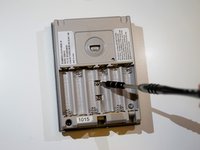
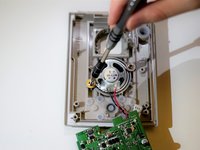
    • Wedge the spudger into the slot of the panel on the bottom of the device.

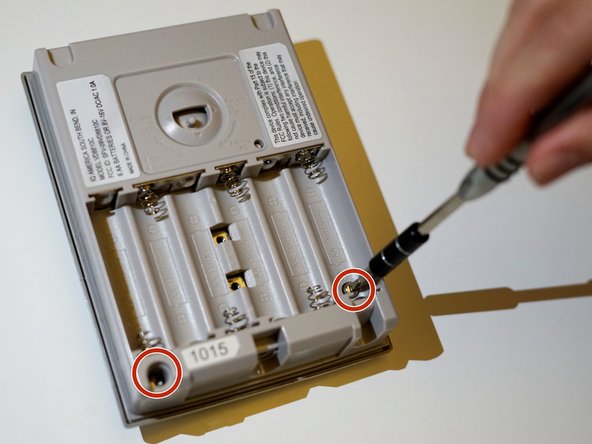
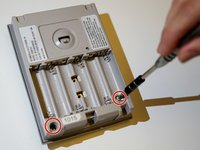
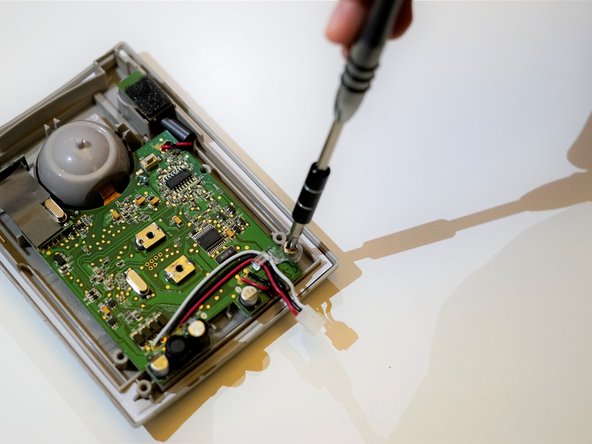
    • Rotate out the panel to reveal the screw holding the device together.

  2. IQ America VD-8810L Motherboard Replacement: 2 단계, 이미지 2개 중 1개 IQ America VD-8810L Motherboard Replacement: 2 단계, 이미지 2개 중 2개
    • Use the Phillips head screwdriver to remove the screw.

    • Separate the Top and bottom halves of the device.

  3. IQ America VD-8810L Motherboard Replacement: 3 단계, 이미지 3개 중 1개 IQ America VD-8810L Motherboard Replacement: 3 단계, 이미지 3개 중 2개 IQ America VD-8810L Motherboard Replacement: 3 단계, 이미지 3개 중 3개
    • Remove batteries from the battery slot.

    • Unscrew the two Phillips head screws in the center of the battery slot.

    • Unscrew the remaining two screws at the bottom of the unit using the 3.0 triangle head screwdriver.

  4. IQ America VD-8810L Motherboard Replacement: 4 단계, 이미지 1개 중 1개
    • Use the spudger to separate the top and bottom halves of the screen.

  5. IQ America VD-8810L Motherboard Replacement: 5 단계, 이미지 1개 중 1개
    • Disconnect the wires from the green motherboard to the bottom half by pulling apart the connecting pins.

  6. IQ America VD-8810L Motherboard Replacement: 6 단계, 이미지 3개 중 1개 IQ America VD-8810L Motherboard Replacement: 6 단계, 이미지 3개 중 2개 IQ America VD-8810L Motherboard Replacement: 6 단계, 이미지 3개 중 3개
    • Unscrew all 3 Phillips head screws on the outside edges of the motherboard.

  7. IQ America VD-8810L Motherboard Replacement: 7 단계, 이미지 1개 중 1개
    • Carefully remove the microphone from the casing by pulling away from the device.

  8. IQ America VD-8810L Motherboard Replacement: 8 단계, 이미지 2개 중 1개 IQ America VD-8810L Motherboard Replacement: 8 단계, 이미지 2개 중 2개
    • Gently lift the motherboard from the casing to reveal the speaker.

    • Unscrew the two Phillips head screws that hold the speaker in place.

  9. IQ America VD-8810L Motherboard Replacement: 9 단계, 이미지 1개 중 1개
    • Refer to this guide to desolder the speaker from the motherboard.

결론

To reassemble your device, follow these instructions in reverse order.

작성자

4다른 기여자 명과 함께

Jackey Lau

회원 가입일: 10/17/17

301 평판

안내서 3개를 작성함

UC Santa Barbara, Team S1-G3, Weedon Fall 2017 UC Santa Barbara, Team S1-G3, Weedon Fall 2017 회원

UCSB-WEEDON-F17S1G3

5 회원들

안내서 6개를 작성함

0가이드 댓글

댓글 쓰기

조회 통계:

지난 24시간: 0

지난 7일: 2

지난 30일: 6

전체 시간: 373