주요 콘텐츠로 건너뛰기

Jabra Freeway Battery Replacement

필요한 것

  1. Jabra Freeway Battery Replacement, Front Panel: 1 단계, 이미지 3개 중 1개 Jabra Freeway Battery Replacement, Front Panel: 1 단계, 이미지 3개 중 2개 Jabra Freeway Battery Replacement, Front Panel: 1 단계, 이미지 3개 중 3개
    • Turn off the device before proceeding. Failure to do so may result in device damage or injury to oneself.

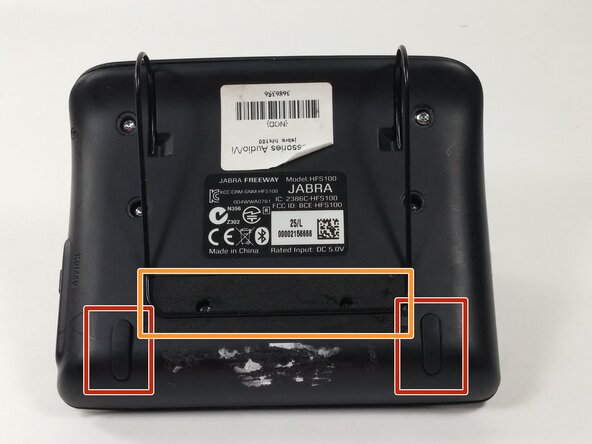
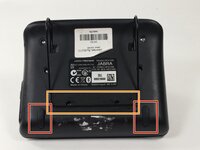
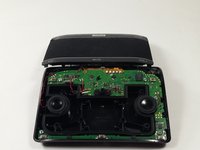
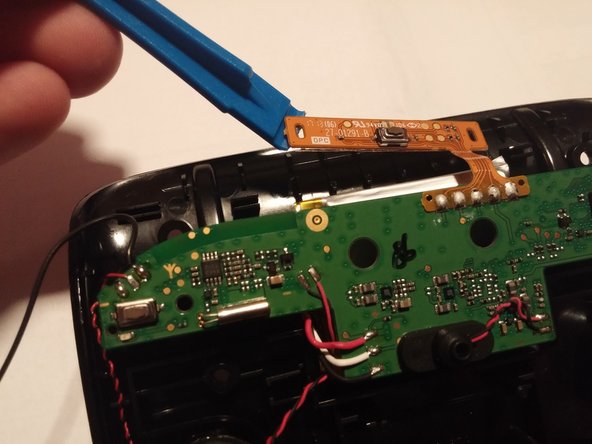
    • Remove the rubber pads from the bottom of the device using the spudger.

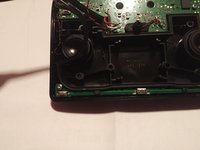
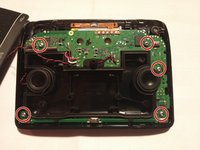
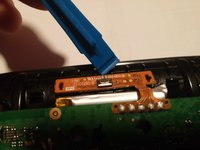
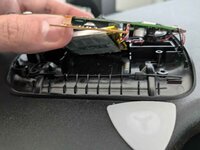
    • Remove the foam tape covering 2 hidden screws from the back of the device.

  2. Jabra Freeway Battery Replacement: 2 단계, 이미지 3개 중 1개 Jabra Freeway Battery Replacement: 2 단계, 이미지 3개 중 2개 Jabra Freeway Battery Replacement: 2 단계, 이미지 3개 중 3개
    • Remove the eight 6mm T9 screws.

    • Two of these screws are underneath the foam padding. This padding is glued on and will be destroyed in this process. Poking through the foam minimizes the damage to the device.

  3. Jabra Freeway Battery Replacement: 3 단계, 이미지 3개 중 1개 Jabra Freeway Battery Replacement: 3 단계, 이미지 3개 중 2개 Jabra Freeway Battery Replacement: 3 단계, 이미지 3개 중 3개
    • Gently lift the front panel off of the device and carefully rest it to the side.

  4. Jabra Freeway Battery Replacement, Battery: 4 단계, 이미지 2개 중 1개 Jabra Freeway Battery Replacement, Battery: 4 단계, 이미지 2개 중 2개
    이 단계에 사용된 도구:
    Tweezers
    $4.99
    • Remove the rubber gasket using tweezers.

  5. Jabra Freeway Battery Replacement: 5 단계, 이미지 2개 중 1개 Jabra Freeway Battery Replacement: 5 단계, 이미지 2개 중 2개
    • Remove the five 6mm T6 screws connecting the circuit board to the rear panel.

  6. Jabra Freeway Battery Replacement: 6 단계, 이미지 3개 중 1개 Jabra Freeway Battery Replacement: 6 단계, 이미지 3개 중 2개 Jabra Freeway Battery Replacement: 6 단계, 이미지 3개 중 3개
    • Remove the microphone from microphone slot.

  7. Jabra Freeway Battery Replacement: 7 단계, 이미지 3개 중 1개 Jabra Freeway Battery Replacement: 7 단계, 이미지 3개 중 2개 Jabra Freeway Battery Replacement: 7 단계, 이미지 3개 중 3개
    • Carefully use the plastic opening tool to lift the circuit board up.

  8. Jabra Freeway Battery Replacement: 8 단계, 이미지 2개 중 1개 Jabra Freeway Battery Replacement: 8 단계, 이미지 2개 중 2개
    • FIRE HAZARD. Avoid damaging the battery for this step!

    • Do not use a metal tool for this step.

    • Do not bend or puncture the battery!

    • There is adhesive covering the entire lower side of the battery.

    • Insert a guitar pick or thin plastic tool of some kind to detach the old battery from the case.

  9. Jabra Freeway Battery Replacement: 9 단계, 이미지 1개 중 1개
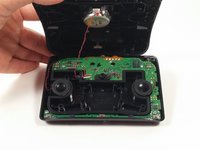
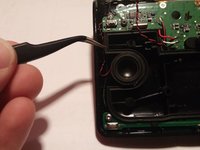
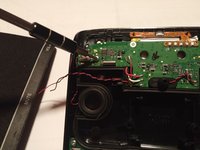
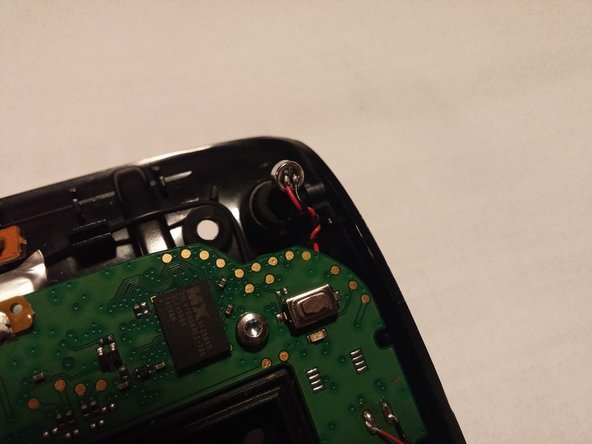
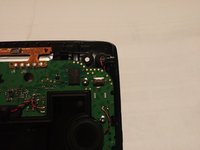
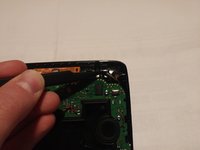
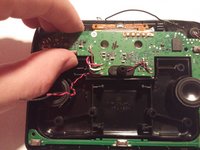
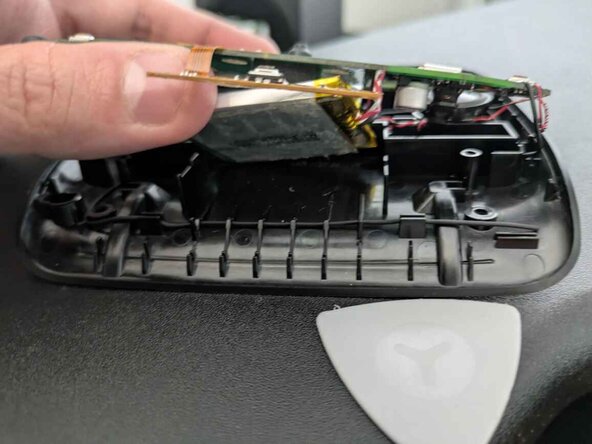
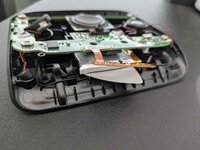
    • Desolder the three wires connecting the battery.

    • Please refer to the soldering technique guide for instructions on desoldering and soldering.

결론

To reassemble your device, follow these instructions in reverse order.

다른 6명이 해당 안내서를 완성하였습니다.

작성자

4다른 기여자 명과 함께

Alec Wilson

회원 가입일: 10/19/16

741 평판

안내서 5개를 작성함

UMass Dartmouth, Team 4-8, Catania Fall 2016 UMass Dartmouth, Team 4-8, Catania Fall 2016 회원

UMASSD-CATANIA-F16S4G8

2 회원들

안내서 6개를 작성함

12가이드 댓글

Hey Alec,

Why does your guide to replacing the battery in the Jabra Freeway say "no parts required"?

This would be much more useful if you provide a part number and source(s) for the replacement battery. And then maybe show removing the old battery and installing the new one.

Glenn C - 답글

Hi,

Does anyone knows a source for the compatible battery. Since Jabra Freeway battery has 3 wires, cannot find it online. I could find compatible batteries from China websites but they were with 2 wires.

Devesh Singh Senwal - 답글

I am sourcing replacement batteries for the jabra freeway should be in the end of april

scuba - 답글

any luck finding a replacement battery yet for this device???

chcastle - 답글

I’m looking for the batteries, 3 of them, right now 2018 06.

DavidNS - 답글

댓글 쓰기

조회 통계:

지난 24시간: 2

지난 7일: 9

지난 30일: 66

전체 시간: 7,619