주요 콘텐츠로 건너뛰기

Kodak EasyShare M530 Control Buttons Replacement

필요한 것

  1. Kodak EasyShare M530 Control Buttons Replacement, Control Buttons: 1 단계, 이미지 1/2 Kodak EasyShare M530 Control Buttons Replacement, Control Buttons: 1 단계, 이미지 2/2
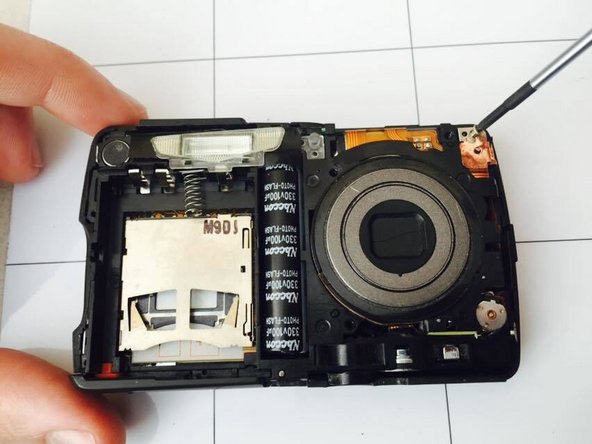
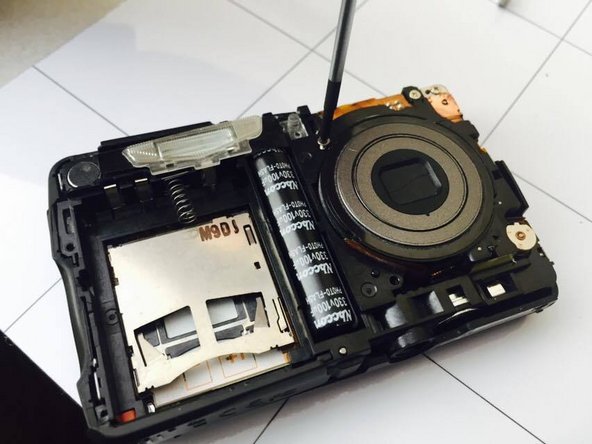
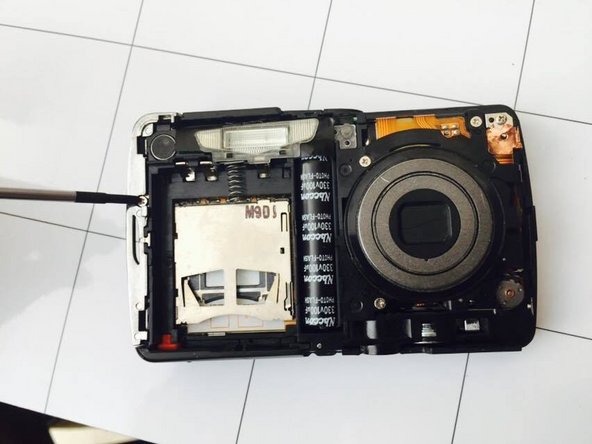
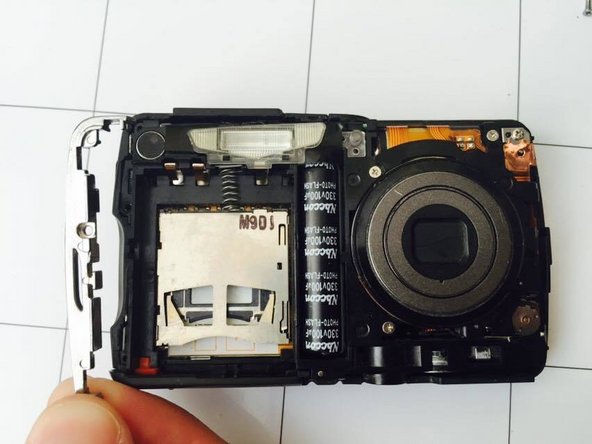
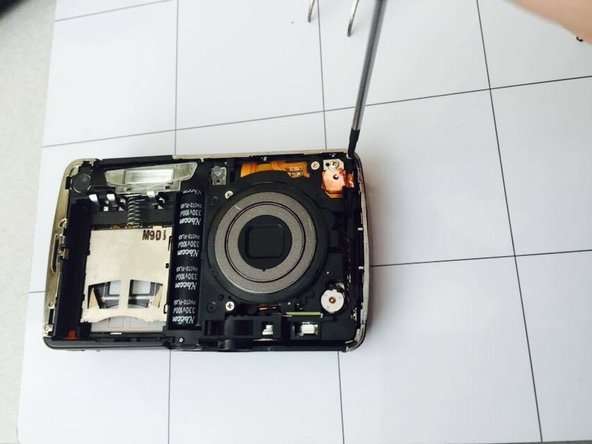
    • Front and Back view of camera. Use a Philips Head screw driver to unscrew the sides of the camera. There are six screws total.

  2. Kodak EasyShare M530 Control Buttons Replacement: 2 단계, 이미지 1/2 Kodak EasyShare M530 Control Buttons Replacement: 2 단계, 이미지 2/2
    • Use a Philips Head screw driver to unscrew the sides of the camera. There are two screws on each side except for the top of the camera. Carefully remove face plate of camera. Place alongside near screws.

  3. Kodak EasyShare M530 Control Buttons Replacement: 3 단계, 이미지 1/3 Kodak EasyShare M530 Control Buttons Replacement: 3 단계, 이미지 2/3 Kodak EasyShare M530 Control Buttons Replacement: 3 단계, 이미지 3/3
    • To get to control buttons, use a Phillips Head screw driver to unscrew the three screws near lens.

  4. Kodak EasyShare M530 Control Buttons Replacement: 4 단계, 이미지 1/3 Kodak EasyShare M530 Control Buttons Replacement: 4 단계, 이미지 2/3 Kodak EasyShare M530 Control Buttons Replacement: 4 단계, 이미지 3/3
    • Unscrew the screw near the rechargeable battery compartment. The metal piece then can be removed.

  5. Kodak EasyShare M530 Control Buttons Replacement: 5 단계, 이미지 1/2 Kodak EasyShare M530 Control Buttons Replacement: 5 단계, 이미지 2/2
    • Remove additional screws near lens.

  6. Kodak EasyShare M530 Control Buttons Replacement: 6 단계, 이미지 1/2 Kodak EasyShare M530 Control Buttons Replacement: 6 단계, 이미지 2/2
    • This is what the camera should look like with all screws are removed. Flip camera over to carefully remove the screen cover.

  7. Kodak EasyShare M530 Control Buttons Replacement: 7 단계, 이미지 1/2 Kodak EasyShare M530 Control Buttons Replacement: 7 단계, 이미지 2/2
    • Remove buttons from back case of screen cover. Replace with new set of buttons.

  8. Kodak EasyShare M530 Control Buttons Replacement: 8 단계, 이미지 1/1
    • Follow the steps in reverse order to reassemble the camera. Now you can take beautiful pictures again!

결론

Once you purchase these parts, follow the given instructions. To reassemble your device, follow these instructions in reverse order.

다른 3명이 해당 안내서를 완성하였습니다.

Elizabeth

회원 가입일: 01/28/15

279 평판

안내서 2개 작성하였습니다

Penn State, Team 1-2, Kaschak Winter 2015 Penn State, Team 1-2, Kaschak Winter 2015 회원

PSU-KASCHAK-W15S1G2

1 회원

안내서 4개 작성하였습니다

댓글 한 개

como cambio la tapa de la bateria y pin de carga

Dario - 답글

댓글 쓰기

조회 통계:

24 시간 전: 0

7일 전: 5

30일 전: 16

전체 시간: 611