이 버전에는 잘못된 편집 사항이 있을 수 있습니다. 최신 확인된 스냅샷으로 전환하십시오.
필요한 것
-
이 단계는 번역되지 않았습니다. 번역을 도와주십시오
-
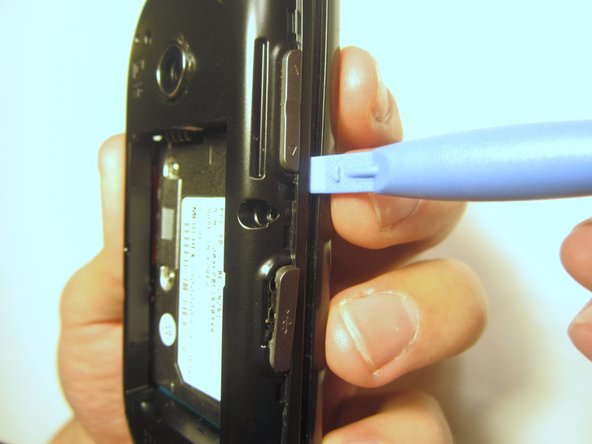
Insert the plastic opener into the slot at the top of the device.
-
Apply gentle pressure with the plastic tool to pop the back case off.
-
-
이 단계는 번역되지 않았습니다. 번역을 도와주십시오
-
Use a screwdriver and corresponding bit to remove the six 2mm screws that are located along the edge of the rear case. Set the screws aside.
-
-
이 단계는 번역되지 않았습니다. 번역을 도와주십시오
-
Use a screwdriver and corresponding bit to remove the two 3mm screws that attach the motherboard to the front case. Set the screws aside
-
-
이 단계는 번역되지 않았습니다. 번역을 도와주십시오
-
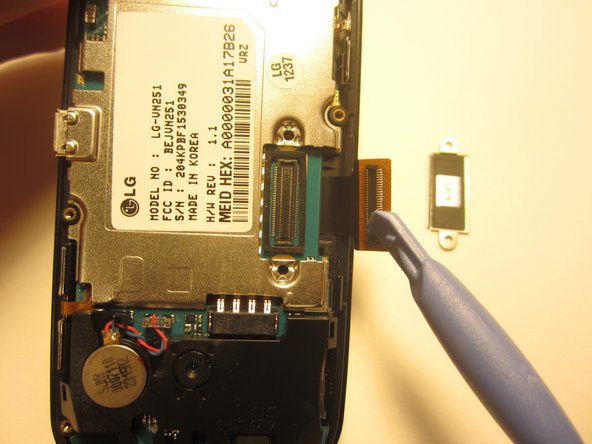
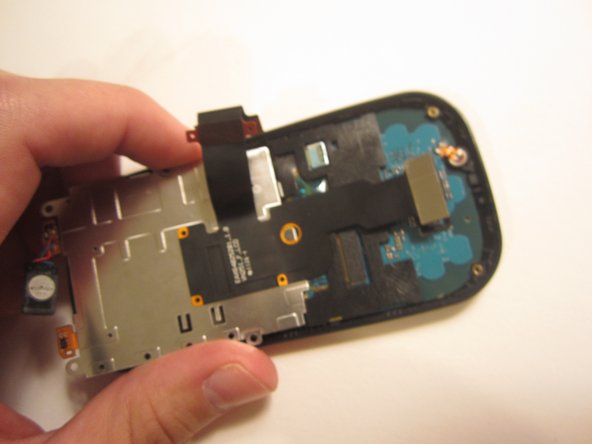
Rotate the phone 180 degrees and use the plastic opener to lift the metal piece that covers the ribbon cable.
-
-
이 단계는 번역되지 않았습니다. 번역을 도와주십시오
-
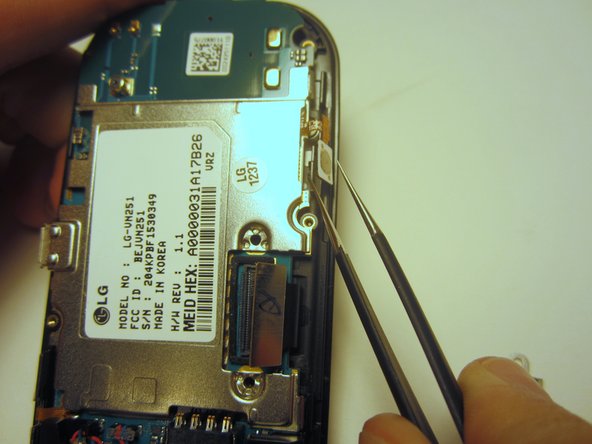
Use tweezers to disconnect the two cables that attach the motherboard to the case.
-
-
-
이 단계는 번역되지 않았습니다. 번역을 도와주십시오
-
Use a screwdriver and corresponding bit to remove the four 1mm screws. Set the screws aside.
-
-
이 단계는 번역되지 않았습니다. 번역을 도와주십시오
-
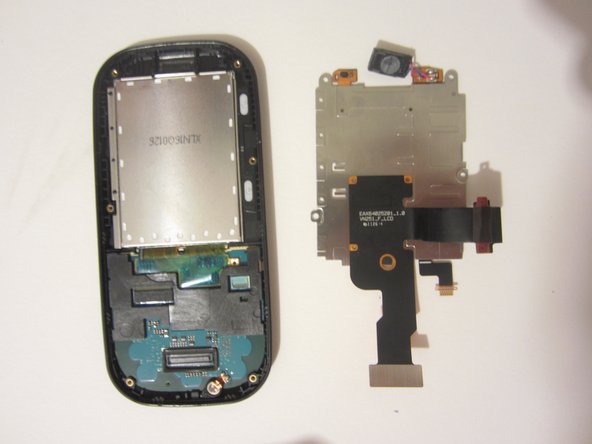
Pull the ribbon cable through the slit in the keyboard case to separate it from the sliding mechanism.
-
-
이 단계는 번역되지 않았습니다. 번역을 도와주십시오
-
Use a screwdriver and corresponding bit to remove the four 3mm screws. Set the screws aside.
-
-
이 단계는 번역되지 않았습니다. 번역을 도와주십시오
-
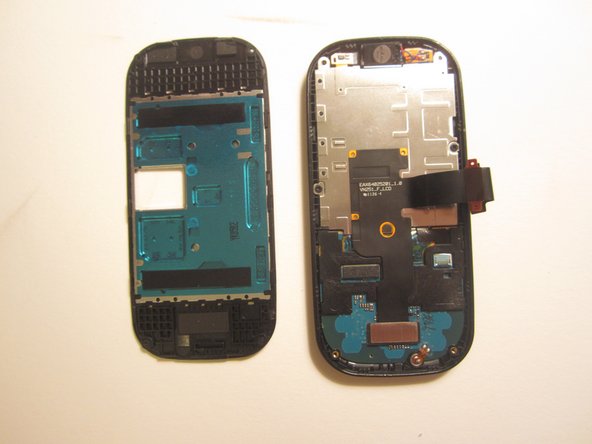
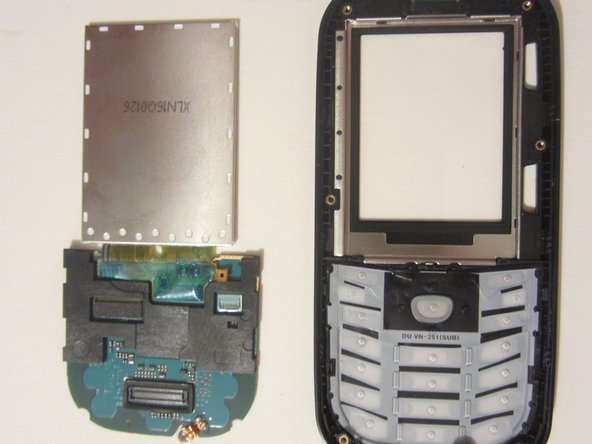
Use the plastic opener to pry open the front of the phone.
-
Slip the ribbon cable through the slit to fully separate the two pieces.
-
-
이 단계는 번역되지 않았습니다. 번역을 도와주십시오
-
Use a screwdriver and corresponding bit to remove the two 1mm screws. Set the screws aside.
-
-
이 단계는 번역되지 않았습니다. 번역을 도와주십시오
-
Use the spudger to pry the metal piece loose.
-
Remove the metal piece along with the two ribbon cables.
-
-
이 단계는 번역되지 않았습니다. 번역을 도와주십시오
-
Flip the front of the phone over and the old option buttons will fall out.
-
Insert new option buttons.
-
-
이 단계는 번역되지 않았습니다. 번역을 도와주십시오
-
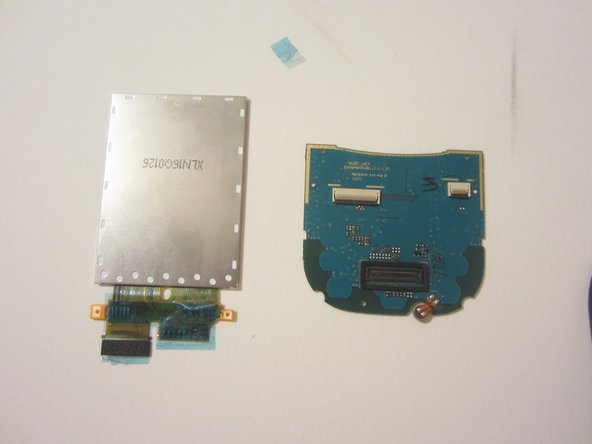
Use a tool to pry open the LCD display. Remove the display and the circuit board that it's connected to.
-
-
이 단계는 번역되지 않았습니다. 번역을 도와주십시오
-
Remove the plastic piece from the circuit board by unlocking the switch on the plastic piece with a pair of tweezers.
-


다른 한 분이 해당 안내서를 완성하였습니다.
팀

Clemson, Team 13-1, Benson Fall 2013 Clemson, Team 13-1, Benson Fall 2013 회원
CLEM-BENSON-F13S13G1
3 회원들
안내서 16개 작성하였습니다