소개
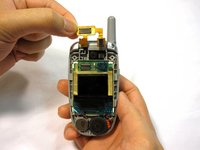
If the LCD screen on your LG VX5200 is damaged or is non-functional, use this guide to replace the LCD screen.
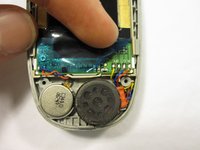
The LCD screen is the visual display of the device. If the screen has physical damage, is not displaying anything, or is illegible, the screen may need to be replaced.
Before committing to replacing the LCD screen, reset your phone and see if the LCD screen is displaying properly.
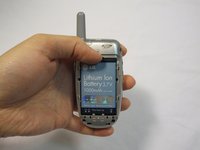
Before disassembly, make sure you completely turn off the phone.
필요한 것
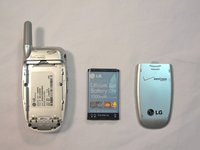
-
-
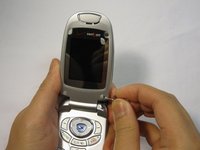
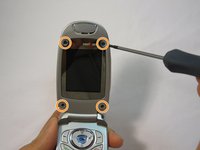
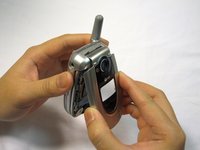
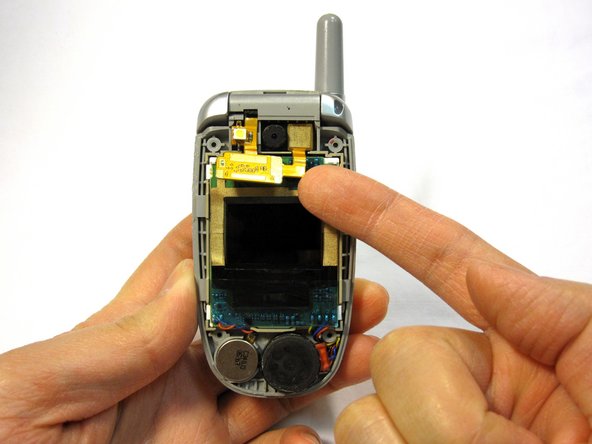
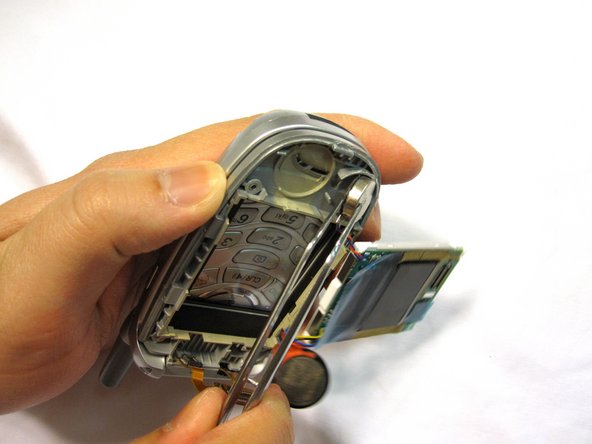
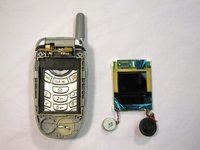
Flip the phone open.
-
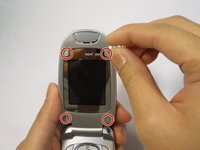
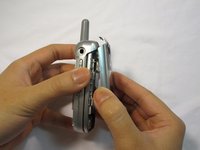
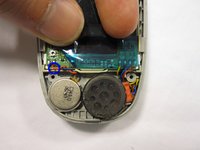
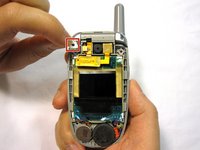
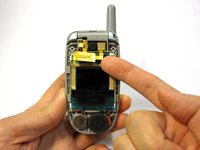
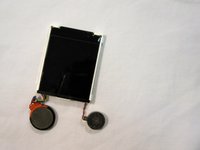
Remove the four rubber plugs, located at the corners of the LCD screen, with a push-pin.
-
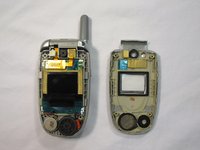
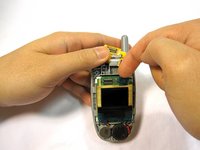
Use a Phillips #00 screwdriver to remove the four screws located underneath the rubber plugs.
-
-


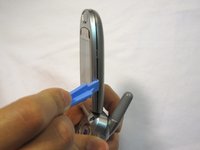


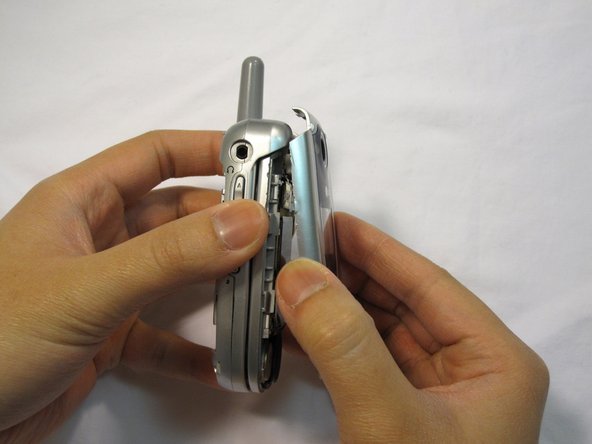
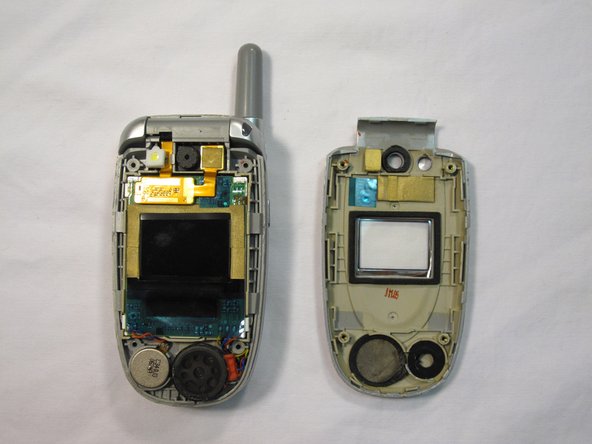


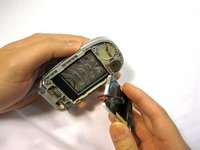


To reassemble your device, follow these instructions in reverse order.
다른 3명이 해당 안내서를 완성하였습니다.

팀

Cal Poly, Team 4-13, Forte Winter 2010 Cal Poly, Team 4-13, Forte Winter 2010 회원
CPSU-FORTE-W10S4G13
5 회원들
안내서 15개를 작성함