필요한 것
-
-
Socket wrench, and 5/16 inch and 9/32 inch sockets
-
Pliers
-
Container for gasoline
-
-
-
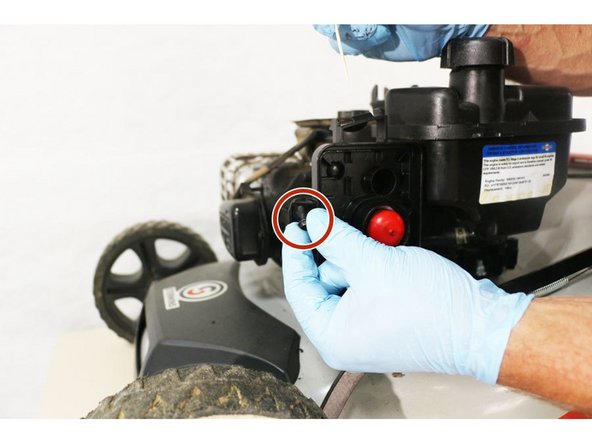
Take off the air filter cover.
-
Remove the filter element to access the carburetor mounting screws.
-
-
-
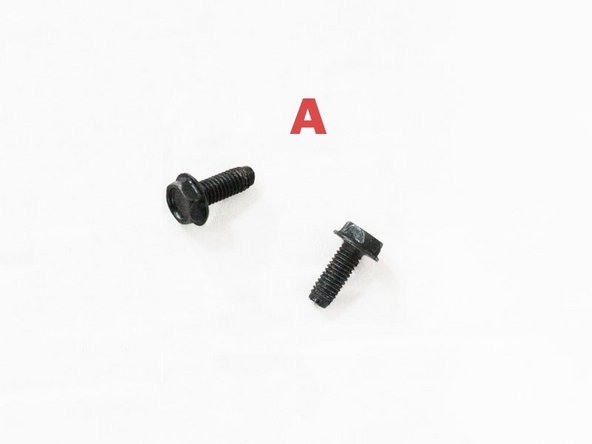
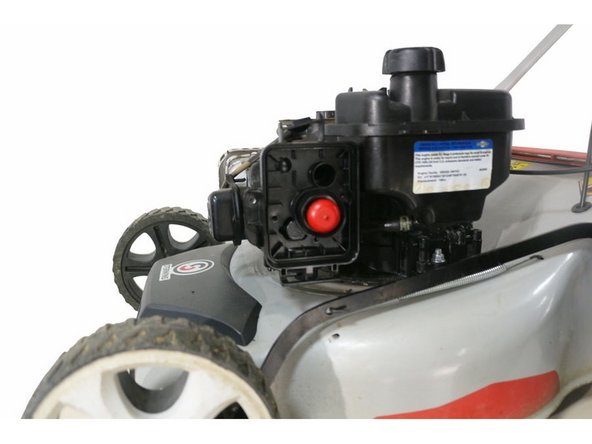
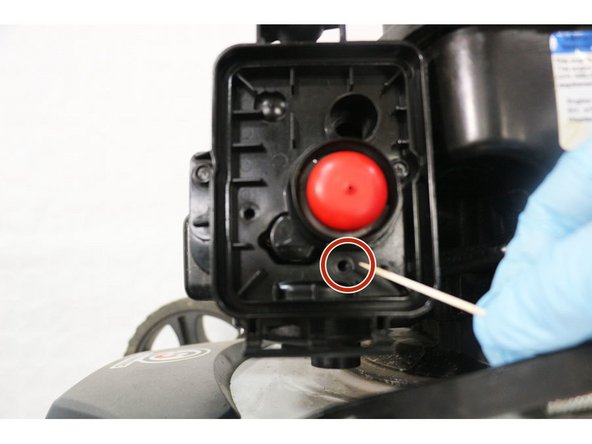
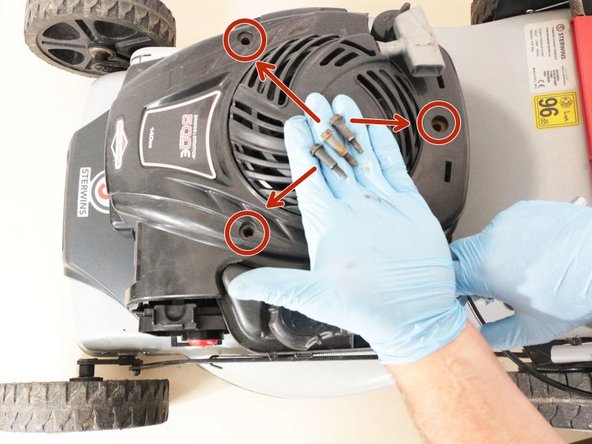
Remove the 2 screws marked "A" on the photo with a 5/16 inch socket.
-
-
-
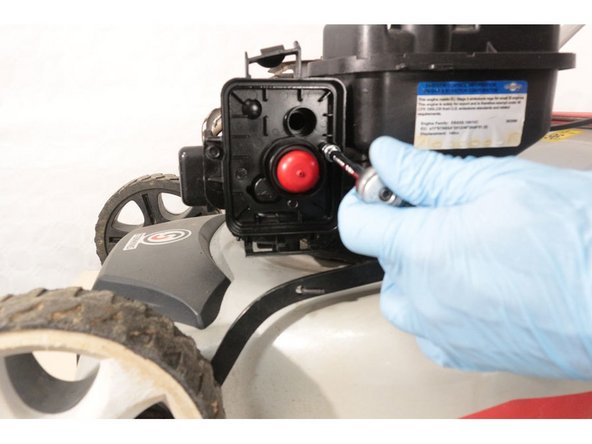
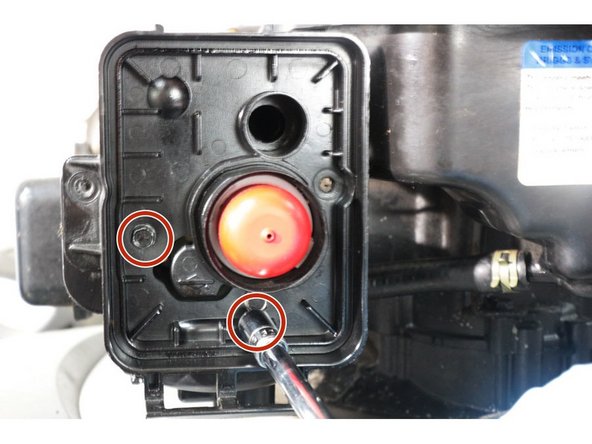
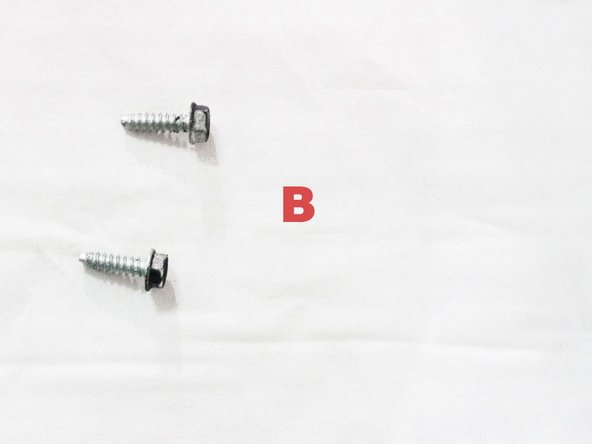
Remove the 2 screws marked "B" on the photo with the 9/32 inch socket wrench.
-
-
-
-
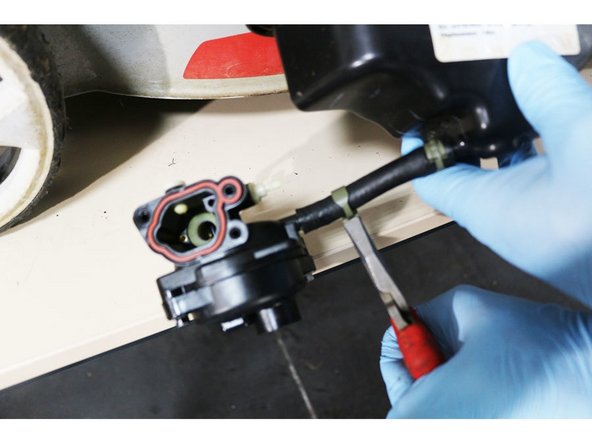
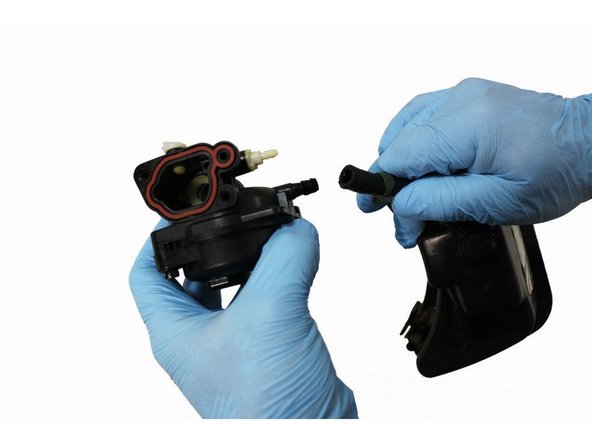
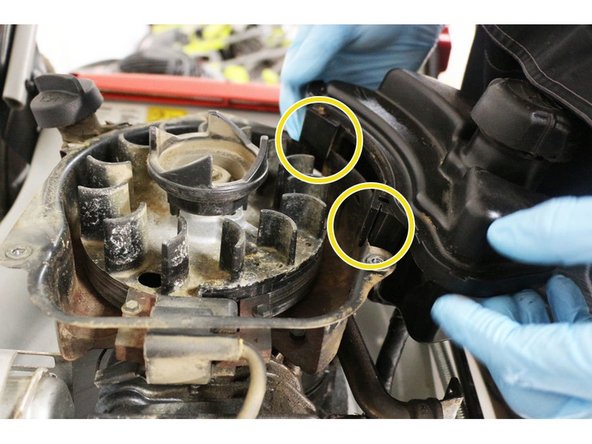
Detach the housing by disconnecting the breather hose.
-
Remove the housing.
-
-
-
Slide the tank up to unhook it.
-
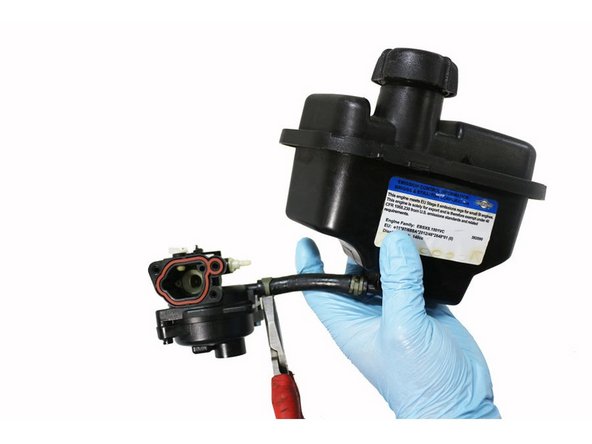
Pull the carburetor towards you.
-
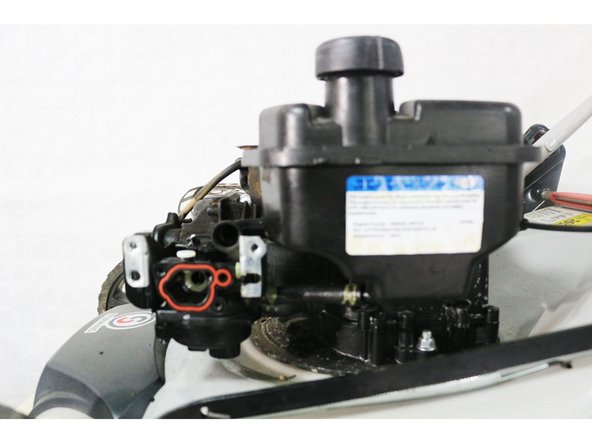
Tilt it downwards to separate the rod from the regulator marked "C" in the photo.
-
-
-
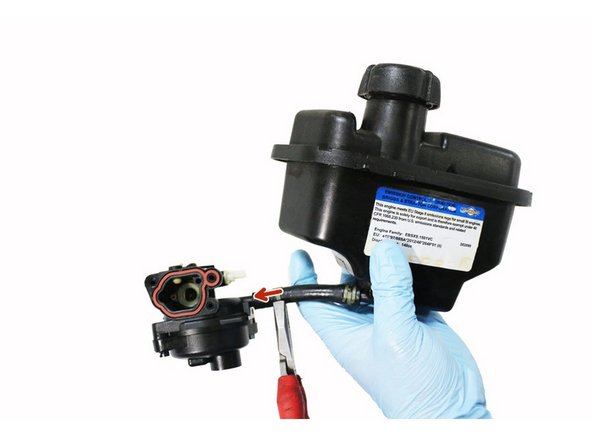
Reconnect the hose from the tank to the carburetor.
-
Reposition the spring clamp with the pliers.
-
-
-
Holding the carburetor on its side, insert the throttle rod onto the throttle plate control.
-
Rotate the assembly up 90° and position the carburetor on the intake pipe.
-
Slide the fuel tank into its mounting notches.
-
-
-
Refit the breather hose.
-
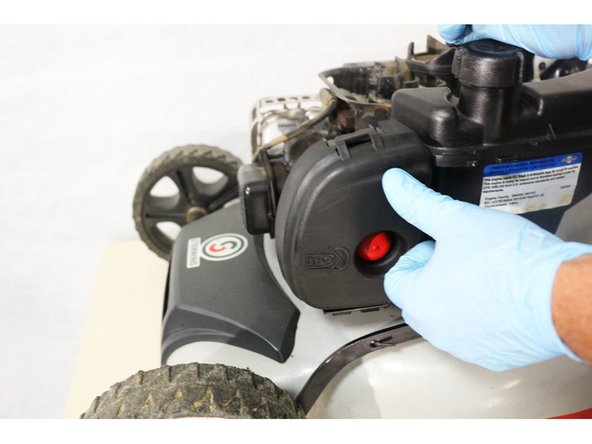
Reposition the air filter housing, taking care to align the screw holes with the support bracket.
-
-
-
Tighten the 2 screws marked "A" on the photo with a 5/16 inch socket.
-
-
-
Tighten the 2 screws marked "B" on the photo with a 9/32 inch socket.
-
-
-
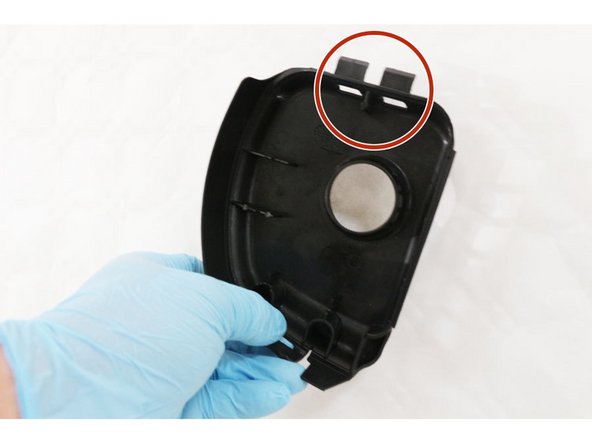
Refit the filter element and the cover, taking care to align the notches in the cover.
-
-
-
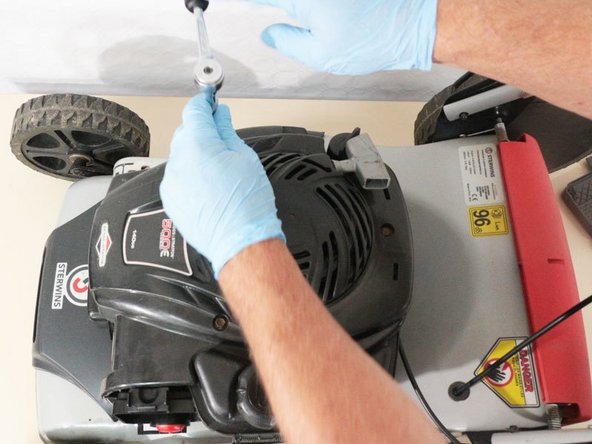
Reposition the pull starter and secure it with the three screws using the 5/16 inch socket.
-


다른 한 분이 해당 안내서를 완성하였습니다.
다음 번역가들에게 특별히 감사 드립니다:
100%


이 번역자 분들은 저희가 세상을 수리하는데 동참해 주시는 분입니다! 기여하시겠습니까?
번역 시작하기 ›
