소개
The Nintendo Switch comes with two Joy-Con controllers. This guide shows how to replace the joystick of the left Joy-Con. The procedure for repairing the right Joy-Con is different, so be sure to follow the correct set of instructions for your controller.
필요한 것
동영상 개요
-
이 단계에 사용된 도구:Magnetic Project Mat$19.95
-
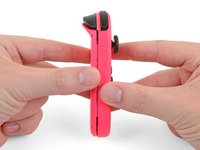
Remove the four Tri-Point Y00 screws from the back panel of the Joy-Con.
-
-
-
이 단계에 사용된 도구:Tweezers$4.99
-
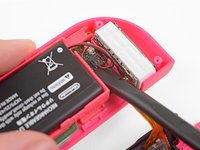
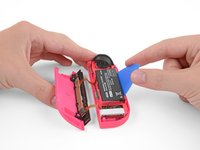
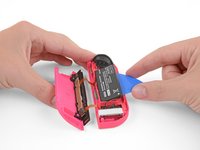
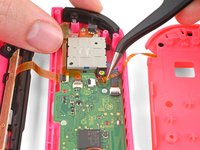
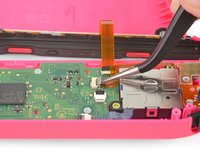
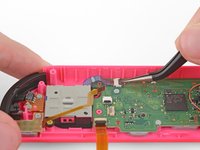
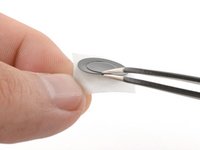
The ZL button cable is locked in place by a small ZIF connector on the motherboard. Use tweezers or a spudger to flip up the ZIF connector lock opposite the cable.
-
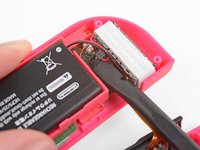
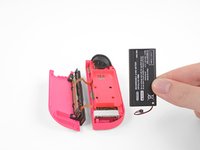
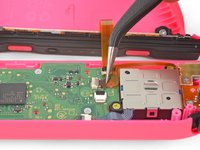
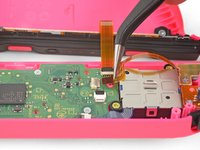
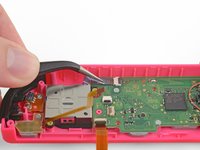
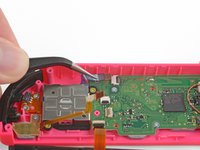
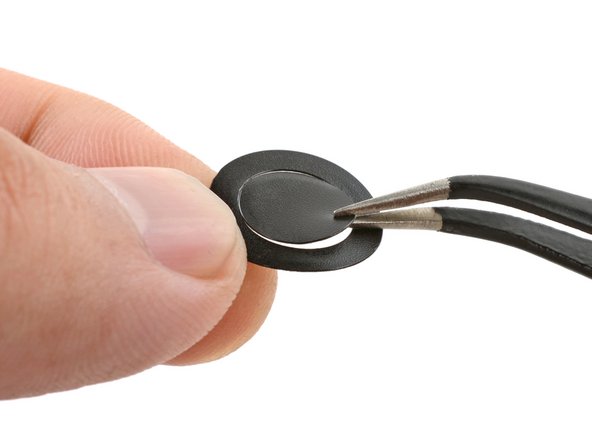
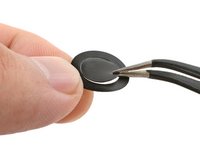
Use tweezers to gently pull the ZL button flex cable out of the ZIF connector socket. The midframe is now disconnected and can be removed.
-
-
-
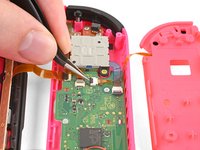
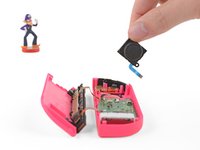
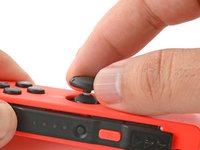
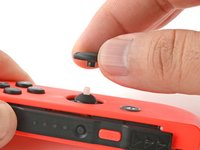
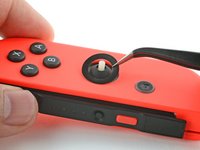
Use your fingers to pull the thumbstick off of the Gulikit joystick module.
-


To reassemble your device, follow the above steps in reverse order.
Take your e-waste to an R2 or e-Stewards certified recycler.
Repair didn’t go as planned? Check out our Answers community for troubleshooting help.
To reassemble your device, follow the above steps in reverse order.
Take your e-waste to an R2 or e-Stewards certified recycler.
Repair didn’t go as planned? Check out our Answers community for troubleshooting help.
다른 991명이 해당 안내서를 완성하였습니다.

댓글 159개
Thx This really helped
Stev Steve - 답글
Thanks Kyler - I just replaced 4 joysticks and they’re all working perfectly.
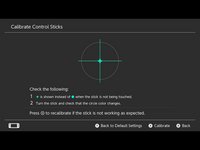
One final step to remember to go in and calibrate the controller.
You're welcome I'm glad I could assist you in your repairs!
Thanks. This was just the right amount of info and now my left stick drift is gone….for now.
I would recommend at least once a month take a can of compressed air and spray the joystick internals to clear it of any dust or debris.