소개
You may need a new battery if your laptop does not last long without a power adapter. This guide will tell you how to replace the battery.
If your battery appears to be swollen, take appropriate precautions.
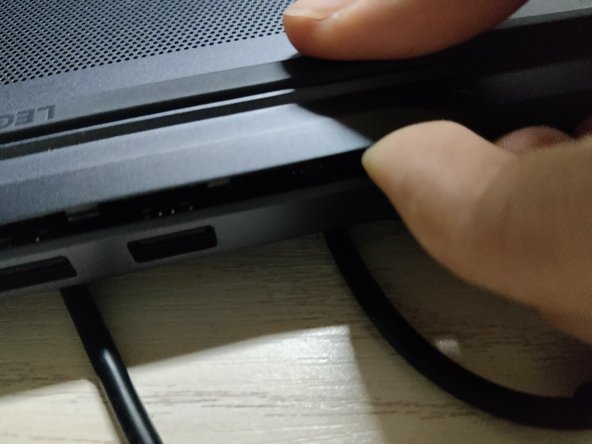
Before you start, power off the device and disconnect the power adapter.
필요한 것
-
-
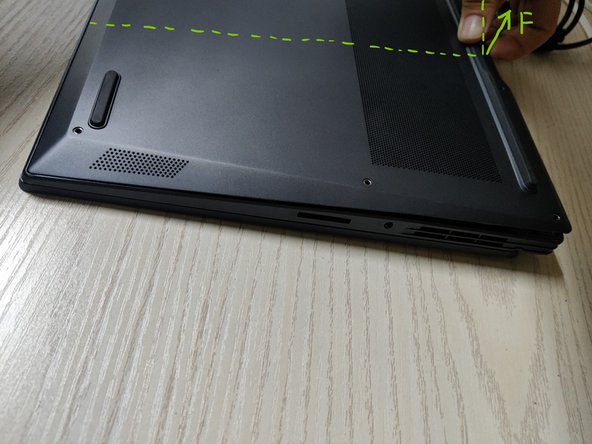
Flip the laptop.
-
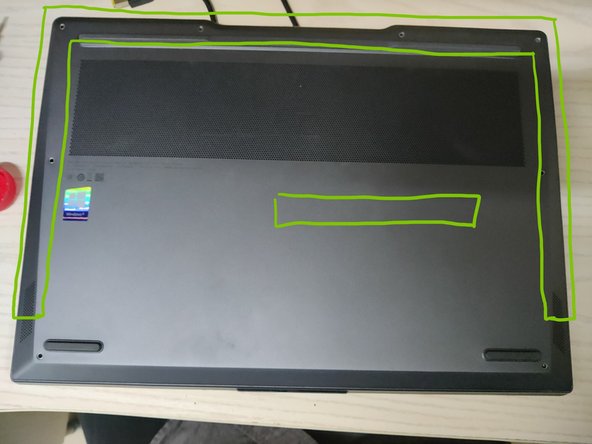
Remove the 8 screws on the back cover and keep them safe.
-
-
-
Insert an opening pick into back-right corner of the back cover.
-
Slide the opening pick slowly along the rear side to release the plastic clips.
-
-
-
Use your finger to lift the rear side of the back cover up.
-
Add force backwards and upwards until the back cover is open.
-
-
-
-
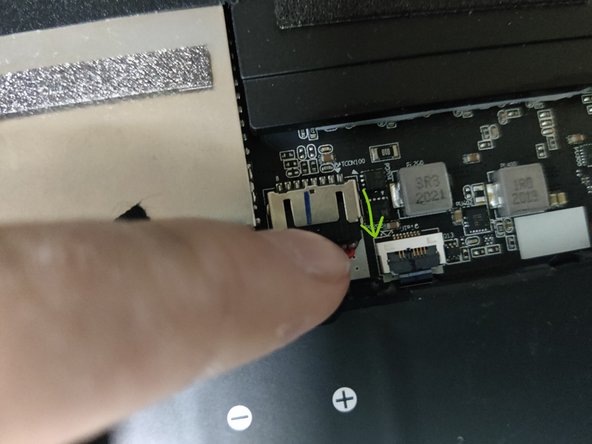
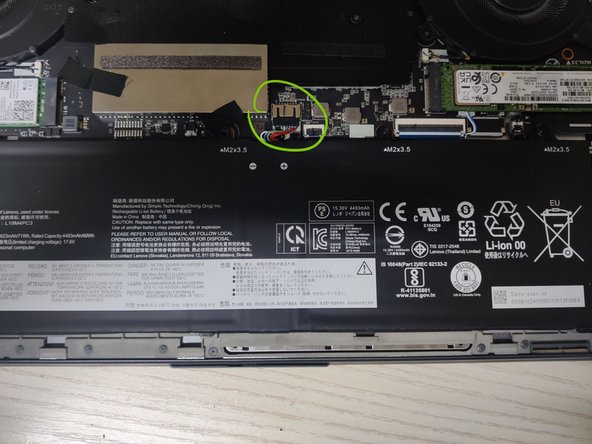
Pry the battery cable out by a little bit to disconnect the battery from the board.
-
-
-
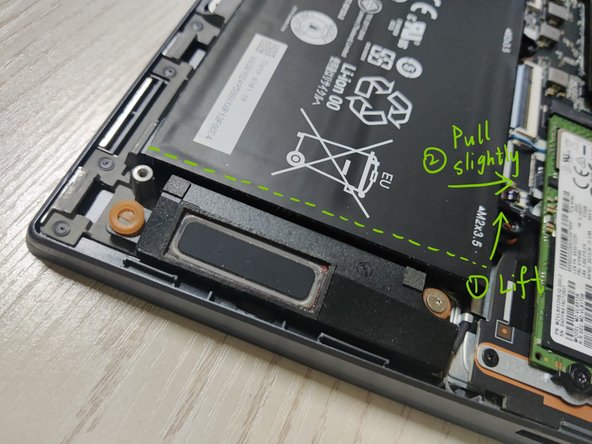
Remove the 4 screws on the battery.
-
Lift the inner side of the battery up, and pull it inwards slightly.
-
Take the battery cable out completely and remove the battery.
-
-
-
Align the new battery and its cable into place.
-
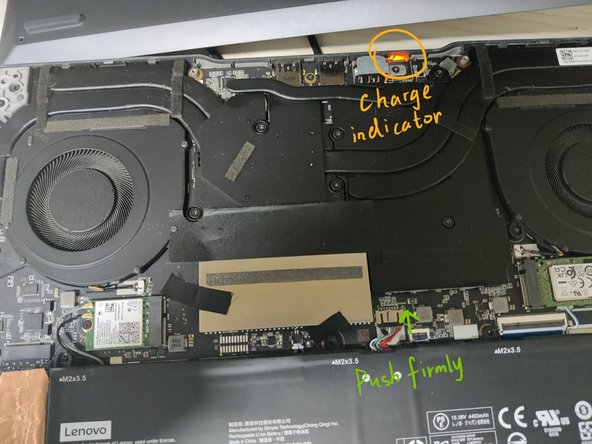
Push the battery cable into the socket firmly. You will notice the charge indicator LED flash red when it is connected.
-
Add the 4 screws back.
-
-
-
Carefully align the front side of the back cover into place.
-
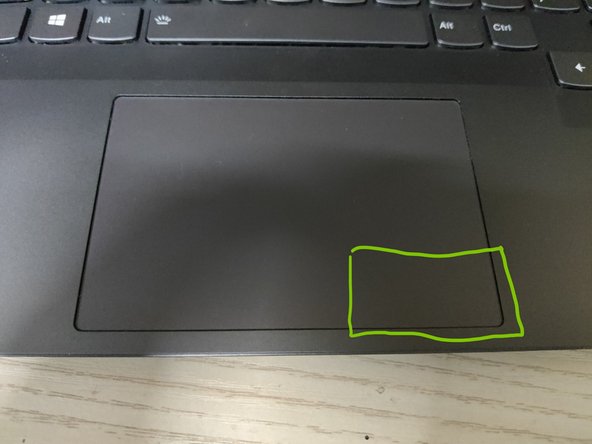
Press the back cover down. Then push the marked areas to get the plastic clips back into place.
-


Done! Now power up your device and enjoy your newly installed battery.
For optimal performance, calibrate your battery. To do that, charge the battery to 100% and leave it charging for at least 2 hours. Then discharge it until the device shuts down (avoid making it hot). Finally, charge it to 100% without interruption.
