소개
If you need to access your laptops trackpad, or need to replace your laptops battery please refer to this guide. This guide does not require any difficult or complicated steps. Do exercise caution before beginning this guide by ensuring that the laptop is unplugged and turned off. To complete the removal and/or the replacement of your battery, you will need a plastic opening tool, a Phillips #0 screwdriver, and a pair of tweezers.
필요한 것
-
-
Flip your laptop over and place on a flat surface so you can access the screws on the base cover.
-
Using a Phillips #0 screwdriver, unscrew the five screws on the base cover.
-
-
-
-
Using tweezers, unplug the battery from the laptops motherboard by pulling on the cable that attaches it.
-


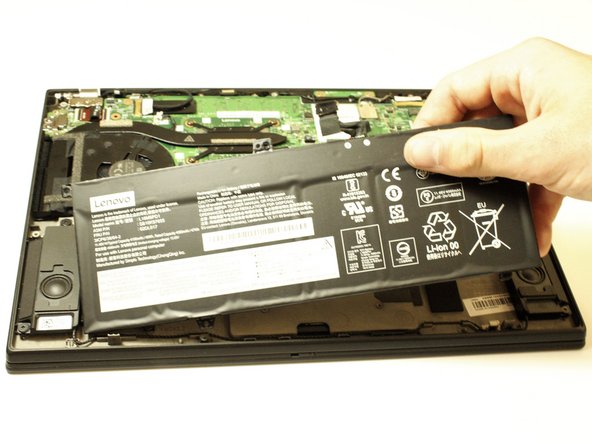
To reassemble your device, follow these instructions in reverse order.
For optimal performance, after completing this guide, calibrate your newly installed battery.
Take your e-waste to an R2 or e-Stewards certified recycler.
To reassemble your device, follow these instructions in reverse order.
For optimal performance, after completing this guide, calibrate your newly installed battery.
Take your e-waste to an R2 or e-Stewards certified recycler.
다른 2명이 해당 안내서를 완성하였습니다.
팀

Clemson, Team 5-1, Hunter Fall 2021 Clemson, Team 5-1, Hunter Fall 2021 회원
CLEM-HUNTER-F21S5G1
5 회원들
안내서 5개 작성하였습니다