이 버전에는 잘못된 편집 사항이 있을 수 있습니다. 최신 확인된 스냅샷으로 전환하십시오.
필요한 것
-
이 단계는 번역되지 않았습니다. 번역을 도와주십시오
-
Use a P5 driver to remove the following screws:
-
Two 7.6 mm screws (with a 2.7mm collar)
-
Two 7.1 mm screws
-
Six 2.3 mm screws
-
-
이 단계는 번역되지 않았습니다. 번역을 도와주십시오
-
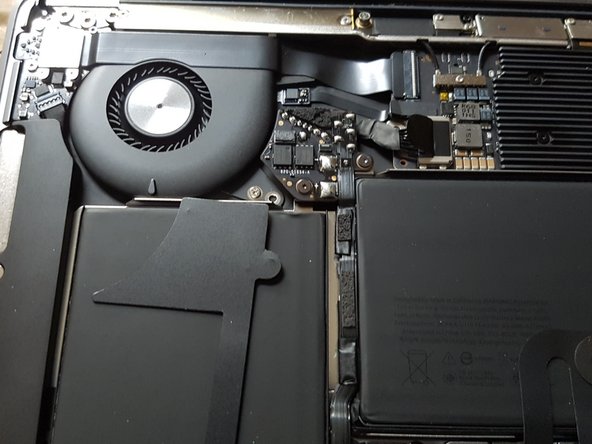
Wedge your fingers between the display and the lower case and pull upward to pop the lower case off the Air.
-
Remove the lower case.
-
-
이 단계는 번역되지 않았습니다. 번역을 도와주십시오
-
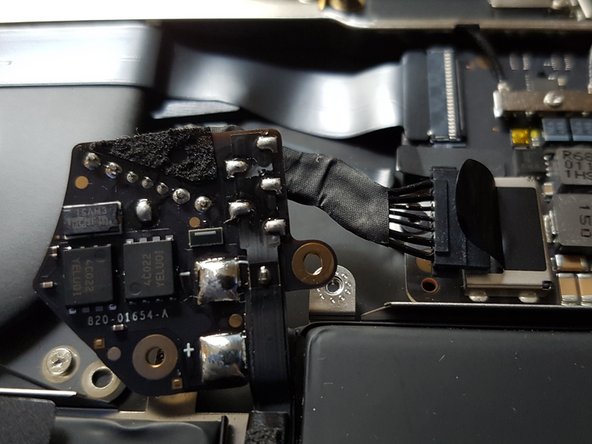
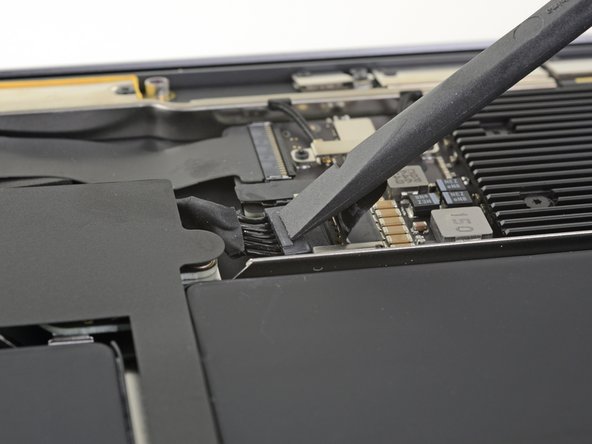
Use a spudger to slide the battery connector parallel to the logic board and out of its socket on the logic board.
-
-
이 단계는 번역되지 않았습니다. 번역을 도와주십시오
-
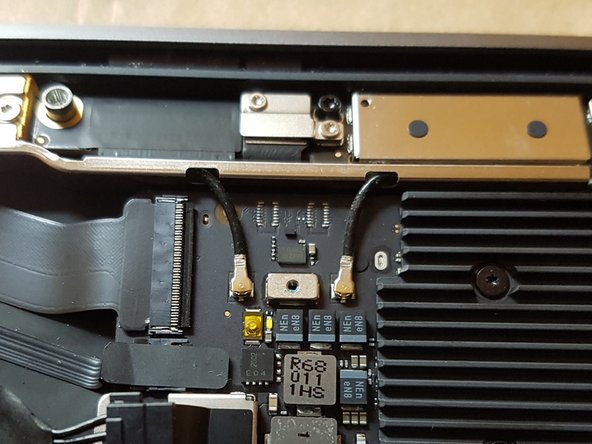
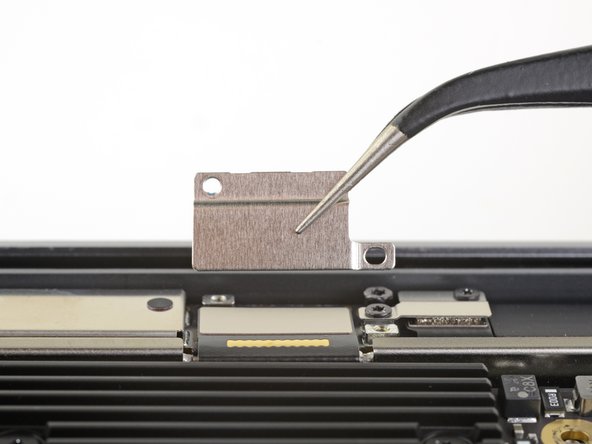
Use a T3 Torx driver to remove the one 1.1 mm screw securing the antenna cable bracket.
-
Remove the antenna cable bracket.
-
-
-
이 단계는 번역되지 않았습니다. 번역을 도와주십시오
-
Insert the point of a spudger under one of the antenna cables close to the connector.
-
Pry straight up to disconnect the cable.
-
Repeat for the other antenna cable.
-
-
이 단계는 번역되지 않았습니다. 번역을 도와주십시오
-
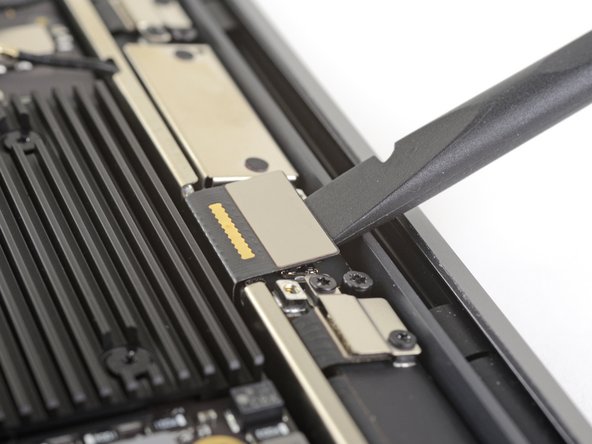
Use a T3 Torx driver to remove the two 1.3 mm screws securing the display cable connector bracket.
-
Remove the display cable connector bracket.
-
-
이 단계는 번역되지 않았습니다. 번역을 도와주십시오
-
Use a T3 Torx driver to remove the two 1.1 mm screws securing the flex cable brackets.
-
Remove the two brackets.
-
-
이 단계는 번역되지 않았습니다. 번역을 도와주십시오
-
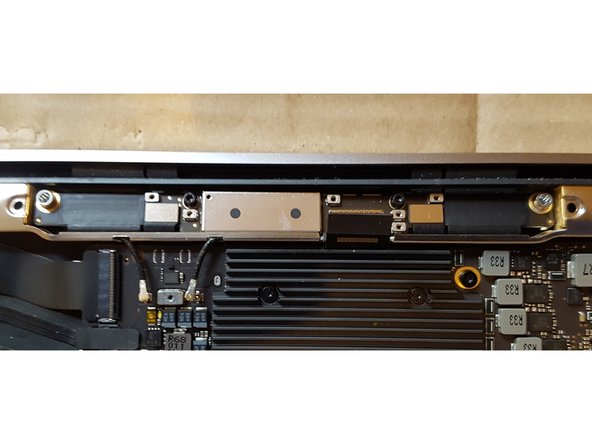
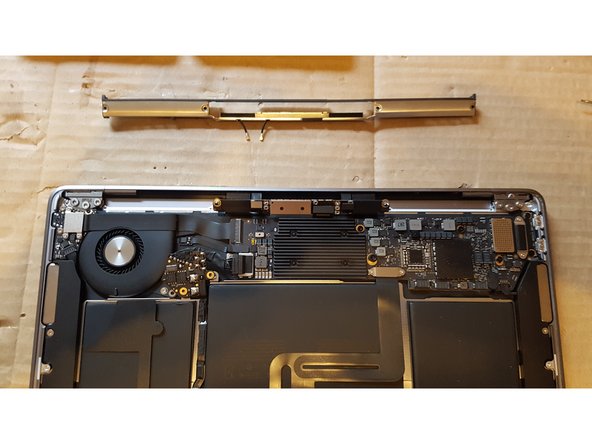
Use a T5 Torx driver to remove the following screws:
-
Four 7.1 mm screws
-
Two 4.2 mm (Black) screws
-
-
이 단계는 번역되지 않았습니다. 번역을 도와주십시오
-
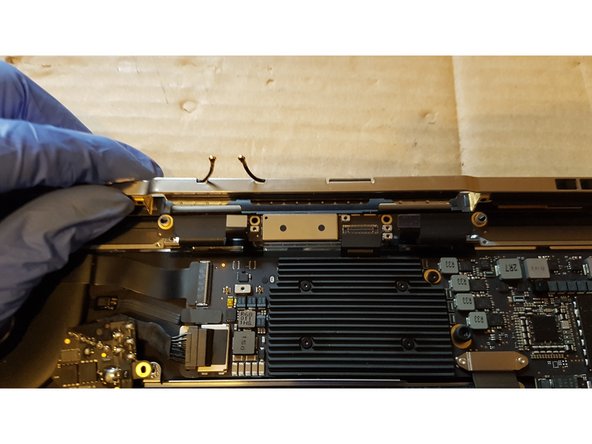
Lift the antenna bar straight up and out of the case. Take care not to snag the antenna bar on any cables or connectors.
-
Remove the antenna bar.
-
-
이 단계는 번역되지 않았습니다. 번역을 도와주십시오
-
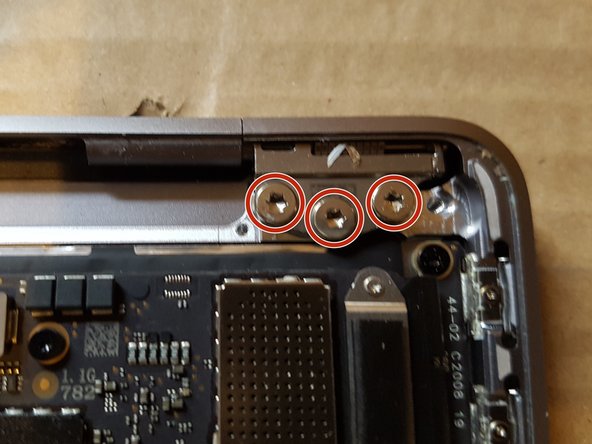
Use a T9 Torx driver to remove the six 4.7 mm screws securing the display hinges to the upper case.
-
-
이 단계는 번역되지 않았습니다. 번역을 도와주십시오
-
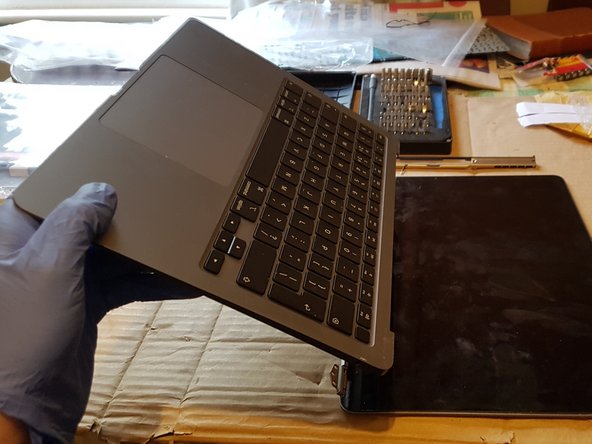
With the MacBook still screen-side down, carefully lift the upper case to open the MacBook as far as possible.
-
-
이 단계는 번역되지 않았습니다. 번역을 도와주십시오
-
Carefully rotate the upper case to a 90 degree angle with the display.
-
Keeping the display flat, tilt the upper approx 5-10 degrees to the left. Move the upper case to the right, the hinges should easily slide out of the upper case.
-


다른 2명이 해당 안내서를 완성하였습니다.

팀

댓글 2개
Great guide! Did you encounter any tamper-proof seals? Anything that would make it obvious that the MacBook was disassembled?
No tamper proof seals encountered. Didn’t find anything that would “make it obvious that the MacBook was disassembled”.