소개
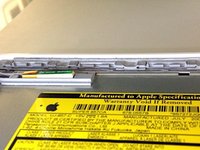
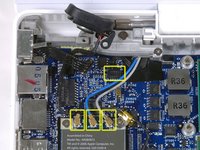
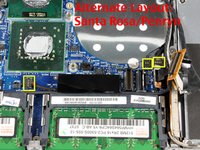
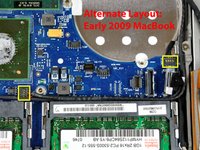
This motherboard includes all ports on the left side.
필요한 것
-
-
Unscrew the three evenly-spaced Phillips 000 screws from along the rear wall of the battery compartment.
-
-
-
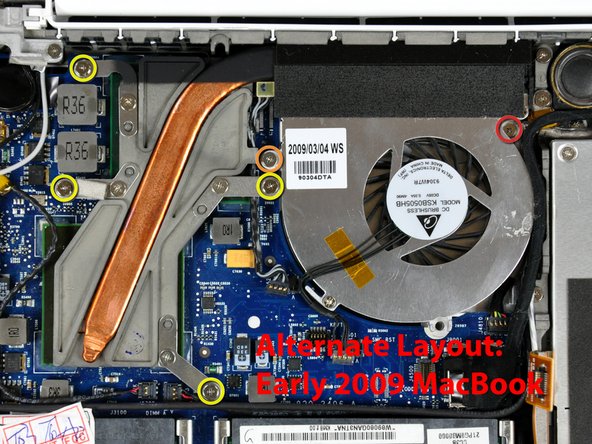
Remove the following 3 screws:
-
One 11 mm Phillips#00 in the middle of the lower case. (Head: 5mm dia. x .75mm thick)
-
Two 14.5 mm Phillips #00 (Head: 5mm dia. x .75mm thick)
-
-
-
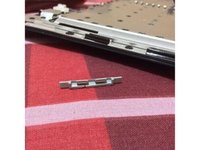
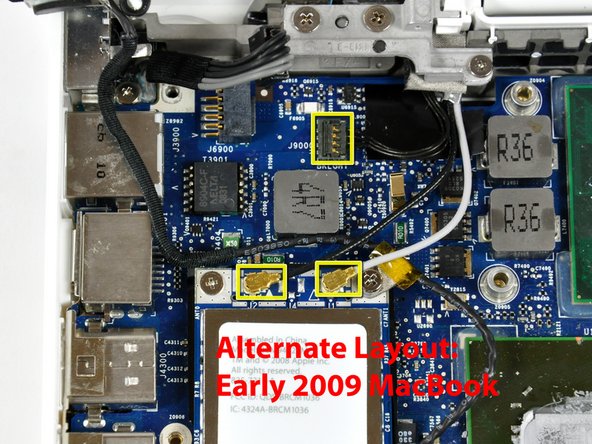
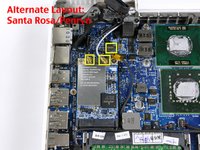
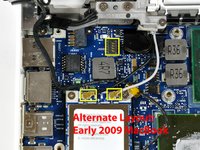
Disconnect the MagSafe board cable from the logic board by pulling the snap-in connector out (to the right).
-
-
-
-
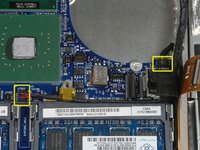
Turn the logic board over.
-
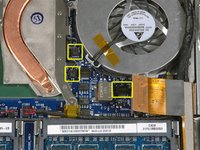
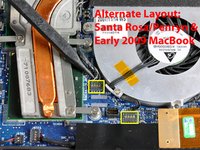
Peel the PRAM battery up from its location on the logic board, removing tape as necessary.
-


To reassemble your device, follow these instructions in reverse order.
다른 176명이 해당 안내서를 완성하였습니다.

12가이드 댓글
Thanks so much for this guide! My mac wouldn't turn on after spilling some wine on it a few days before. After I followed these steps and let the parts lay out to dry overnight (after cleaning everything with rubbing alcohol), I put it back together and it turned on!! Thank you a million times!
The shop wanted over $700 ($600 for parts, $90+ for labor) to fix it, which I definitely wasn't going to pay, so I decided to fix it myself. I spent right at $150 for a new logic board, magsafe board, and RAM upgrades and delved into the depths of the Macbook. I followed every step of the guide closely and she started right up after reassembly. Great guide, thanks!
Great Guide - i used zip-lock bags for screws and wrote the step numbers on each.
I've managed to replace a macbook 1,1 logic board with a macbook 2,1 (2GHz) one, and replaced a 4,1 on another machine (which looks interchangeable with older ones)
It is NOT possible to replace these older boards with a newer macbook 5.2 board because ALL the connectors are different, and the screw-holes are in different places.
Managed to revive my years old dead Macbook! Glad I found this guide and helped me diagnose and fix the problem. (Only wish I would have found this BEFORE I started disassembling my Macbook. Half the beginning screws don't have a home now. Whoops) Overall great guide. The alternate pictures were great since they were more in-line with mine. Easy to follow, and everything turned out great. Thanks!