주요 콘텐츠로 건너뛰기

Mid F900 Microphone Replacement

필요한 것

  1. Mid F900 Microphone Replacement, Back Cover: 1 단계, 이미지 1/1
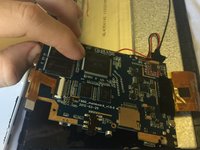
    • Using a J00 Phillips-head screwdriver, remove the two screws located at the bottom of the device.

    • Screws are 5mm x 1mm in size.

  2. Mid F900 Microphone Replacement: 2 단계, 이미지 1/2 Mid F900 Microphone Replacement: 2 단계, 이미지 2/2
    • Use the plastic opening tool to pry off the white back-plate of the device.

  3. Mid F900 Microphone Replacement, Motherboard: 3 단계, 이미지 1/2 Mid F900 Microphone Replacement, Motherboard: 3 단계, 이미지 2/2
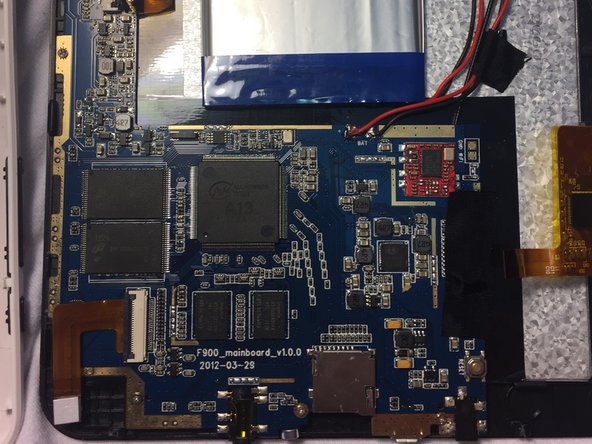
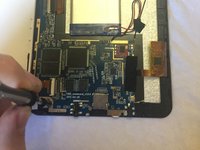
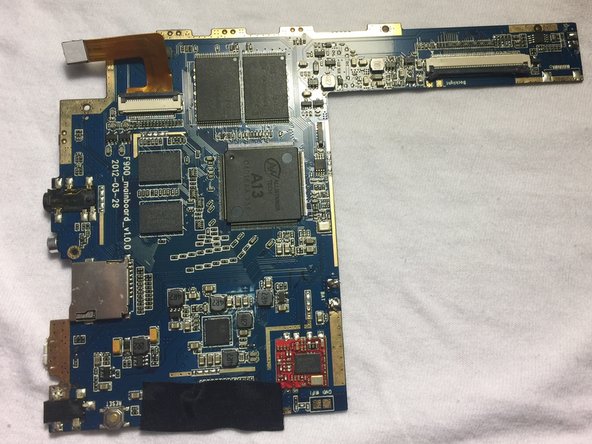
    • Using a +00 Phillips head screwdriver, remove the screws securing the motherboard to the device housing.

    • Screws are 4mm x 1mm in size.

  4. Mid F900 Microphone Replacement: 4 단계, 이미지 1/2 Mid F900 Microphone Replacement: 4 단계, 이미지 2/2
    • Desolder the two black and red wires connected to the motherboard.

    • Unclip and remove the ribbon cables attached to the motherboard.

    • For soldering help, use the How to Solder and Desolder Connections guide.

  5. Mid F900 Microphone Replacement: 5 단계, 이미지 1/2 Mid F900 Microphone Replacement: 5 단계, 이미지 2/2
    • Carefully lift and remove the motherboard from the device housing.

  6. Mid F900 Microphone Replacement, Microphone: 6 단계, 이미지 1/1
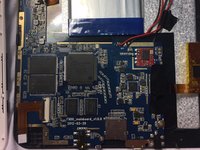
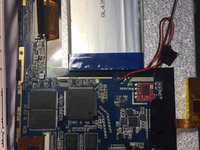
    • Flip the motherboard over to bring the underside into view.

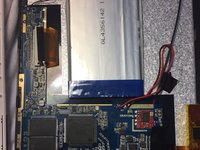
    • Find and desolder the microphone near the bottom of the motherboard and remove it.

    • Solder the new microphone in its place.

    • For soldering help, check out the How to Solder and Desolder Connections guide.

결론

To reassemble your device, follow these instructions in reverse order.

다른 한 분이 해당 안내서를 완성하였습니다.

Matthew Oliva

회원 가입일: 09/10/16

364 평판

안내서 3개 작성하였습니다

USF Tampa, Team 6-6, Remmell Fall 2016 USF Tampa, Team 6-6, Remmell Fall 2016 회원

USFT-REMMELL-F16S6G6

3 회원들

안내서 10개 작성하였습니다

댓글 0개

댓글 쓰기

조회 통계:

24 시간 전: 0

7일 전: 0

30일 전: 0

전체 시간: 106