주요 콘텐츠로 건너뛰기

Modal MD-WORCSS6 LED Replacement

필요한 것

  1. Modal MD-WORCSS6 LED Replacement, Modal MD-WORCSS6 Teardown Guide: 1 단계, 이미지 1/2 Modal MD-WORCSS6 LED Replacement, Modal MD-WORCSS6 Teardown Guide: 1 단계, 이미지 2/2
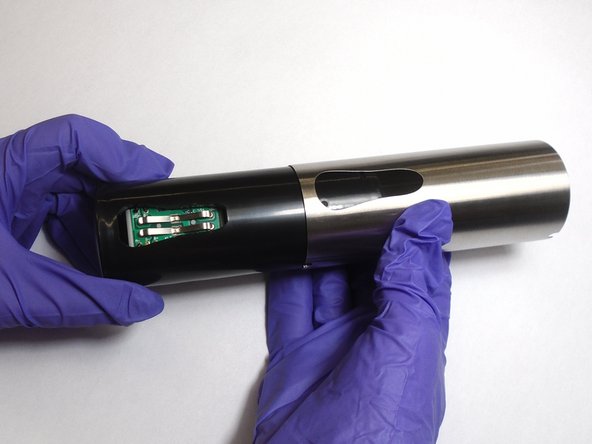
    • Put on Electrostatic Discharge (ESD) bracelet. Hold the device with the transparent plastic casing on the top.

    • Using the jimmy tool, carefully pry off the black plastic ring.

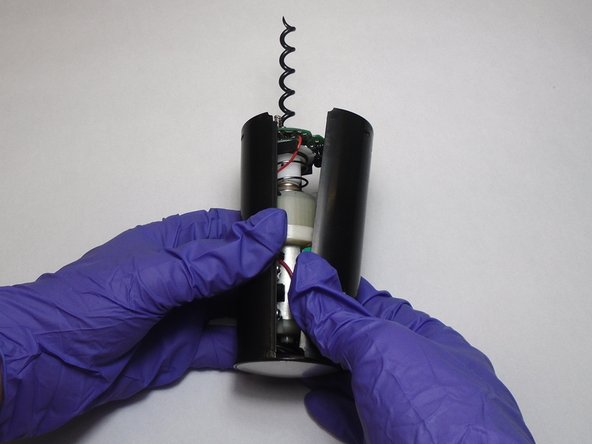
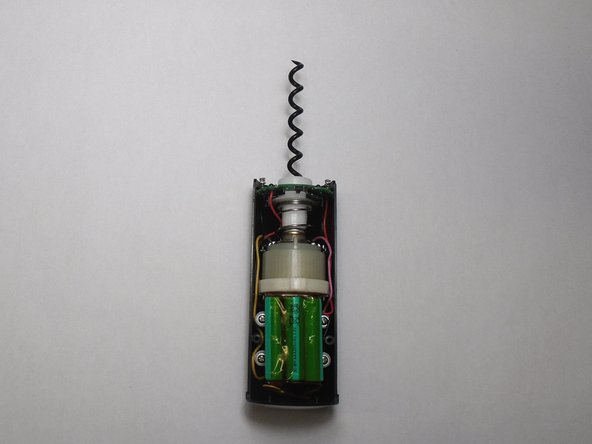
    • Remove the spring assembly from inside the transparent plastic tube.

  2. Modal MD-WORCSS6 LED Replacement: 2 단계, 이미지 1/2 Modal MD-WORCSS6 LED Replacement: 2 단계, 이미지 2/2
    • Using a Phillips #1 screwdriver, unscrew each of the four 12.7 mm screws inside and at the bottom of the plastic tube.

    • Take the plastic tube off of the metal casing.

  3. Modal MD-WORCSS6 LED Replacement: 3 단계, 이미지 1/2 Modal MD-WORCSS6 LED Replacement: 3 단계, 이미지 2/2
    • Place the jimmy tool blade between the button assembly and the metal casing. Gently pry off the button assembly; it should pop out.

    • With the button assembly removed, slide off the metal casing.

  4. Modal MD-WORCSS6 LED Replacement: 4 단계, 이미지 1/3 Modal MD-WORCSS6 LED Replacement: 4 단계, 이미지 2/3 Modal MD-WORCSS6 LED Replacement: 4 단계, 이미지 3/3
    • Unscrew the two 6.4 mm screws in the black plastic body using the Phillips #1 screwdriver.

    • Separate the two halves of the plastic body. Keep the half containing the motor facing up.

  5. Modal MD-WORCSS6 LED Replacement: 5 단계, 이미지 1/3 Modal MD-WORCSS6 LED Replacement: 5 단계, 이미지 2/3 Modal MD-WORCSS6 LED Replacement: 5 단계, 이미지 3/3
    • Carefully peel the tape off far enough to remove the 3 batteries.

  6. Modal MD-WORCSS6 LED Replacement, LED: 6 단계, 이미지 1/3 Modal MD-WORCSS6 LED Replacement, LED: 6 단계, 이미지 2/3 Modal MD-WORCSS6 LED Replacement, LED: 6 단계, 이미지 3/3
    이 단계에 사용된 도구:
    Tweezers
    $4.99
    구매
    • Slide the circuit board out of its slot.

    • Remove the LEDs by clipping off their connections with a pair of tweezers.

    • Attach the new LEDs by soldering the ends of the LEDS to their corresponding connections on the circuit board.

    • Check out our How to Solder and Desolder Connections guide for best practices and soldering tips.

결론

To reassemble your device, follow these instructions in reverse order.

다른 한 분이 해당 안내서를 완성하였습니다.

댓글 0개

댓글 쓰기

조회 통계:

24 시간 전: 0

7일 전: 1

30일 전: 3

전체 시간: 82