소개
This guide provides information on how to replace the top and bottom cases on your Nintendo 3DS XL 2015 (model number SPR-001). Whether you're looking to give your device a new look or fix damage, replacing the panels can be a straightforward process with the right tools and instructions.
Before beginning, be aware that swollen batteries can be potentially dangerous, so it's essential to handle them with care. Additionally, removing power or disconnecting batteries can sometimes cause data loss, so be sure to back up any important information beforehand.
To complete this replacement guide, you'll need a set of tools, which we'll list in the guide. While this process doesn't require any special skills, it does involve disassembling your device, so proceed with caution.
If you have concerns before or after following the guide, such as the device not turning on, a defective power button or a defective microphone, etc., please refer to the 3DS XL troubleshooting page.
With that in mind, let's get started!
필요한 것
-
-
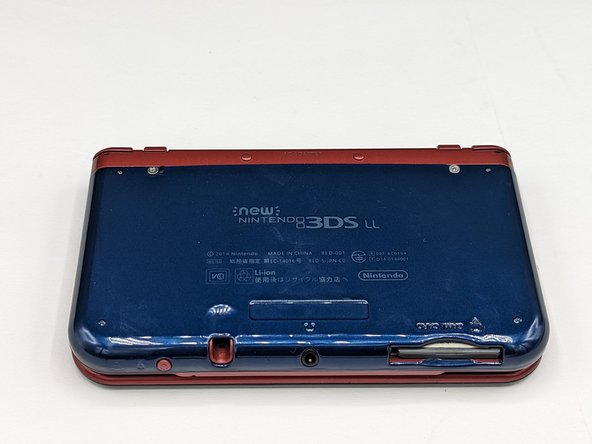
Place the device on a hard surface with the rear panel facing you.
-
Unscrew the two 2.0 mm screws in a counterclockwise motion using a Phillips #00 screwdriver.
-
-


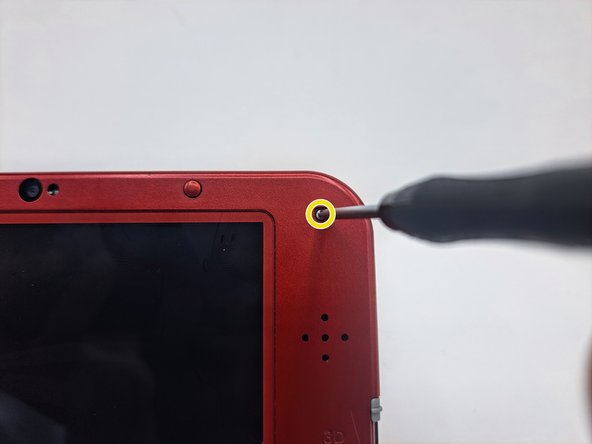


It is important to exercise caution while reassembling the device to prevent damage to the LCD screen and screws. Therefore, make sure not to overtighten the top case screws during the reassembly process.
It is important to exercise caution while reassembling the device to prevent damage to the LCD screen and screws. Therefore, make sure not to overtighten the top case screws during the reassembly process.
다른 4명이 해당 안내서를 완성하였습니다.

팀

University of North Texas, Team 2-6, Raign Spring 2023 University of North Texas, Team 2-6, Raign Spring 2023 회원
UNT-RAIGN-S23S2G6
2 회원들
안내서 3개 작성하였습니다
댓글 한 개
This is wrong for the top cover. You have to slide it out and be careful with how two little locks slot back in on the back side.
https://youtu.be/lQ1qtj5N1p0?si=Pkeq6PoT...