소개
If the buttons on your Nintendo DSi aren't working properly, the input button pads may need to be cleaned or replaced. This guide will show you how to access, remove, and replace these input button pads.
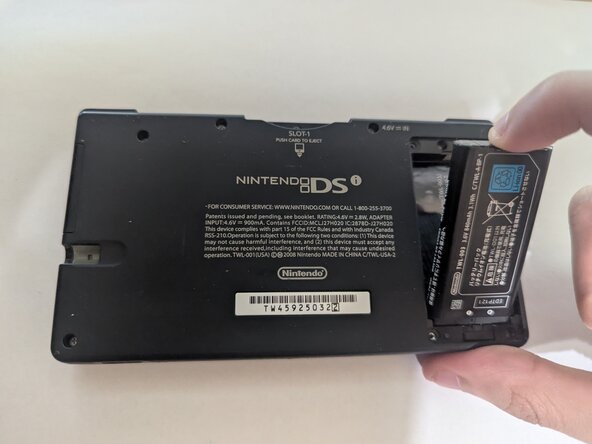
Because this device has been released for several years, the battery may be swollen. If the battery is swollen, make sure you handle it carefully and properly dispose of it. A swollen battery can explode or potentially cause a fire.
Before you begin with this repair, please ensure the system is turned off and has no power source plugged in.
필요한 것
-
-
Remove the two 4 mm Phillips #00 screws from the battery cover and remove the cover.
-
Remove the battery from its socket.
-
-
-
-
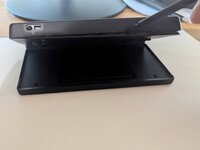
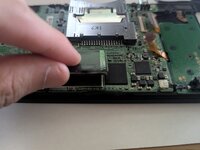
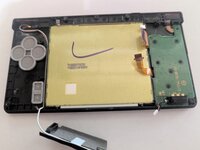
Hold onto the game cartridge slot and lift the board off the chassis.
-
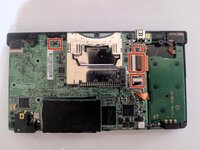
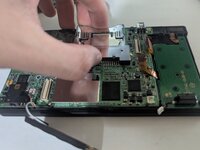
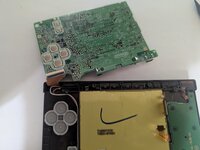
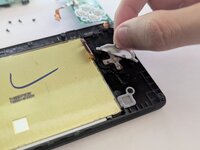
Slowly flip the board on its back, as there is still a ribbon cable on the backside.
-
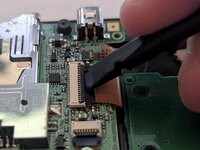
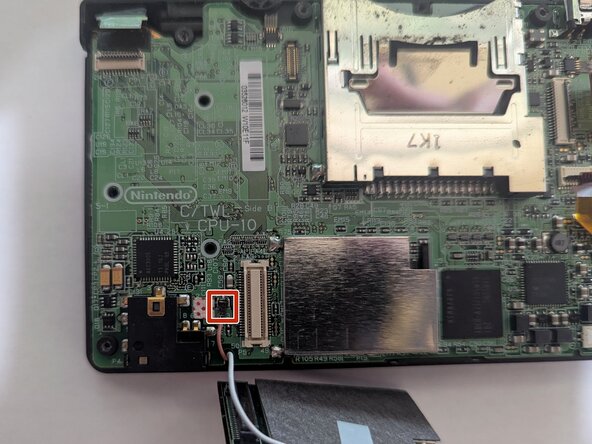
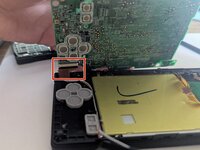
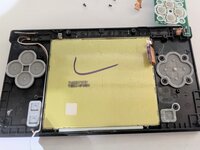
Unlock the black flap of the ZIF connector and use a spudger or tweezers to remove the ribbon cable.
-


To reassemble your device, follow these instructions in reverse order. Take your e-waste to an R2 or e-Stewards certified recycler.
다른 한 분이 해당 안내서를 완성하였습니다.
팀

CSU Los Angeles, Team 5-33, Harris Spring 2025 CSU Los Angeles, Team 5-33, Harris Spring 2025 회원
CSULA-HARRIS-S25S5G33
1 회원
안내서 1개 작성