소개
Follow this guide to replace or upgrade a dead or worn out battery in your Nintendo Game Boy Advance SP.
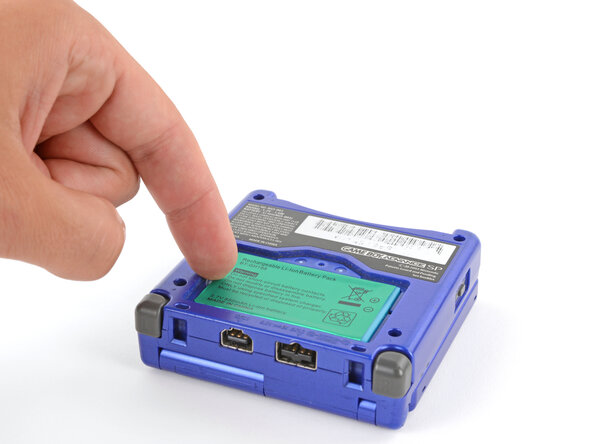
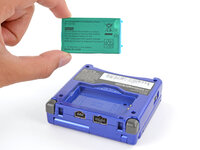
Your Game Boy's lithium-ion battery has a limited lifespan. If your Game Boy Advance SP won't turn on or dies quickly, it may be time to replace the battery.
The Game Boy Advance SP uses JIS screws. If you use a non-iFixit Phillips driver in JIS screws, you'll risk stripping them. iFixit's Phillips bits are designed to be compatible with JIS screws.
If your battery looks puffy or swollen, take extra precautions.
필요한 것
-
-
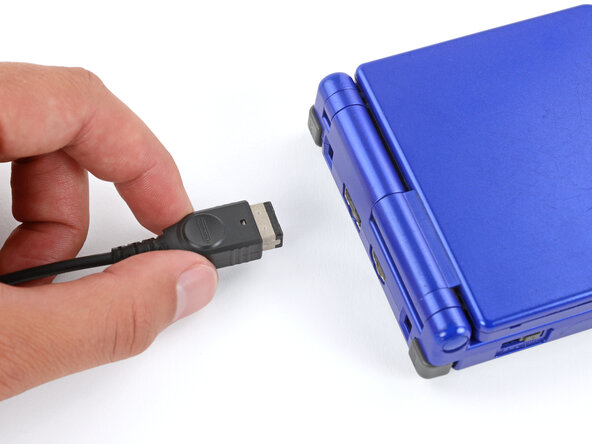
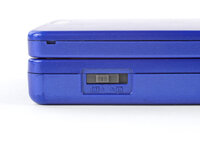
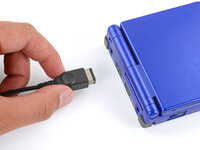
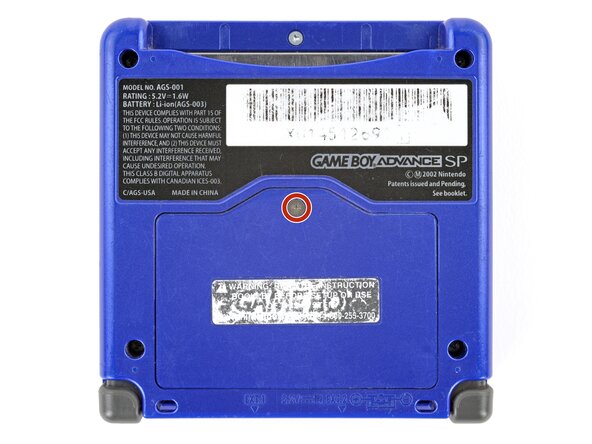
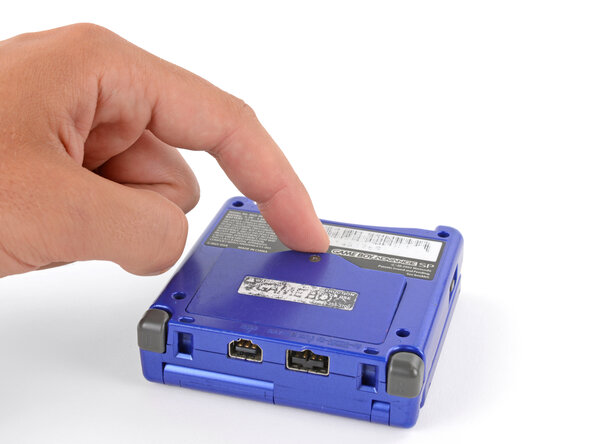
Slide the power switch to the OFF position and unplug any cables.
-
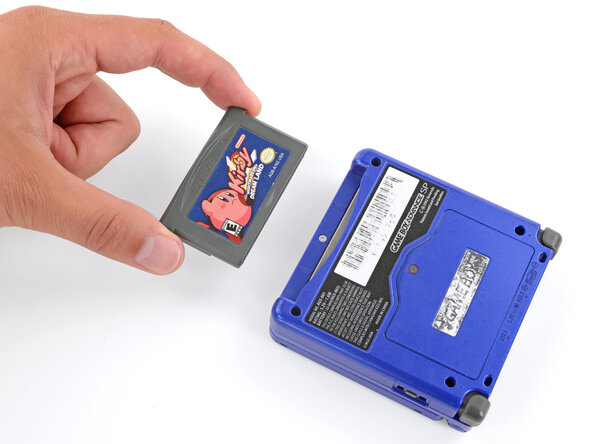
If you have a game cartridge in, remove it.
-
-
-
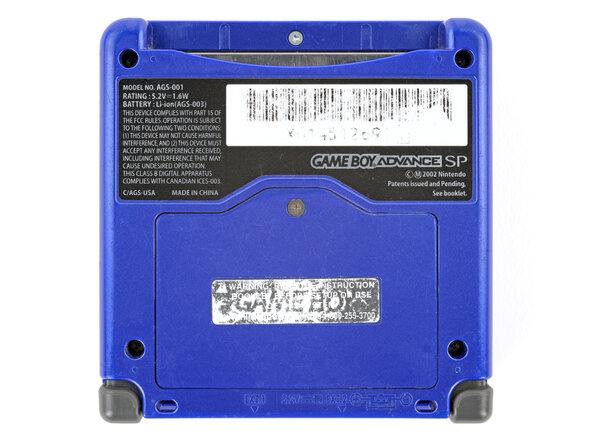
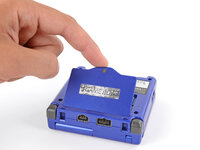
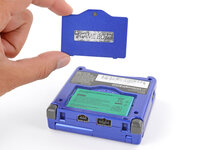
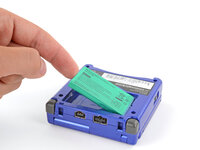
Use a JIS 00 screwdriver to loosen the captive screw securing the battery cover.
-
-
-


To reassemble your device, follow these instructions in reverse order.
Take your e-waste to an R2 or e-Stewards certified recycler.
Repair didn’t go as planned? Try some basic troubleshooting, or ask our Answers Community for troubleshooting help.
다른 34명이 해당 안내서를 완성하였습니다.

3가이드 댓글
This task is not very easy, its easy.
Very easy: Does not require opening device.
Easy: Requires minimal disassembly and requires a few tools like a Philips or flat-head screwdriver.
This however requires opening device.
Santi12008 - 답글
Why so pedantic?