소개
If your game is not responding to the joystick on your Nintendo NES Advantage Model NES-026 game controller, the joystick's ball sensor may be clogged by a foreign object or the joystick's spring may be weak.
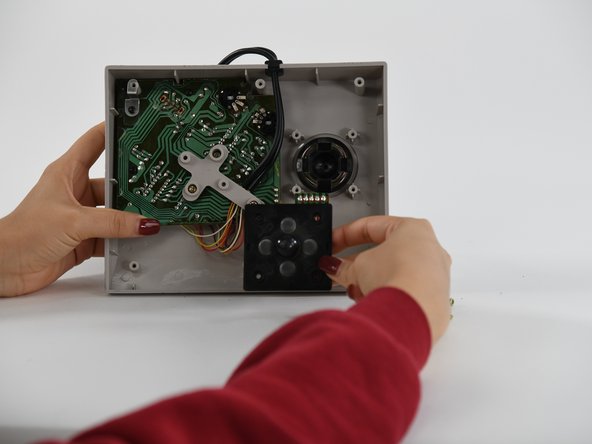
This guide is about removing the joystick panel. After the joystick panel is removed, you will be able to see the joystick's ball sensor and spring.
필요한 것
-
-
-
Remove the four 12 mm screws from the small square panel on the right with a Phillips #0 screwdriver.
-


To reassemble your device, follow these instructions in reverse order.
팀

University of Colorado Denver, Team 1-2, Campeau Fall 2022 University of Colorado Denver, Team 1-2, Campeau Fall 2022 회원
UCDENVER-CAMPEAU-F22S1G2
5 회원들
안내서 7개를 작성함