필요한 것
-
-
Slide the black battery cover down and off the phone with your thumb to remove it.
-
-
-
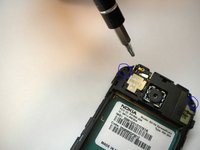
On some models, the front case is screwed down from the back. Follow steps 5 and 6 first to remove the camera cover and two T6 screws, BEFORE removing the faceplate.
-
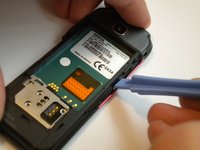
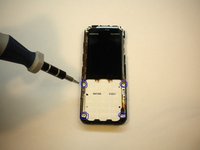
Find a small latch under the music keys and in the middle of each side of the faceplate.
-
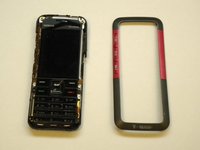
Gently lift the edges of the front faceplate off the phone using a spudger.
-
-
-
-
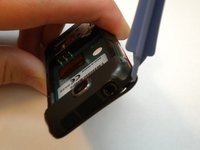
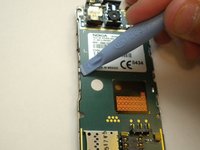
Flip the phone over to the back side.
-
Unsnap the back camera cover from the phone.
-
Lift to remove the back camera cover from the phone after it has been unsnapped.
-
-
-
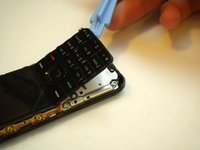
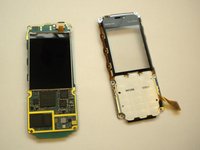
Unclip the ribbon plug located on the top of the LCD screen that connects it to the motherboard.
-


To reassemble your device, follow these instructions in reverse order.
다른 6명이 해당 안내서를 완성하였습니다.

팀

Cal Poly, Team 15-14, Regan Spring 2011 Cal Poly, Team 15-14, Regan Spring 2011 회원
CPSU-REGAN-S11S15G14
3 회원들
안내서 8개를 작성함