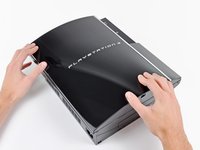
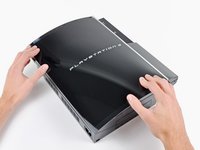
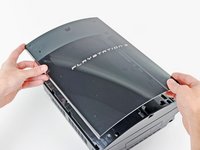
주요 콘텐츠로 건너뛰기

PlayStation 3 Smart Plate Replacement

필요한 것

  1. PlayStation 3 Smart Plate Replacement, Smart Plate: 1 단계, 이미지 1/2 PlayStation 3 Smart Plate Replacement, Smart Plate: 1 단계, 이미지 2/2
    • Use the tip of a spudger to remove the black rubber screw cover from the side of the PS3.

    • The screw cover may be underneath a warranty sticker. This sticker will change appearance, and show "VOID" after it has been removed.

  2. PlayStation 3 Smart Plate Replacement: 2 단계, 이미지 1/1
    • Remove the single 8.5 mm T10 Security Torx screw from the smart plate.

  3. PlayStation 3 Smart Plate Replacement: 3 단계, 이미지 1/3 PlayStation 3 Smart Plate Replacement: 3 단계, 이미지 2/3 PlayStation 3 Smart Plate Replacement: 3 단계, 이미지 3/3
    • Pull the smart plate toward the hard drive bay, then lift it off the body of the PS3.

  4. PlayStation 3 Smart Plate Replacement: 4 단계, 이미지 1/1
    • Be sure to keep track of the small metal bracket loosely held in the top cover, if equipped.

결론

To reassemble your device, follow these instructions in reverse order.

다른 32명이 해당 안내서를 완성하였습니다.

Walter Galan

693,685 평판

안내서 1,203개 작성하였습니다

댓글 한 개

Finde ich total einfach, sogar das tauschen der Wärmeleidpaste muss ich sagen. Leichter als bei der XBOX 360 aufjedenfall. Klar ich habe bestimmt schon 6-7 FatLady auseinander genommen und diese mit Frischer Wärmeleidpaste versorgt.

Marvin Schaub - 답글

댓글 쓰기

조회 통계:

24 시간 전: 2

7일 전: 18

30일 전: 71

전체 시간: 25,044