소개
This process requires soldering and lots of smelly adhesive. For more information about soldering, take a look at this guide. Be careful, as a ruptured battery can be dangerous.
필요한 것
-
-
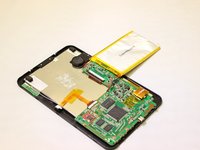
Remove the two 7 mm screws on the top of the device using a J00 Phillips screwdriver, turning them counterclockwise.
-
-
-
이 단계에 사용된 도구:Plastic Cards$2.99
-
Wedge a plastic card beneath the battery unit.
-
Wiggle the card side to side and up and down gently until the glue sealing the battery to the device is broken.
-
-
이 단계에 사용된 도구:Tweezers$4.99
-
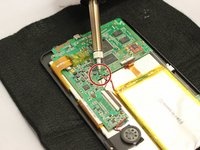
Set the device on a heat safe surface.
-
Desolder from the motherboard the red wire that connects to the battery unit.
-
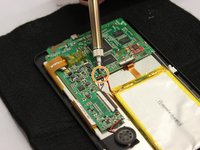
Desolder from the motherboard the black wire that connects to the battery unit.
-
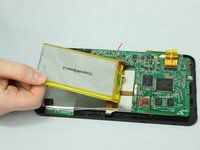
Lift the battery out of the device using your hands.
-
The battery is now free from the device.
-


To reassemble your device, follow these instructions in reverse order.
다른 4명이 해당 안내서를 완성하였습니다.
팀

Eastern Washington University, Team 2-2, Plummer Fall 2015 Eastern Washington University, Team 2-2, Plummer Fall 2015 회원
EWU-PLUMMER-F15S2G2
4 회원들
안내서 6개를 작성함
1가이드 댓글
This tablet has the exact same setup as the 2011-2012 nextbook part might be interchangeable with this tablet .