소개
This guide is for a Porter-Cable 20V Oscillating Multi-Tool with the model number: PCC710B.
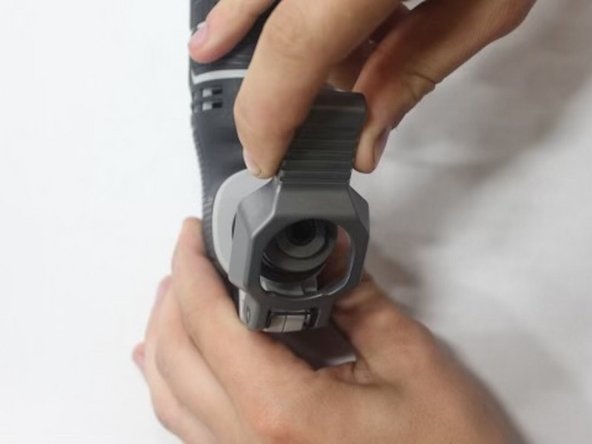
By following this guide, you will be able to replace the lever assembly of your oscillating multi-tool. The lever assembly is a gray clamp that holds blades and other attachments to the oscillating multi-tool.
If the blades of your oscillating multi-tool are not staying firmly attached to the tool, it might be due to a faulty lever assembly. Other solutions for blade and accessory problems can be found here.
Before beginning this guide, make sure the battery of the tool is taken off, you do not want any power source connected to the device while working on this replacement!
필요한 것
-
-
Place the tool on its side so the orange and white warning label barcodes are facing up.
-
The lever and battery base of the tool should point toward you.
-
-


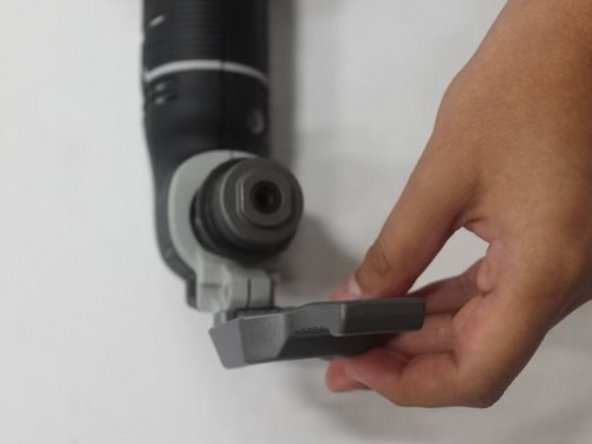
To reassemble your device, follow instruction steps 3 to 1 in reverse order.
To reassemble your device, follow instruction steps 3 to 1 in reverse order.

팀

Austin Community College, Team 13-3, Watkins Fall 2022 Austin Community College, Team 13-3, Watkins Fall 2022 회원
AUSTINCC-WATKINS-F22S13G3
4 회원들
안내서 7개 작성하였습니다