소개
This guide is for a Porter-Cable 20V Oscillating Multi-Tool with the model number: PCC710B. Follow this guide to replace the needle bearing.
A bearing is a device used to enable rotational and linear movement, reduce friction, and handles stress at the same time. Bearings are wear-and-tear items that will frequently need to be replaced. When a bearing wears out, it will produce grinding, growling, or rumbling sounds accompanied by a vibration.
You can look here to see another way to fix strange noises coming from your tool, it may not be the needle bearing that needs fixing.
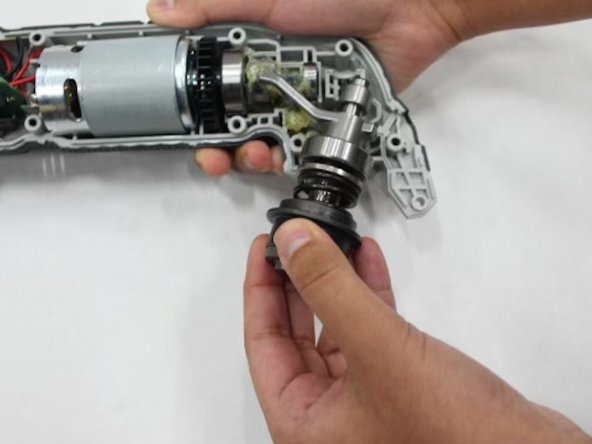
TIP: You will come across thick yellowish grease when dealing with these parts. The tool parts need this grease to function, so don't clean it from the tool! Bring a rag or napkin to wipe your hands after you finish handling these parts.
Before beginning this guide, make sure the battery of the tool is taken off, you do not want any power source connected to the device while working on this replacement!
필요한 것
-
-
Place the tool on its side so the orange and white warning label barcodes are facing up.
-
The lever and battery base of the tool should point toward you.
-
-
-
-
Lay the tool on its side so that the grey and orange warning labels are facing up upwards.
-
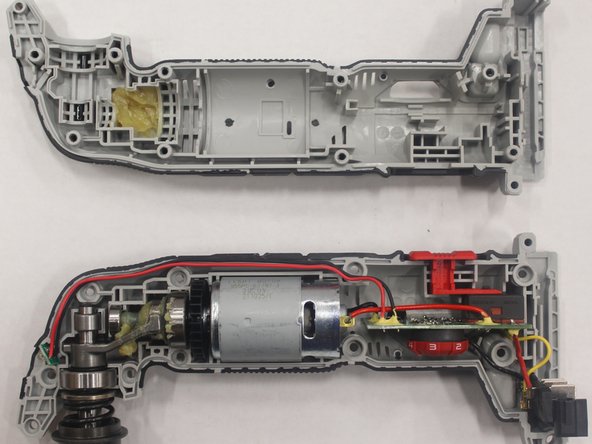
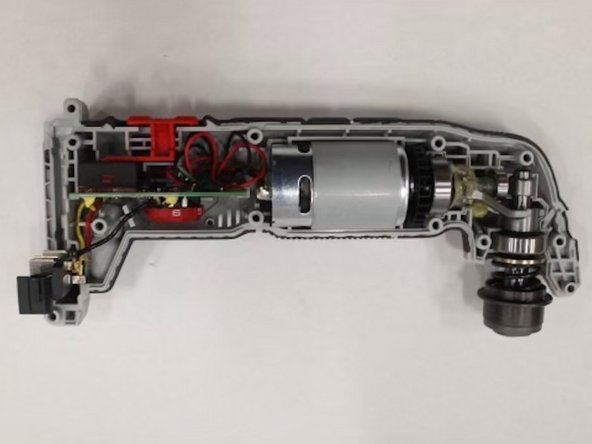
Use the JIS #1 screwdriver to remove the 10 screws holding the tool together.
-
-
-
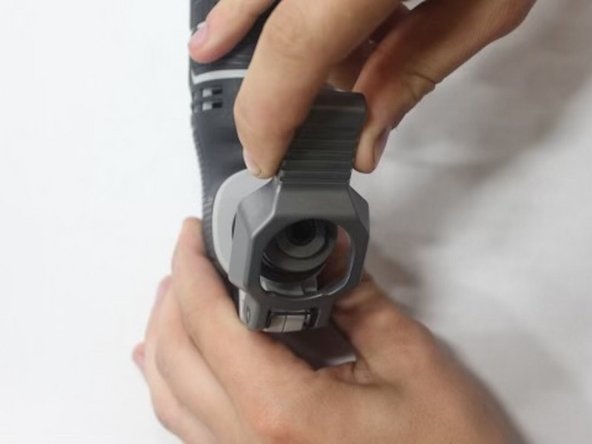
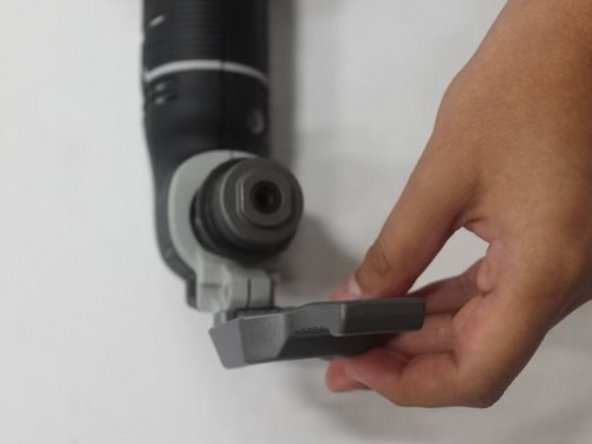
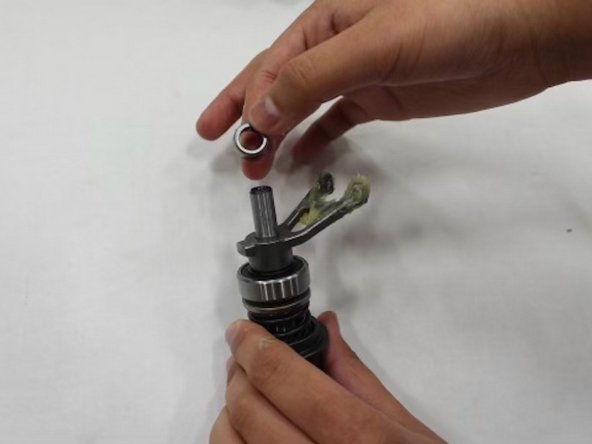
Using your hands, remove the silver ring-shaped needle bearing sitting on top of the spindle assembly.
-


To reassemble your device, follow these instructions in reverse order.
To reassemble your device, follow these instructions in reverse order.

팀

Austin Community College, Team 13-3, Watkins Fall 2022 Austin Community College, Team 13-3, Watkins Fall 2022 회원
AUSTINCC-WATKINS-F22S13G3
4 회원들
안내서 7개 작성하였습니다