소개
The original LCD 1024x768 resolution is kinda low. This guide will show you how to fit HV121P01-100 or 101 into PowerBook G4 12".
필요한 것
-
-
Use a coin to turn the battery locking screw 90 degrees to the right.
-
Lift the battery out of the computer.
-
-
-
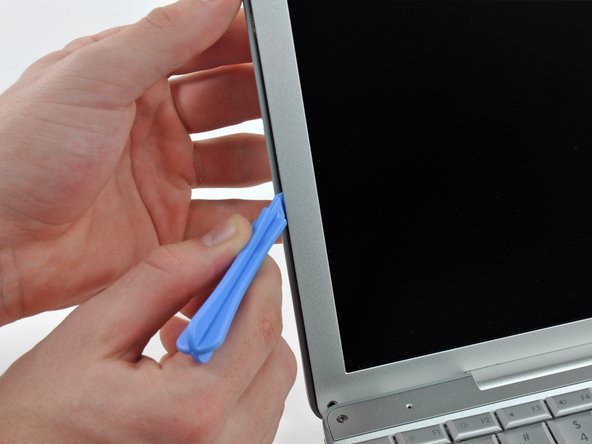
Insert a plastic opening tool between the left edge of the front display bezel and the plastic strip attached to the rear bezel, with the edge of the tool angled toward the LCD.
-
Rotate the tool away from the LCD to pop the rear bezel off the tabs on the front display bezel.
-
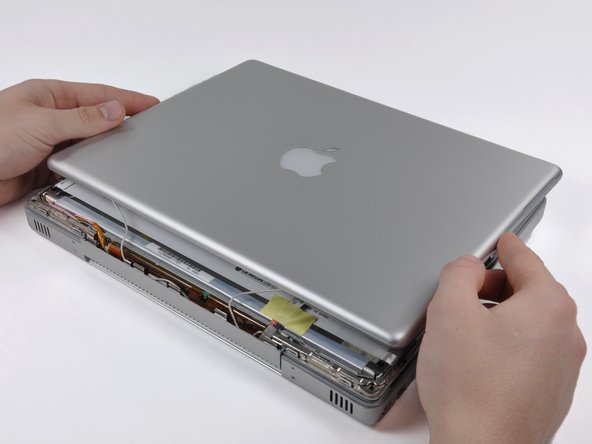
Work along the left edge of the display until the rear bezel is evenly separated from the front bezel.
-
-
-
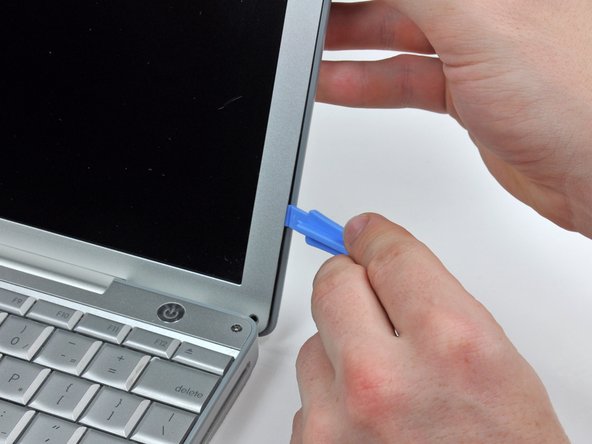
Insert a plastic opening tool between the right edge of the front display bezel and the plastic strip attached to the rear bezel, with the edge of the tool angled toward the LCD.
-
Rotate the tool away from the LCD to pop the rear bezel off the tabs on the front display bezel.
-
Work along the right edge of the display until the rear bezel is evenly separated from the front bezel.
-
-
-
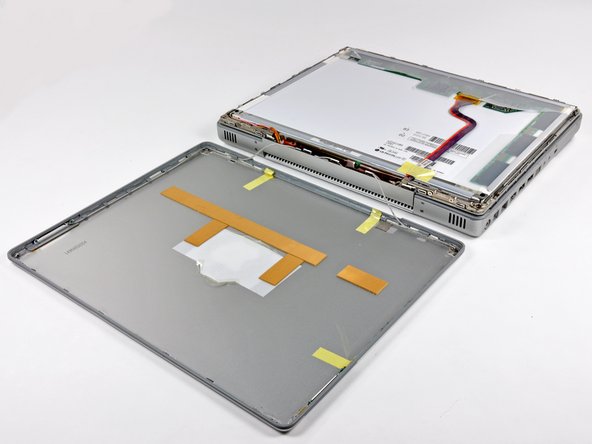
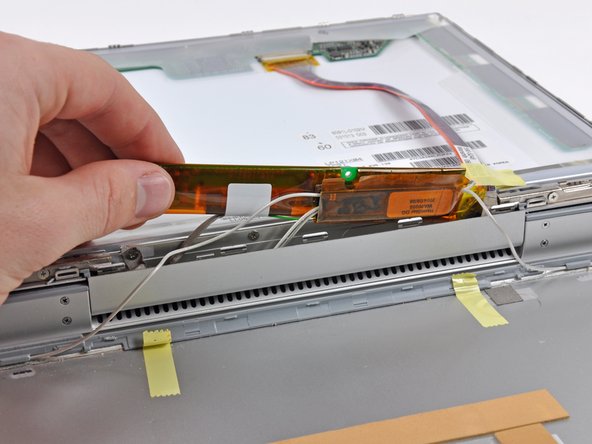
Insert the pointed end of the a spudger between the protective tape and the inverter board.
-
Carefully pull up with the spudger to lift the inverter board out enough to access the connector cables.
-
Once you can easily grab the board, pull it up enough to gain access to the inverter board's output connector.
-
-
-
-
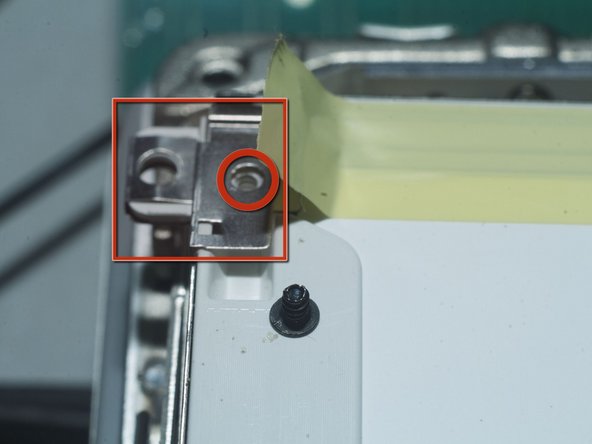
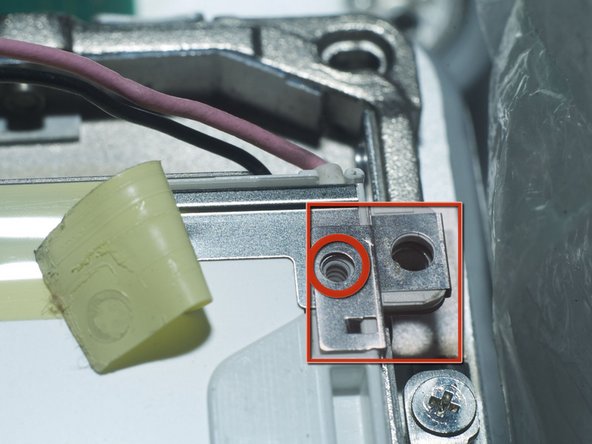
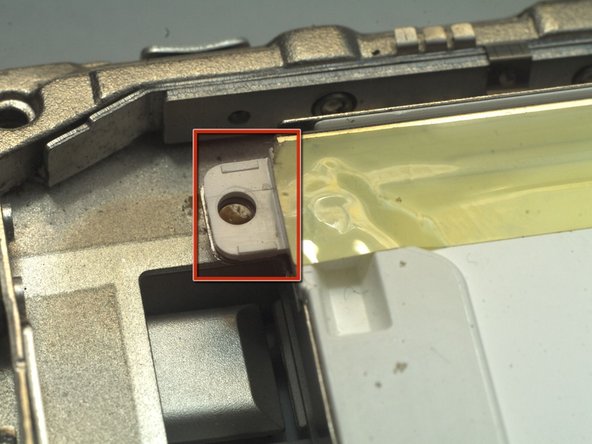
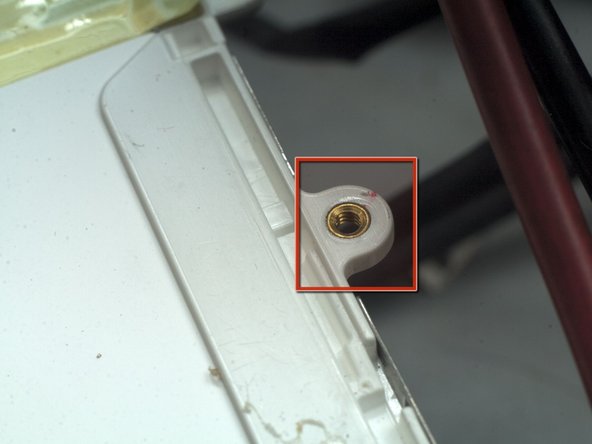
Some HV121P01 are IBM/Lenovo/Thinkpad parts. Comes with Wacom Digitizer and front shield. Remove the Wacom Digitizer first.
-
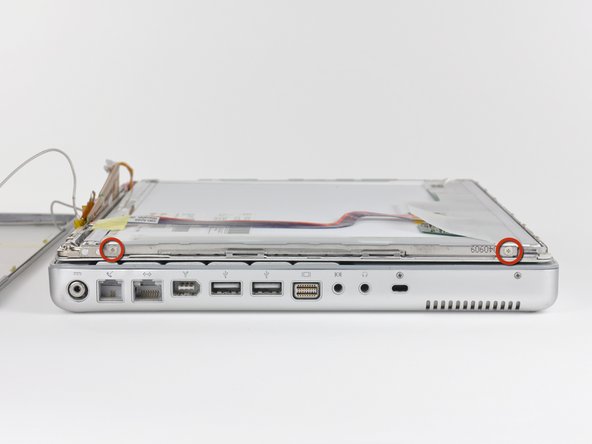
1. remove the 4 philips screws in red circles.
-
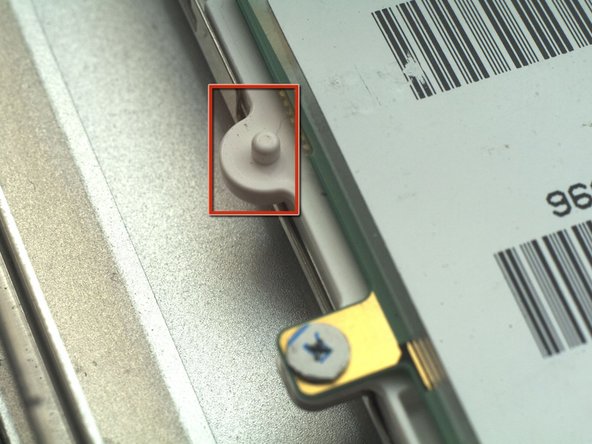
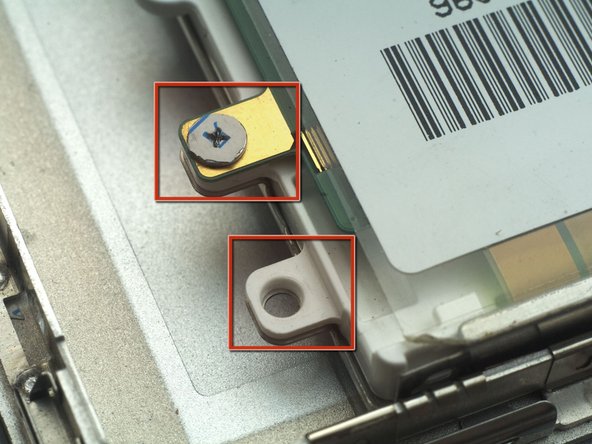
2. use some thin object, like a knife, to separate the 2 double sided tapes in red rectangles from the white plastic back.
-
The front shield can protect the screen during the following steps, remove it only after anything else are done!
-
-
-
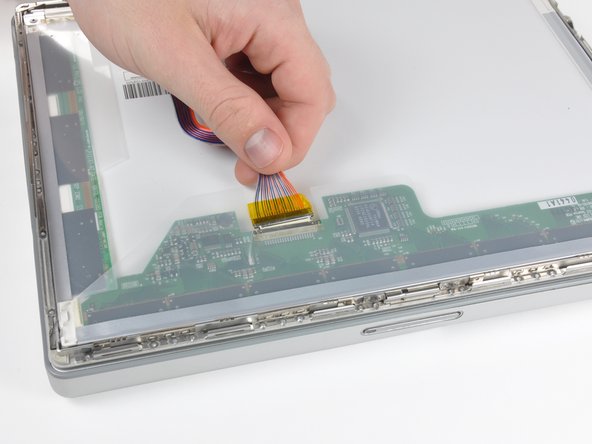
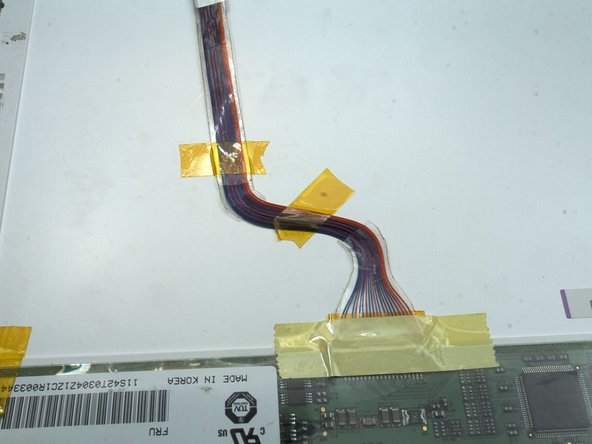
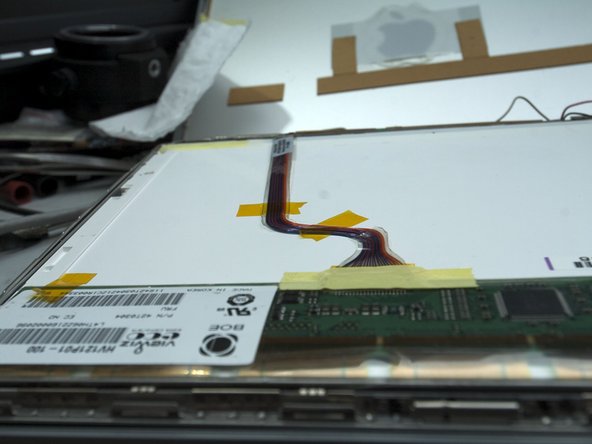
You need to extend the CCFL High Voltage cable, if it is not long enough to reach the inverter. You'd better get a electronics friend to help you. Should be very easy for him. If it's done wrong. Leakage or shock may happen.
-
Please measure and calculate the cable length precisely. There is not enough space for wires which are too long. In this pic, they ARE 25mm/1" longer than needed. Reworking them is painful.
-
-
-
Remove all the extra parts from the PCB, metal frame, and white plastic back. There are 9 of them. Use knife or other cutting tool to cut the plastic. Use cutting tool to cut PCB. Use Diamond impregnated files to cut the metal frame. It's very hard and stiff, you cannot cut it with knife or wire cutters. Or, you may hurt you tool or even the LCD GLASS!! That's a game over"
-
Please be ALWAYS VERY CAREFUL and patient, DO NOT HURT the citcuit or the LCD glass (through the entire upgrade).
-
Smooth all sharp metal edges. Should be 6 of them.
-
After this step, your HV121P01 will look more like the original LCD panel i.e. IAXG01B
-
-
-
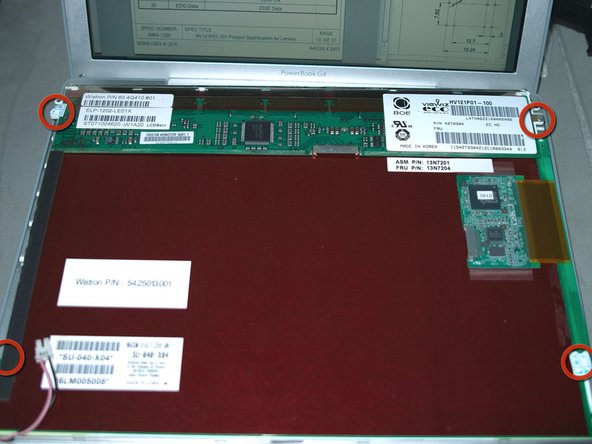
Drill four 1.5mm~2mm(1/16"~5/64") diameter, 3mm(1/8") deep holes at the left and right side of panel at the position corresponding to original LCD panel. Do NOT drill the glass!!.
-
2 will be drilled on metal and then plastic, 2 on plastic. As said before, the metal is very hard! use high quality drill and be patient and avoid overheating, or you'll burn your hand or the plastic and LCD glass.
-
In these pics, the upper LCD is the original one, the bottom one is HV121P01.
-


To reassemble your device, follow these instructions in reverse order.
To reassemble your device, follow these instructions in reverse order.
다른 7명이 해당 안내서를 완성하였습니다.
댓글 5개
This was a great guide!
Would something like this be compatible with a 12” iBook G4?
Tear it down and see what’s inside.
Terrance -
Hey @terrance3774, I really want to drop this panel into my 12” G4 but don’t feel like taking this task on. Do you have one already made up that I could purchase from you? Thx!