소개
Save money by replacing just the LCD rather than the entire display assembly.
필요한 것
-
-
Use a coin or a spudger to turn the battery locking screw 90 degrees clockwise.
-
Lift the battery out of the computer.
-
-
-
Open the computer with the display facing you and rotate the display back as far as possible.
-
Remove the T6 Torx screw from the bottom left corner of the display assembly. The computer casing will not allow the screwdriver to be inserted directly into the screw, so be careful not to strip the screw.
-
-
-
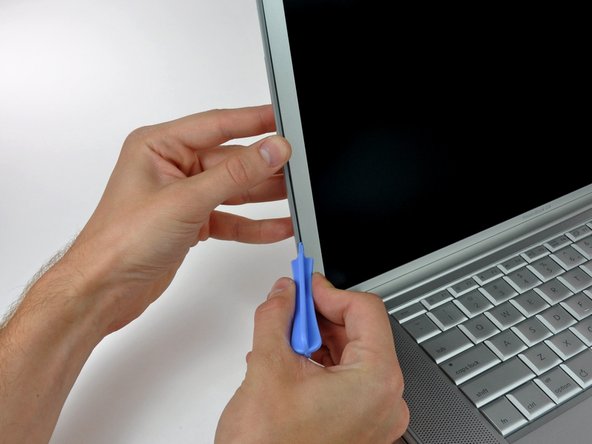
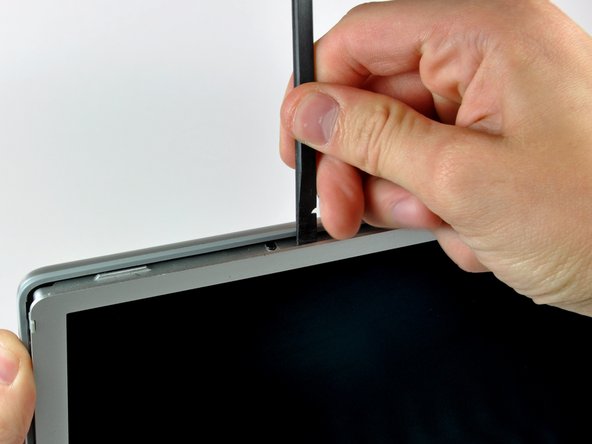
Insert a plastic opening tool between the left edge of the front display bezel and the plastic strip attached to the rear bezel, with the edge of the tool angled toward the LCD.
-
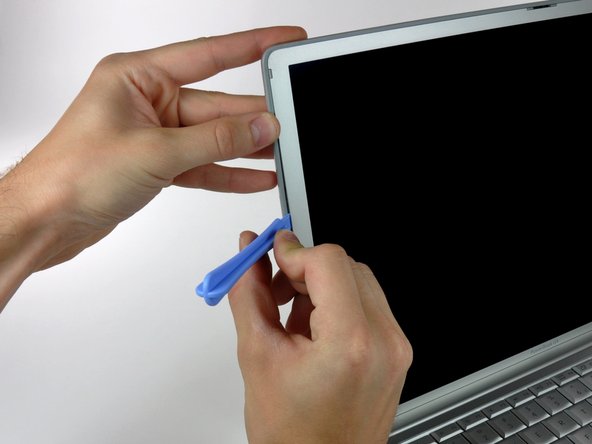
Rotate the tool away from the LCD to pop the rear bezel off the tabs on the front display bezel.
-
Work along the left edge of the display until the rear bezel is evenly separated from the front bezel.
-
-
-
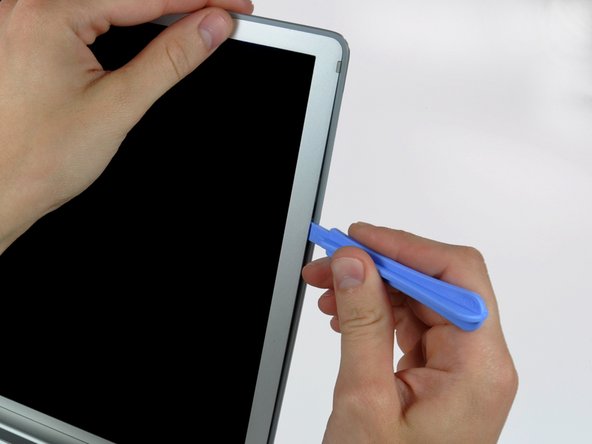
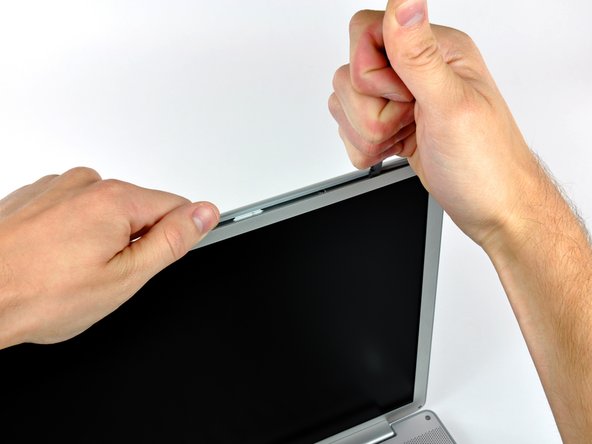
Insert a plastic opening tool between the right edge of the front display bezel and the plastic strip attached to the rear bezel, with the edge of the tool angled toward the LCD.
-
Rotate the tool away from the LCD to pop the rear bezel off the tabs on the front display bezel.
-
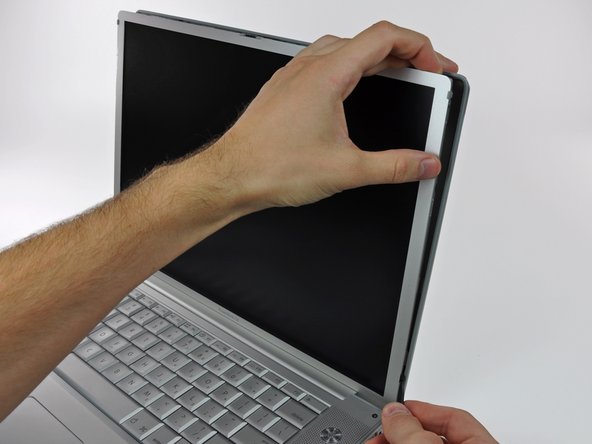
Work along the right edge of the display until the rear bezel is evenly separated from the front bezel.
-
-
-
-
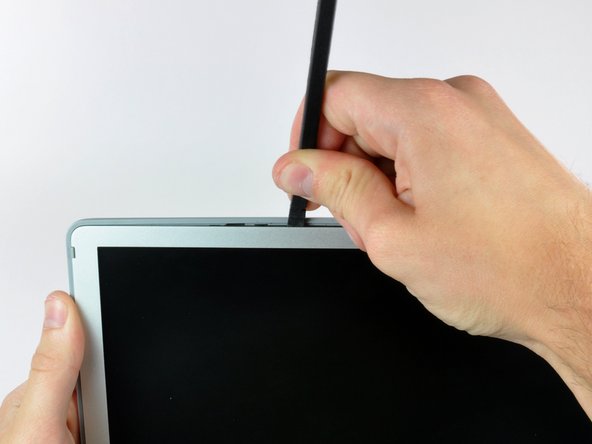
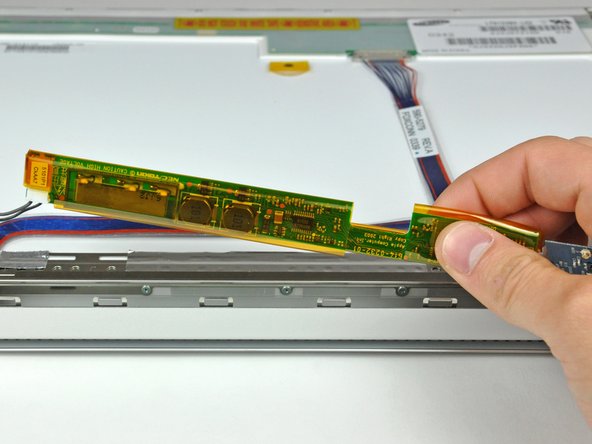
Using the tip of a spudger, raise the inverter out from the clutch cover.
-
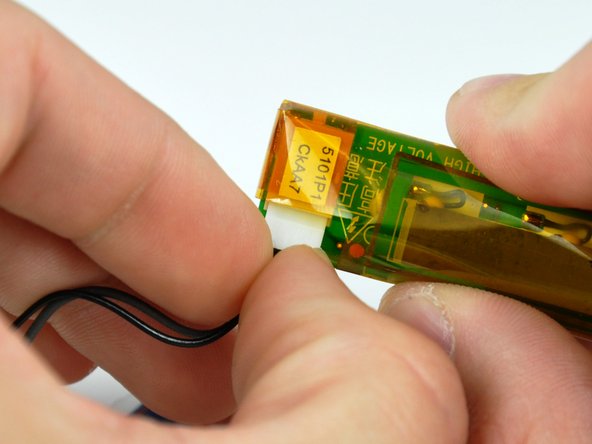
Lift the inverter enough to reveal both cable connectors.
-
Lift the inverter enough to reveal both cable connectors.
-


To reassemble your device, follow these instructions in reverse order.
To reassemble your device, follow these instructions in reverse order.
다른 7명이 해당 안내서를 완성하였습니다.

댓글 2개
not as hard as i thought.
took about twenty minutes in total.
old loved laptop so i did not mind if it went back together slightly imperfect.
i only changed the inverter due to a black screen problem
thank you so much ifixit.
Great guide, I successfully swapped the LCDs of two PowerBooks (specifically a 5,2 and 5,6). I was unable to remove the antenna board in step 11, it wouldn't come out of its little crevice completely. So instead I simply peeled off the top part of the protective tape and unplugged the antenna cables. Works just as well!