소개
If your Razer Kraken Ultimate microphone is not properly picking up audio- sound is coming through distorted or it is not picking it up at all.
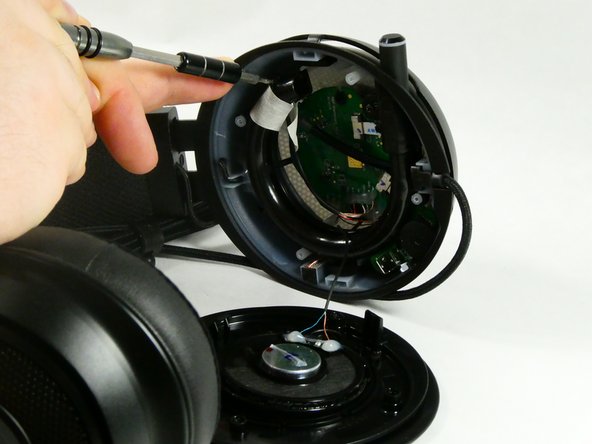
The headset picks up audio through a retractable microphone. A faulty microphone would cause the problems with picking up audio.
In Step 4 will require wire cutting and soldering to remove and reattach the microphone.
필요한 것


거의 끝나갑니다!
To reassemble your device, follow these instructions in reverse order.
결론
To reassemble your device, follow these instructions in reverse order.

팀

UMass Dartmouth, Team 1-4, Petersen Fall 2022 UMass Dartmouth, Team 1-4, Petersen Fall 2022 회원
UMASSD-PETERSEN-F22S1G4
5 회원들
안내서 6개 작성하였습니다