소개
The diverter valve may become clogged if water is not rinsed regularly with water after foaming. Or if the seals are old and need to be replaced. Sometimes the mechanics are loose and the sliding mechanism does not close properly anymore.
필요한 것
-
-
After opening the lid, the machine shows its interior.
-
The water comes from the top right into the thermoblock and then enters the bottom right of the Themroblock in the switching valve.
-
Depending on the position of the milk frother nozzle, the water is either directed downwards into the frothing nozzle or to the left back into the thermoblock to the coffee spout.
-
Now, use the open-end wrench to free the diverter valve from all tubes and disconnect the hose.
-
Carefully disconnect the changeover valve from the milk froth nozzle.
-
If connections can not be easily solved, it is recommended to remove the complete unit consisting of thermoblock and diverter valve.
-
-
-
-
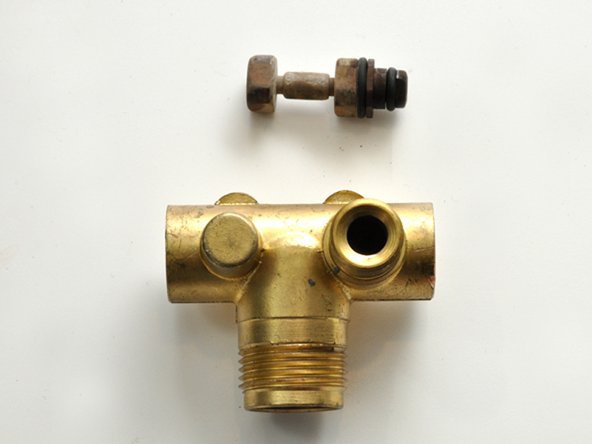
In the interior of the valve, a small plug is pushed to the left and to the right to close the outlet on the right when the milk frother nozzle is unfolded.
-
So no more water can get to the coffee spout.
-
Thoroughly clean the valve and check the seals and replace if necessary.
-
When reassembling, make sure that the milk frothing nozzle is fully inserted, that the sliding mechanism works smoothly and that the nozzle is firmly connected to the valve.
-


다른 4명이 해당 안내서를 완성하였습니다.
다음 번역가들에게 특별히 감사 드립니다:
100%


이 번역자 분들은 저희가 세상을 수리하는데 동참해 주시는 분입니다! 기여하시겠습니까?
번역 시작하기 ›
