소개
If your Rexing V1P Plus (also known as the Rexing V1P-4k) is randomly rebooting or will not power on, your device's battery may be damaged or faulty. This guide will walk you through how to replace the battery for the device.
The battery on the Rexing V1P Plus does not hold a charge for long without being connected to a power source. To ensure the battery is safe to remove, leave the device unplugged for a short period to drain the battery of any charge it may have.
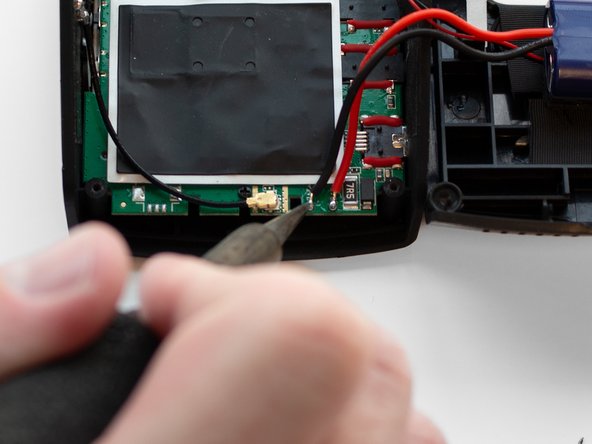
This replacement requires the use of a soldering iron. If you have no prior experience using a soldering iron, it is recommended to do some additional research to gain familiarity with using this tool.
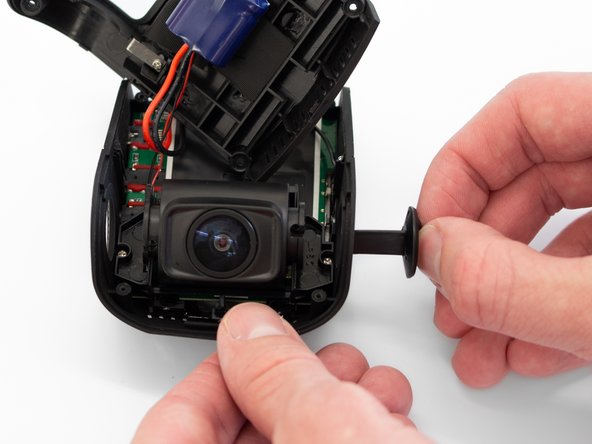
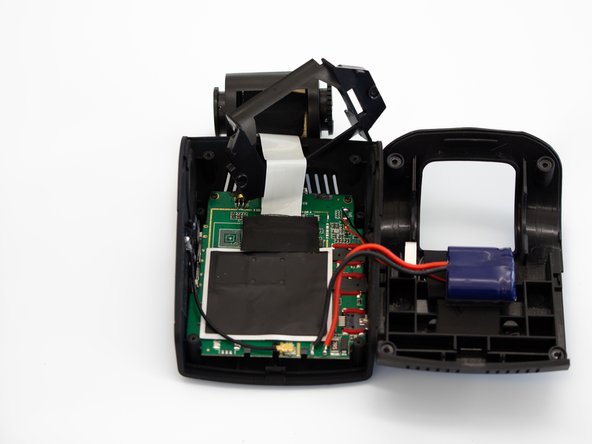
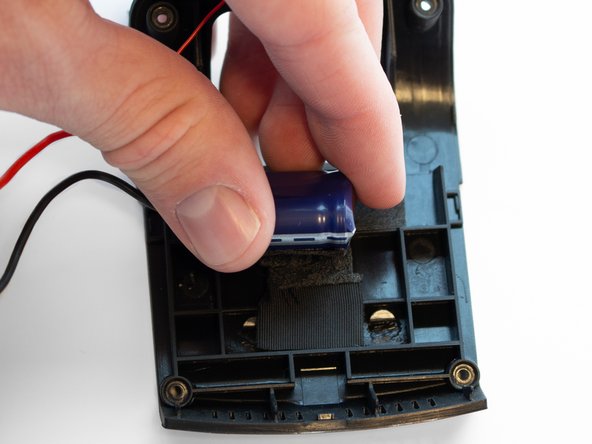
The battery being replaced is a GTECAP 5.5V 3.5F battery.
필요한 것
-
-
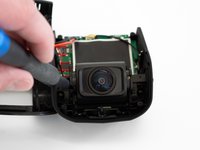
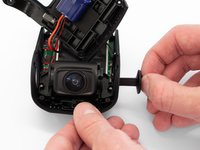
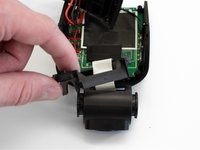
Orient the device with the LCD screen facing down.
-
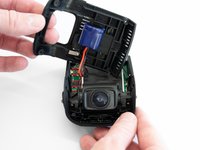
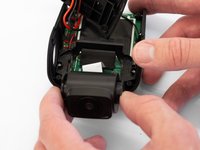
Remove the four 6 mm screws, located on the backside of the device, using the Phillips #00 screwdriver.
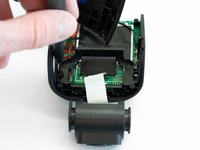
-
-


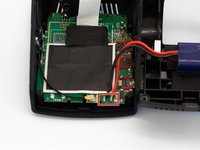


To reassemble your device, follow these instructions in reverse order.
다른 2명이 해당 안내서를 완성하였습니다.
팀

Western Carolina University, Team 1-1, Virtue Spring 2023 Western Carolina University, Team 1-1, Virtue Spring 2023 회원
WCU-VIRTUE-S23S1G1
4 회원들
안내서 5개를 작성함
4가이드 댓글
Where is it possible to get the replacement battery? Searching on ebay reveals nothing for the information given.
Did you find the replacement capacitors?
Just realized this appears to be what is known as a 'super capacitor' rather than a battery so it's possible any 5.5V 3.5Farad capacitor will work. The form factor may be an issue though.