소개
A rivet is a small metal fastener, commonly found on jeans and work pants, that reinforces stress points on pockets and seams to prevent tearing and enhance the garment's durability.
This guide will demonstrate two ways to install a new metal rivet:
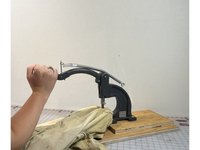
- Using a hand press and rivet dies (Steps 2 - 5)
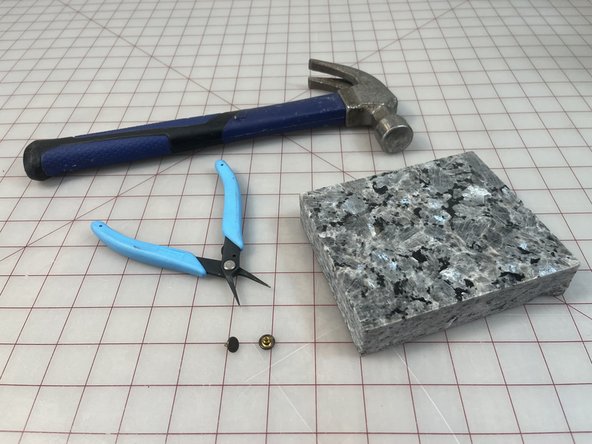
- Using a hammer (Steps 6 - 8)
Read through the entire guide before starting the repair, and gather the necessary tools and materials. While Patagonia-specific materials are ideal, they are not required. Patagonia replacement parts can be obtained by calling or messaging Patagonia Customer Service.
Alternatively, Patagonia products can be taken to a local retail store for repair evaluation or sent in to Patagonia through their mail-in repair service.
Let's get fixing!
WARNING! Small Parts. Patagonia does not recommend conducting these repairs on garments intended for children age 3 or under. Instead, we recommend return of the product for professional repair services.
Related tutorial: Jeans Button Replacement
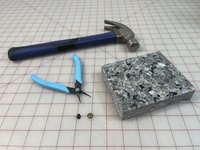
필요한 것
-
-
If you have access to a hand press and rivet dies, proceed with Steps 2 - 5.
-
If you don't have access to a hand press and rivet dies, skip to Step 6 to complete this repair with a hammer.
-
-
-
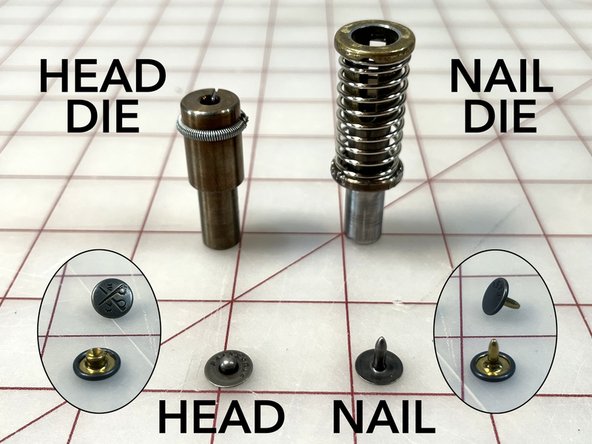
Check that the back of the rivet (nail) fits into the nail die. Put the rivet nail aside and place the nail die into the bottom slot of the hand press.
-
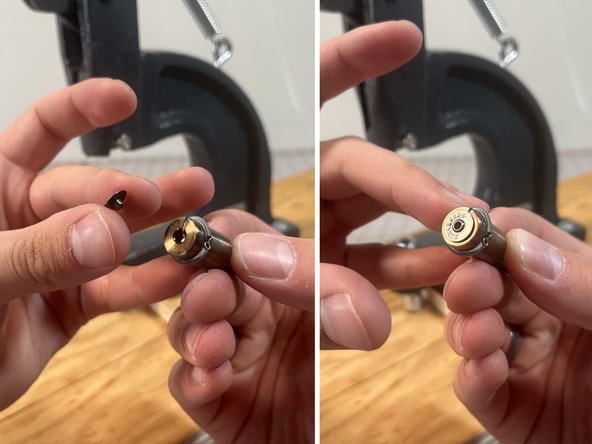
Snap the front of the rivet (head) into the head die. The rivet head should stay securely in the die.
-
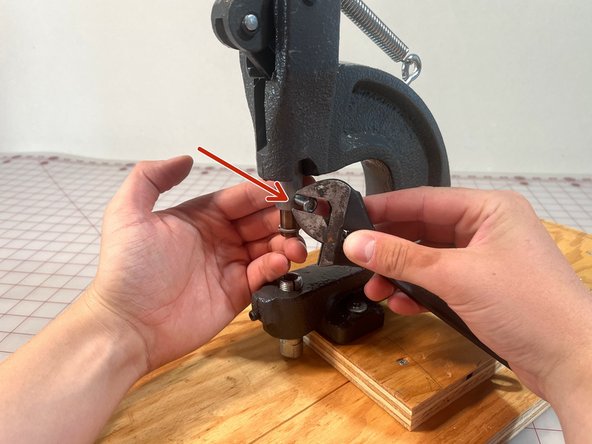
To insert the head die into the press:
-
Use your fingers, a screwdriver, or a hex key, as needed, to unscrew the tightening mechanism on the side of the press near the top die fitting.
-
Insert the die upward and hold it in place.
-
Tighten the tightening mechanism.
-
-
-
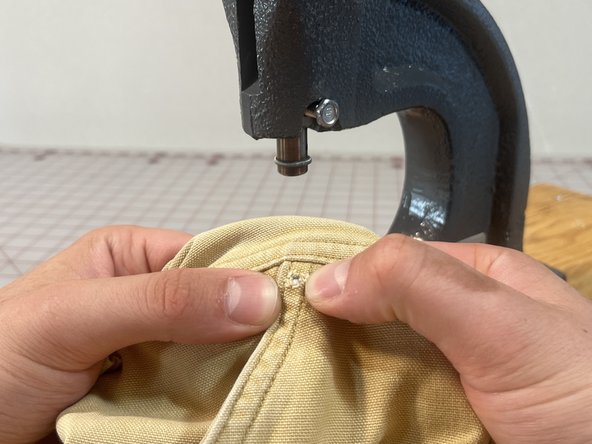
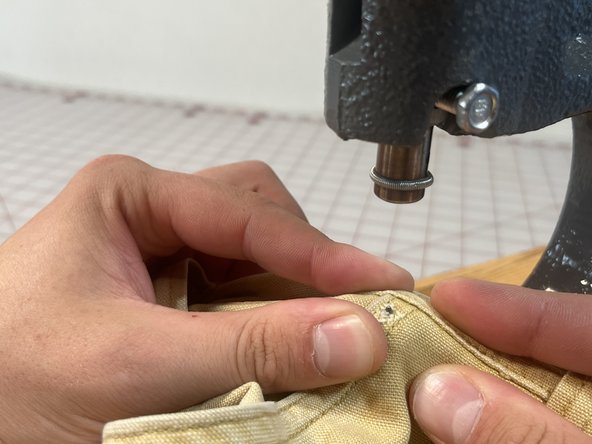
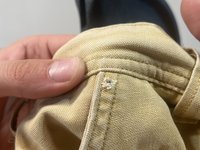
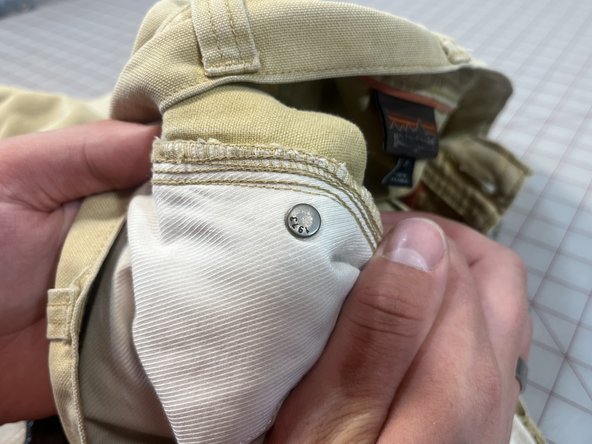
Place the rivet nail into the hole left by the previous rivet from the backside.
-
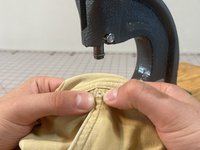
Bring the garment to the hand press and center the rivet nail into the bottom die.
-
Push down the spring of the nail die to keep the rivet nail in place, flush with the garment and visible through the hole.
-
Hold all the pieces in place with your non-dominant hand.
-
-
-
-
Pull down firmly on the press handle to set the rivet.
-
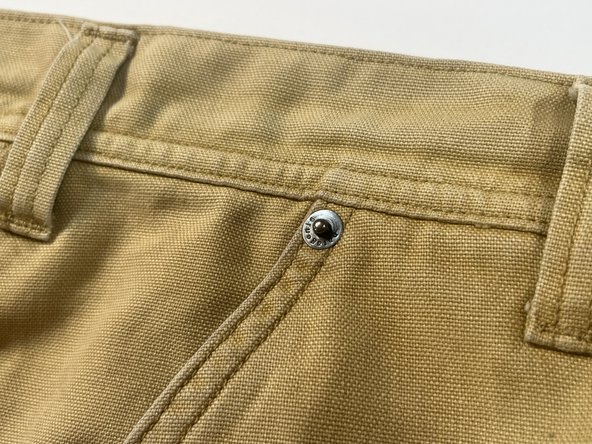
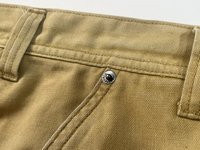
Check that the rivet is firmly set:
-
Pull on each side of the rivet to test that it's secure.
-
The front and back pieces should be parallel to each other, not set at an angle.
-
The rivet shouldn't be able to spin.
-
If the rivet spins, reattach the head to the head die, line up the nail piece with the nail die, and pull again firmly on the hand press.
-
-
-
FABRIC DAMAGE: If the fabric surrounding the rivet hole is damaged, a reinforcement patch needs to be sewn before setting a new rivet.
-
HAND PRESS NOT AVAILABLE: It's possible to set rivets without using a hand press. Continue with Steps 6 - 8.
-
-
-
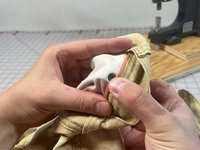
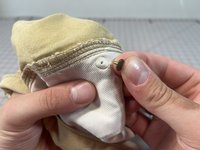
Place the head and nail pieces of the rivet on either side of the hole left by the original rivet.
-
Use your fingers or needle nose pliers to squeeze both sides of the rivet together.
-
-
-
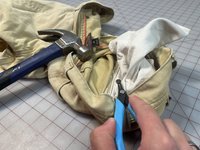
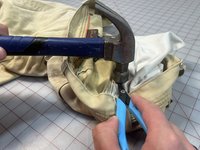
Lay the garment on a stone block, piece of scrap wood, or other hard surface, with the rivet head facing down.
-
Use needle nose pliers to hold to rivet nail in place, making sure the head and nail pieces are still aligned.
-
Gently tap the back of the rivet with a hammer until the rivet is fastened enough to stay aligned without the pliers.
-
Remove the pliers, then hold the fabric around the rivet in place and continue to carefully hammer the rivet until it's securely fastened.
-
-
-
Check that the rivet is firmly set:
-
Pull on each side of the rivet to test that it's secure.
-
The front and back pieces should be parallel to each other, not set at an angle.
-
The rivet shouldn't be able to spin.
-
If the rivet spins, repeat the hammering process until it's fully secure.
-


다른 한 분이 해당 안내서를 완성하였습니다.

