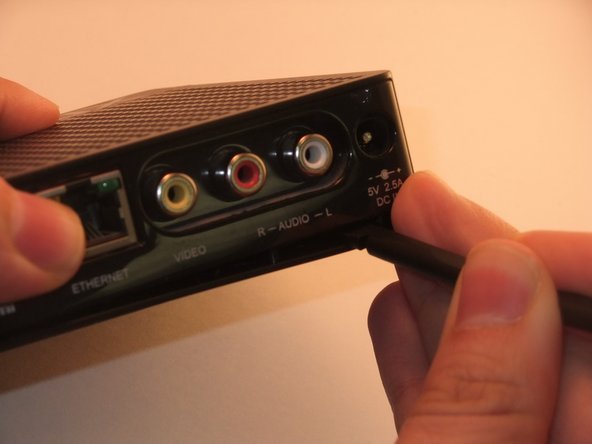
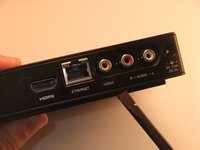
주요 콘텐츠로 건너뛰기

Roku XD 2050X Power Port Replacement

필요한 것

  1. Roku XD 2050X Power Port Replacement, Case: 1 단계, 이미지 3개 중 1개 Roku XD 2050X Power Port Replacement, Case: 1 단계, 이미지 3개 중 2개 Roku XD 2050X Power Port Replacement, Case: 1 단계, 이미지 3개 중 3개
    • Ensure the Roku XDis unplugged.

    • Take care when handling components. Circuit boards, soldering points, and other areas may have sharp points.

    • Turn the device upside down.

    • Remove the two rubber pads using a plastic spudger.

  2. Roku XD 2050X Power Port Replacement: 2 단계, 이미지 2개 중 1개 Roku XD 2050X Power Port Replacement: 2 단계, 이미지 2개 중 2개
    • Remove the two Phillips #1 9mm pan-head screws.

  3. Roku XD 2050X Power Port Replacement: 3 단계, 이미지 3개 중 1개 Roku XD 2050X Power Port Replacement: 3 단계, 이미지 3개 중 2개 Roku XD 2050X Power Port Replacement: 3 단계, 이미지 3개 중 3개
    • Insert spudger between upper and lower frame underneath the port access.

    • Guide spudger around to loosen upper and lower frame to pry frame apart.

    • Gently remove upper frame.

  4. Roku XD 2050X Power Port Replacement: 4 단계, 이미지 2개 중 1개 Roku XD 2050X Power Port Replacement: 4 단계, 이미지 2개 중 2개
    • Remove the two Phillips #1 8mm pan-head screws.

  5. Roku XD 2050X Power Port Replacement: 5 단계, 이미지 1개 중 1개
    • On the side of the board opposite the ports, find and tilt back the tab securing the board in place.

    • Lift the motherboard out of the lower frame.

  6. Roku XD 2050X Power Port Replacement, Power Port: 6 단계, 이미지 1개 중 1개
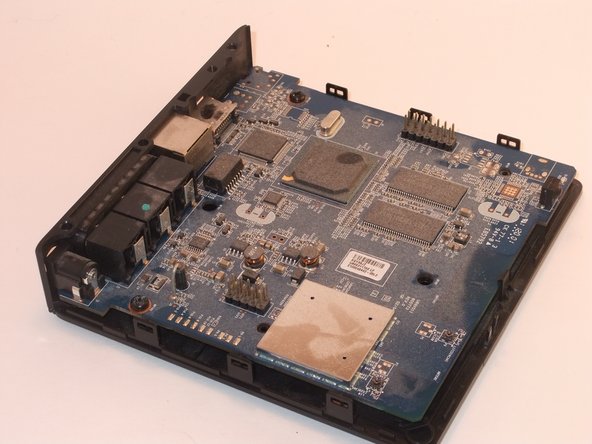
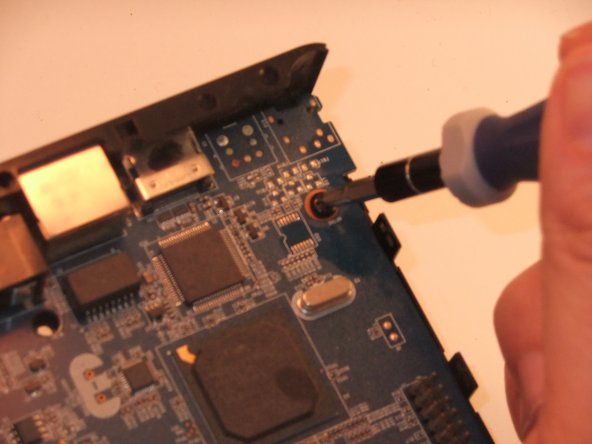
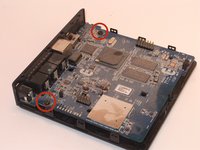
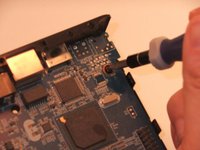
    • Desolder the 3 contact points.

    • Remove the power port from the motherboard.

    • For help with soldering view the iFixit soldering guide.

결론

To reassemble your device, follow these instructions in reverse order.

다른 한 분이 해당 안내서를 완성하였습니다.

작성자

2다른 기여자 명과 함께

William

회원 가입일: 01/30/15

1,603 평판

안내서 10개를 작성함

2가이드 댓글

Where do you buy power port ?

John - 답글

For Roku 2 XS

John - 답글

댓글 쓰기

조회 통계:

지난 24시간: 0

지난 7일: 3

지난 30일: 7

전체 시간: 1,210