소개
By: Nathan Zimmerer, Peter Rubis, Paul Biggins, and Brad Funsten.
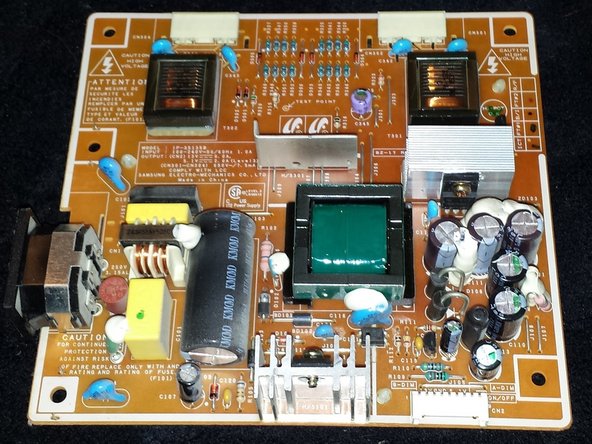
This guide could be used to replace the blown capacitors on this board. It is suggested that a whole new replacement board
필요한 것
-
-
You will need a phillips screwdriver and a replacement power board which can be ordered online 1. First, place the monitor face down, then remove the plastic covering if it’s on Once this is done remove the three screws shown below. Once these screws are removed, the stand is able to be removed.
-
-


To reassemble your device, follow these instructions in reverse order.
To reassemble your device, follow these instructions in reverse order.
다른 12명이 해당 안내서를 완성하였습니다.