소개
이 안내서를 사용하여 Galaxy Note 4 Micro-USB 포트 도터보드를 교체하세요.
필요한 것
-
-
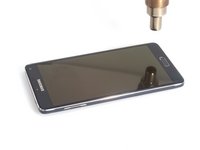
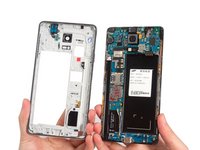
손톱이나 비닐 spudger/스퍼저를 사용하여 기기의 후면 덮개를 쉽게 분리하세요. S-Pen, 배터리, SIM 카드 및 MicroSD 카드가 있는 경우 분리하세요.
-
-
-
-
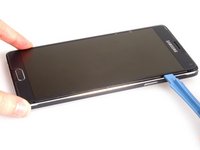
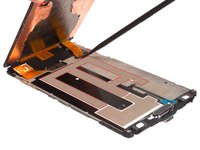
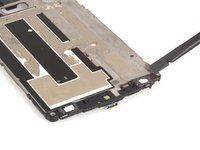
스크린 밑의 접착제를 가르고, 커넥터를 풀고 나서 LCD 스크린을 분리하세요. Samsung Galaxy Note 4 LCD 스크린 교체 안내서에서 LCD 화면을 분리하면 더 자세히 볼 수 있습니다.
-
-
-
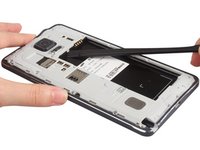
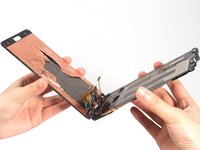
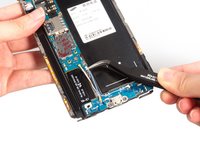
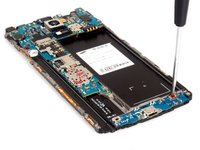
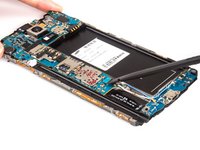
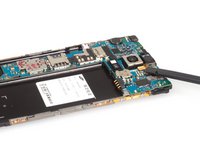
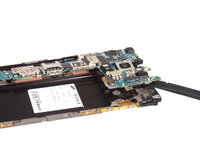
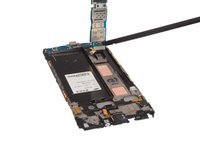
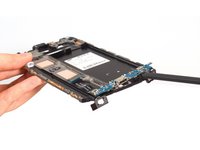
먼저 접착제로부터 터치 키를 느슨하게 하세요. 그런 다음 USB 보드를 들어 올려서 분리하세요.
-
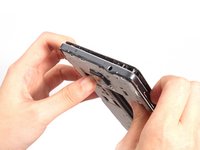
Samsung Galaxy Note 4 USB 보드 어셈블리 교체는 복잡한 작업입니다. 먼저 LCD 스크린과 마더보드를 교체해야합니다. 제발 조심하세요.
Good , bermanfaat sekali
For anyone having problems connecting the pins at the back of the motherboard, specially that pin the is next to the power button, stick something small and nonflammable the pin of the screen. Since this pin has a lot of play in some cases, sticking something under it will bring it up, making the motherboard connect with the LCD screen pin.
-


기기를 재조립하려면 이 지침을 역순으로 따르세요.
기기를 재조립하려면 이 지침을 역순으로 따르세요.
다른 55명이 해당 안내서를 완성하였습니다.
다음 번역가들에게 특별히 감사 드립니다:
100%

Christian Kim님은 저희가 세상을 수리하는데 동참하신 분입니다! 기여하시겠습니까?
번역 시작하기 ›
댓글 9개
charging port from 910C will be suitable to 910F model? Pls answer
After replacing USB ass'y, my AT&T phone does not recognize the Sim being installed.
Any suggestions?
Dan
I completed this but opted not to remove the LCD but just pry it up just enough to slide the touch buttons out and in and the work just fine. Thanks for the guide, everyone here is awesome!!!
thanks for the guide awesome!! yep i do like Kyle just remove the LCD just enough to slide the touch buttons xD
Broke the screen trying to remove it. Learned about 5 minutes later that I could've just heated up the end instead. This guide should be updated.
What about speaker failure