소개
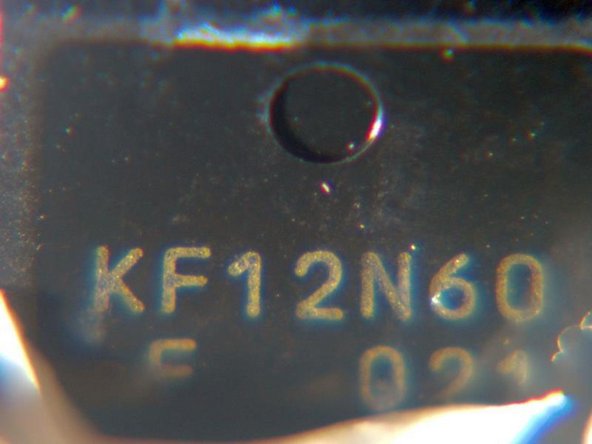
This TV is going to become either a donor for the boards or a project to fit a different panel. This power supply is very hard to source and it appears to have common issues with one of the MOSFETs. That part is identified and is the last picture. Overall this is an easy task and takes no time at all.
필요한 것
-
-
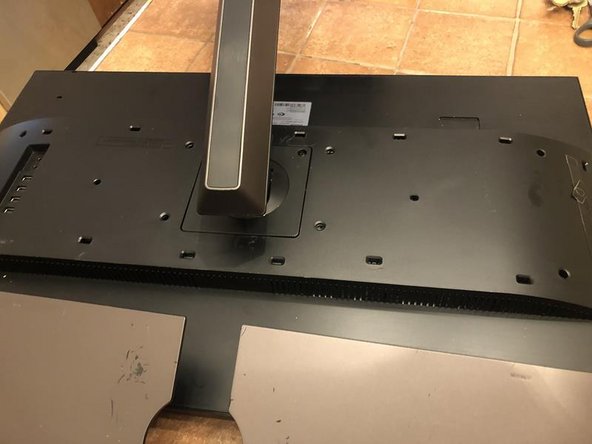
Here is the Samsung monitor LS32D85K sold as SD850
-
fairly clean and sleek design without frills
-
This one has a broken LCD as well but needed to check the power supply. Monitor powers on = power supply working
-
-
-
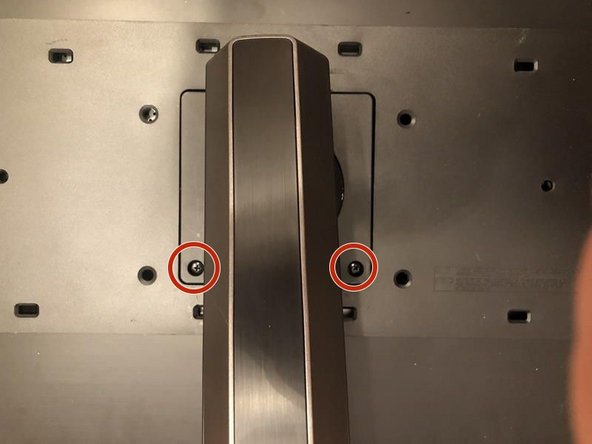
With the screws removed, tilt the with the screw holes up
-
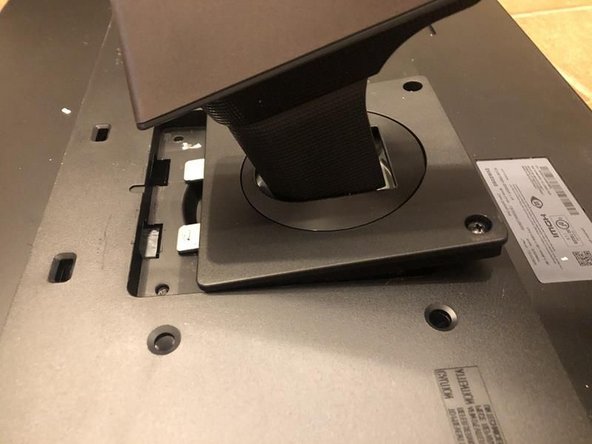
now pull the stand back to release the two metal tabs to remove the stand.
-
On the top left corner of the back cover is a small release opening to insert either a plastic removal tool or similar. Here a flathead screwdriver was used. Insert it and gently lift it to release the first tab
-
-
-
-
move the tool along the top line to release more tabs all the way to the end
-
and finally along the sides. As the tool moves along the holding tabs will unsnap. Some areas required more of a lever action to release them. NO great force needed for this
-
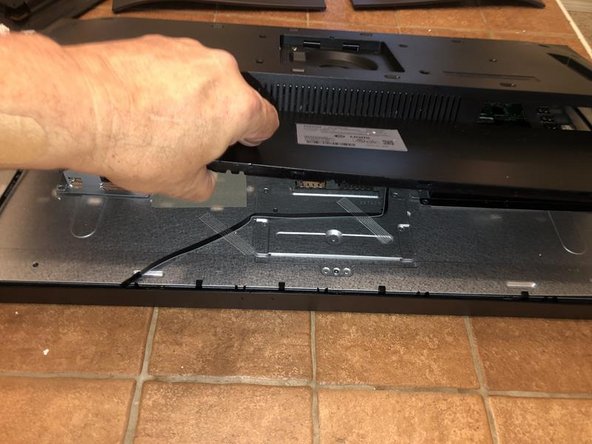
Once all the tabs release the back will simply come off.
-
-
-
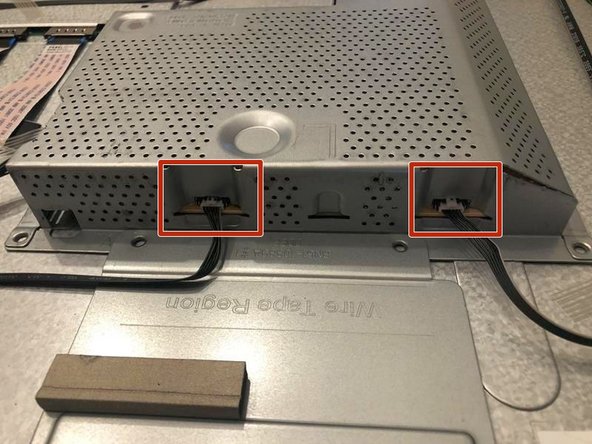
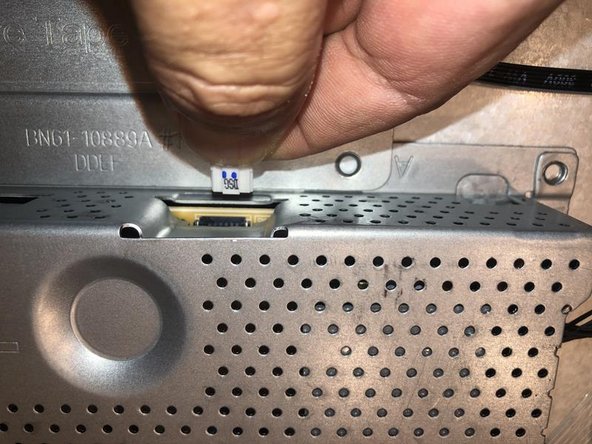
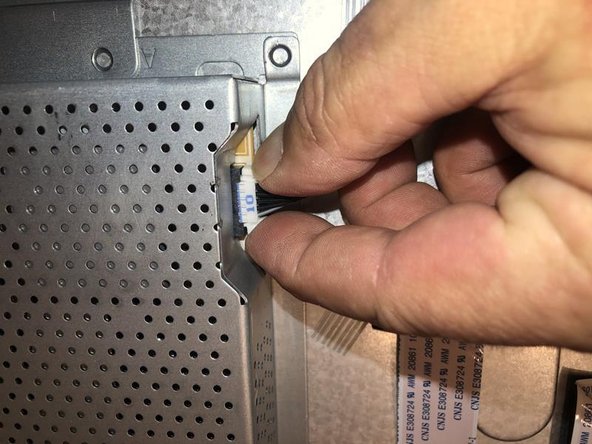
To release the cable from the connector, simply squeezing the two tabs on the side and a gentle pull on the connector will release the cable.
-
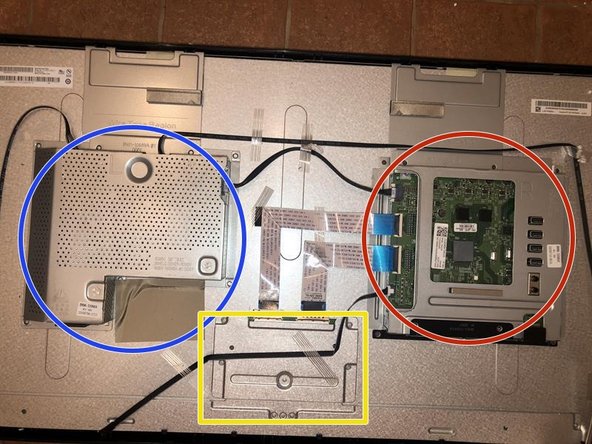
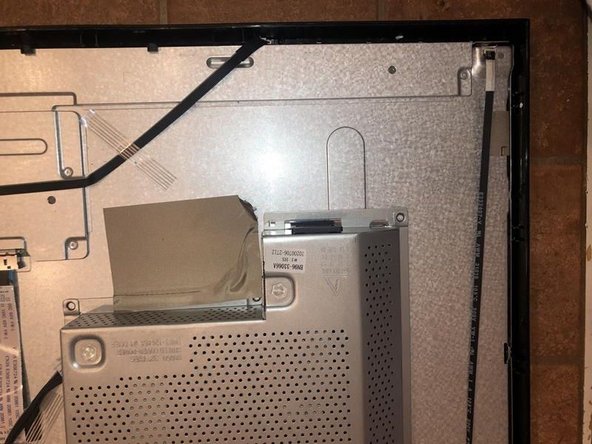
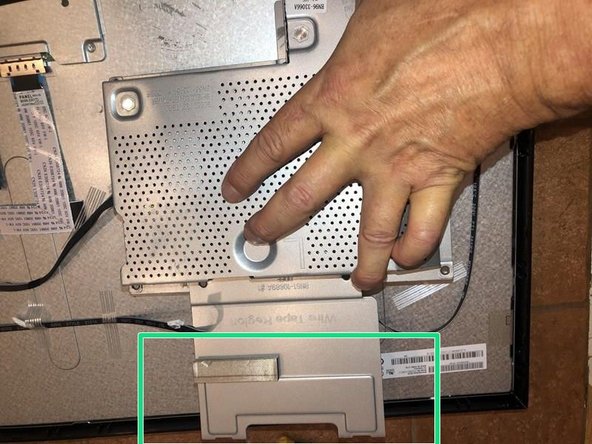
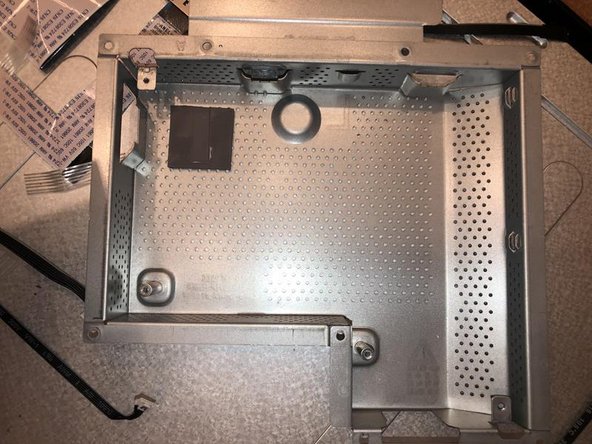
Interestingly enough the power board holder does not use any fasteners on the chassis etc. It is simply held in place by some adhesive strip.
-
Pulling the adhesive strip off and sliding the power board holder of the lip of the monitor, allows its removal.
-
-
-
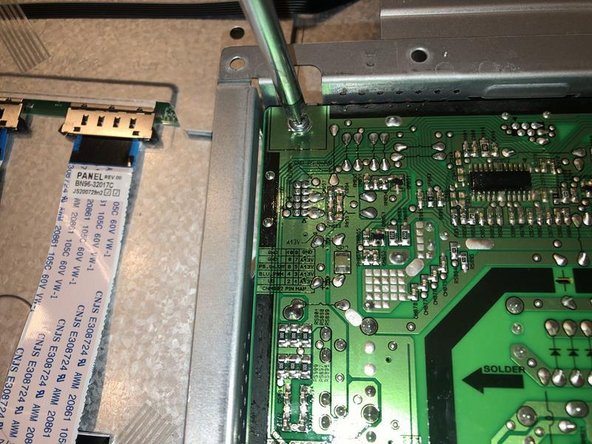
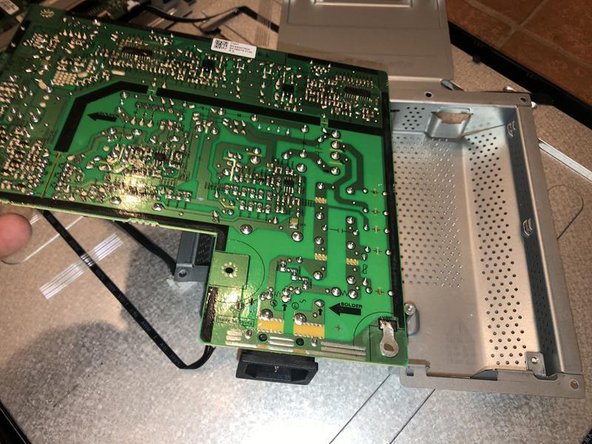
Turn the power board loder over to get a good visual of the board. It is fastened with four (4) Philips head screws.
-
One (1) of the screws appears to hold the ground trap in place as well
-
Remove the three (3) screws first
-
Then remove the Philips head screw that holds the board and the ground strap in place
-


To reassemble your device, follow these instructions in reverse order.
To reassemble your device, follow these instructions in reverse order.
다른 5명이 해당 안내서를 완성하였습니다.

팀

댓글 4개
If someone wants to fix this PSU, most of them have the same fault: The 6.3A fuse blows because the PFC chopper FET dies. To fix it: remove the **11N60 FET from the left side of the angled heatsink, under the silicone.
Replace it with ang 11N60 FET, that has at least 600V Ugs voltage, 33W power dissipation and less than 0.55ohm RDSon. Replace the fuse too, and now you have a fixed the PSU for under $5.
(The spc7011f PFC IC usually doesn't get damaged, because the gate has a 22V zener diode tied to ground.)
If you can't desolder the FET in one piece, cut off the legs and remove them one by one.
Do not attempt to fix the PSU, if you are not familiar with fixing mains powered devices.
Máté Szűcs - 답글