소개
The XLR connector is the place where the XLR cable connects to the microphone. If the connector is pulled out, the internal wiring of the microphone can be damaged.
필요한 것
-
-
While holding the microphone connector in one hand, and the XLR cable in the other hand, slowly pull them apart.
-
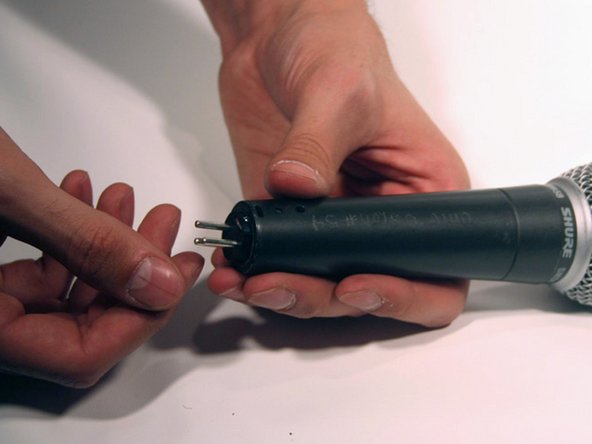
Check to make sure all of the internal wires are connected. If you see a disconnected wire, take a look at the connector soldering guide.
-
-
-
Hold the microphone connector in one hand and the microphone base in the other.
-
Line up the screw in the connector with the hole in the middle of the microphone.
-
Also, align the ridge on the microphone connector (located near the top of the connector) with the slot in the base of the microphone.
-
-


Following these steps should reinstall the XLR connector back into the microphone.
Following these steps should reinstall the XLR connector back into the microphone.
다른 2명이 해당 안내서를 완성하였습니다.
팀

Cal Poly, Team 7-53, Forte Fall 2012 Cal Poly, Team 7-53, Forte Fall 2012 회원
CPSU-FORTE-F12S7G53
5 회원들
안내서 20개 작성하였습니다
댓글 2개
you can buy the part here
simple clear and precise. Small problem fixed in no time, thank you very much!