주요 콘텐츠로 건너뛰기

Sony Cassette Deck TC KE200 Repair

  1. Sony Cassette Deck TC KE200 Repair, Motor Belt: 1 단계, 이미지 1/3 Sony Cassette Deck TC KE200 Repair, Motor Belt: 1 단계, 이미지 2/3 Sony Cassette Deck TC KE200 Repair, Motor Belt: 1 단계, 이미지 3/3
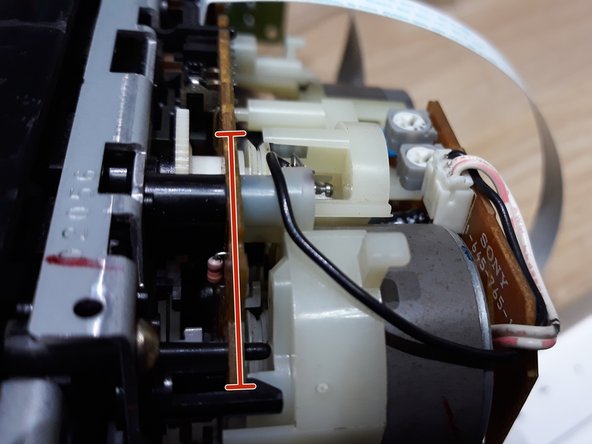
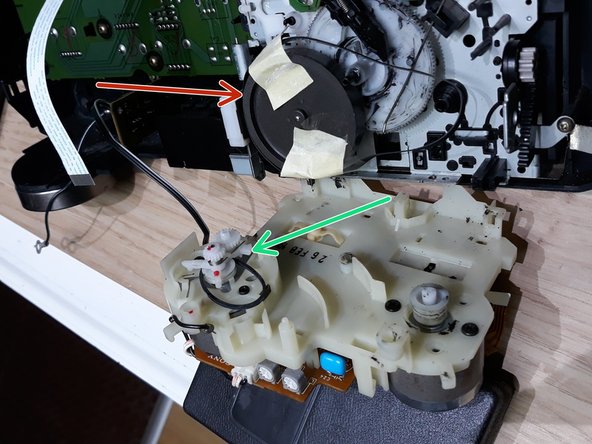
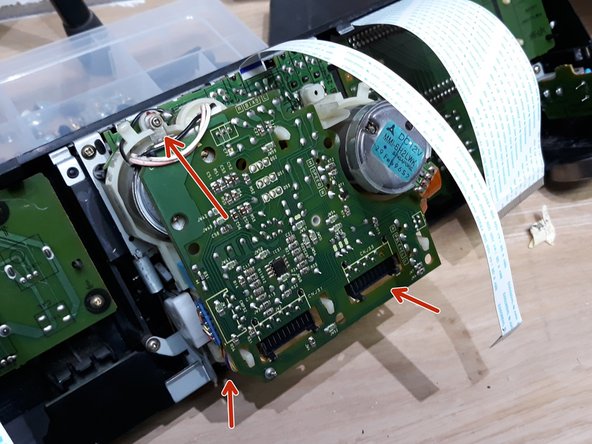
    • Remove the screws from the bottom.

    • Remove the screws from the side.

    • Carefully remove the cassette deck from the metal base.

  2. Sony Cassette Deck TC KE200 Repair: 2 단계, 이미지 1/2 Sony Cassette Deck TC KE200 Repair: 2 단계, 이미지 2/2
    • Remove the black cable on the left side.

    • Remove the white flat ribbon cables.

    • Remove the small screw in order to change the ruble inside the cassette player mechanisms.

    • Remove the gray power cables.

  3. Sony Cassette Deck TC KE200 Repair: 3 단계, 이미지 1/2 Sony Cassette Deck TC KE200 Repair: 3 단계, 이미지 2/2
    • Remove the small screw.

    • Now you should be able to see the wheel location. Change the rubber.

  4. Sony Cassette Deck TC KE200 Repair: 4 단계, 이미지 1/2 Sony Cassette Deck TC KE200 Repair: 4 단계, 이미지 2/2
    • Replace the big belt.

    • Replace the small (green) belt.

    • Use a little tape to hold the belt. When closing, remove the tape.

  5. Sony Cassette Deck TC KE200 Repair: 5 단계, 이미지 1/2 Sony Cassette Deck TC KE200 Repair: 5 단계, 이미지 2/2
    • Insert the small screw and close the cassette player with new straps.

    • Connect all cables and flat, white ribbon cables.

    • Close everything up and you're done with the repair!

    • Hope this repair helped you, please leave a comment!

결론

To reassemble your device, follow these instructions in reverse order.

다른 2명이 해당 안내서를 완성하였습니다.

다음 번역가들에게 특별히 감사 드립니다:

pt en

100%

이 번역자 분들은 저희가 세상을 수리하는데 동참해 주시는 분입니다! 기여하시겠습니까?
번역 시작하기 ›

Cafony

회원 가입일: 02/17/15

687 평판

안내서 4개 작성하였습니다

댓글 0개

댓글 쓰기

조회 통계:

24 시간 전: 0

7일 전: 3

30일 전: 19

전체 시간: 1,533