이 안내서에는 최근 변경 사항이 더 있습니다. 최신 비검증 버전으로 전환하십시오.
소개
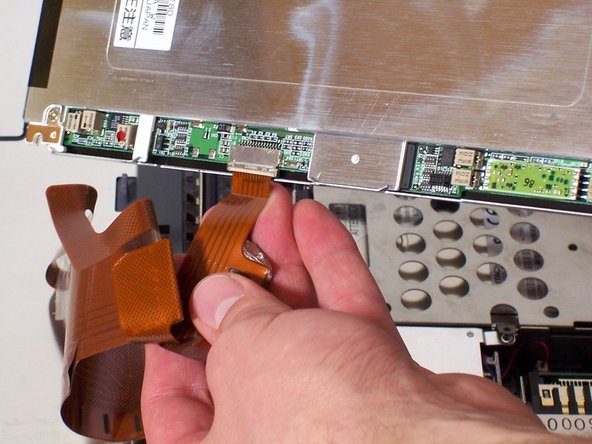
If the display is damaged and does not function properly, you should remove it and get it repaired or replaced.
CAUTION: Static electricity in your body can ruin you computer. Use an anti-static wristband.
필요한 것
-
-
The battery is located on the left side of the laptop, as shown by the red circle.
-
Make sure the laptop is disconnected and turned completely off.
-
-
-
Use your Philips #00 screwdriver to unscrew the small screw counterclockwise. This screw is for the audio/visual jacks on the left side of the laptop.
-
-
-
-
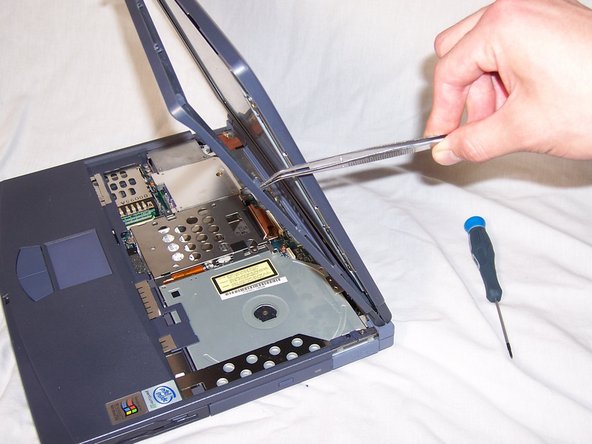
Use tweezers to remove the rubber covers on the four screws at the corners near the display.
-


To reassemble your device, follow these instructions in reverse order.
To reassemble your device, follow these instructions in reverse order.

팀

Cal Poly, Team 29-77, Johann Spring 2010 Cal Poly, Team 29-77, Johann Spring 2010 회원
CPSU-JOHANN-S10S29G77
5 회원들
안내서 12개 작성하였습니다