소개
This guide is for replacing the battery in the Sony Xperia sola, model MT27i, also referred to as the Sony Xperia Sola or Xperia sola.
You may need to replace the battery if your phone no longer holds a charge, shuts off unexpectedly, drains quickly, overheats, or will not power on even after being connected to a charger. Replacing the battery can restore normal battery life and improve device reliability.
By following this guide, you will remove the old battery and install a replacement battery in the Sony Xperia sola.
Before beginning, power off the phone completely and disconnect it from any charger or cable. Lithium-ion batteries can be hazardous if punctured, bent, overheated, or damaged, so handle them carefully and avoid using metal tools near them whenever possible. If the battery is swollen, leaking, or unusually hot, do not continue the repair until you can handle it safely.
This repair requires small electronics tools, including a precision screwdriver, plastic opening tools, and tweezers. Some internal components and connectors are delicate, so basic experience with phone disassembly is helpful. Work slowly, keep track of screws, and avoid pulling on cables or connectors with force.
필요한 것
-
-
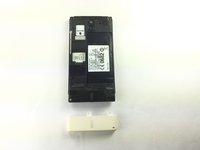
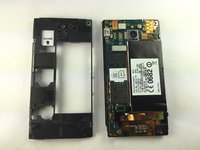
Place phone down with screen side down and camera side facing up as shown.
-
Push on cover away from you. You should hear a snap or pop. This will let you view the battery and sim/sd card slots. Then lift the cover off.
 FixBot에 문의하기
-
-
-
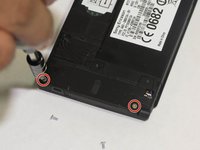
Remove the five (5) screws on the phone, using a screwdriver. The screws are at the top and the bottom of the phone as shown.
-
-
-
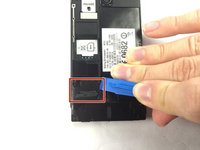
Locate the black cover on the bottom left of phone. Use an opening tool to pry up and remove the black cover.
-
-
이 단계에 사용된 도구:Tweezers$4.99
-
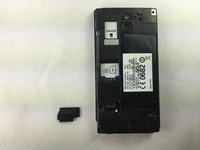
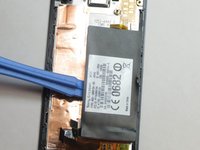
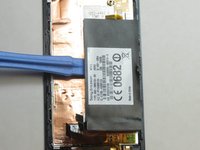
Disconnect the circuit by lifting the connector straight up as shown using the tweezers.
-
-
-
Turn the phone onto its side. Insert a plastic opening tool into seam, and gently remove the cover. You can also slide the spudger in from the top.
-
Once the cover is loose, lift it off the phone. The side buttons may feel a bit sticky, but this is normal.
-
-
-
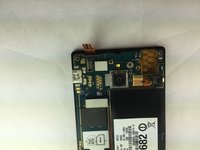
Locate the additional circuit at the bottom left. Using the tweezers, remove it gently by pulling up.
-
-
-
Use the spudger and slide it under the top left of the board then lift the board straight up. The board should come up very easily.
-
-
-
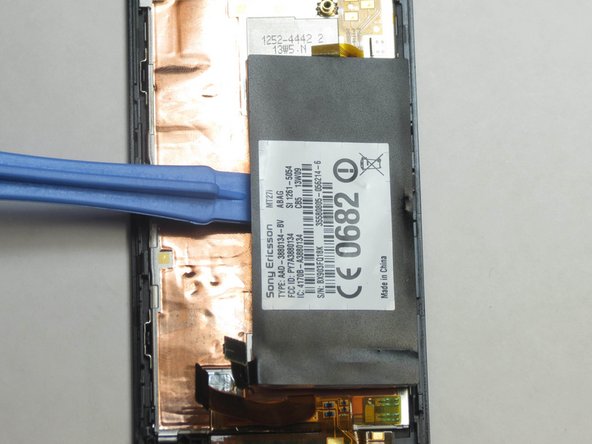
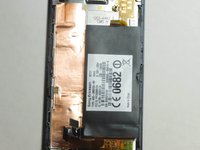
To remove the battery, slide the end of a plastic opening tool under the battery and lift it.
-


To reassemble your device, follow these instructions in reverse order. Take your e-waste to an R2 or e-Stewards certified recycler. For optimal performance, calibrate your newly installed battery after completing this guide.
다른 3명이 해당 안내서를 완성하였습니다.
팀

USF Tampa, Team 1-1, Brown Fall 2014 USF Tampa, Team 1-1, Brown Fall 2014 회원
USFT-BROWN-F14S1G1
4 회원들
안내서 5개를 작성함