소개
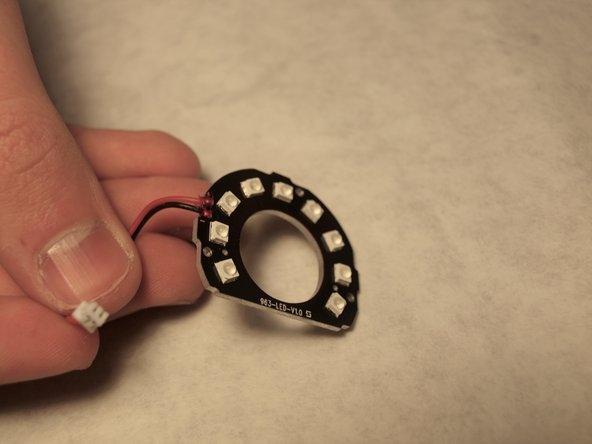
This repair guide shows how to remove the infrared LED on a Swann Wi-Fi Indoor Security Camera. The infrared LEDs allow for the camera to record video at night or in dim lighting. Common issues include the LEDs going bad and experiencing problems similar to the issues listed in the troubleshooting guide here.
This repair guide requires the handling of electrical components that may be sensitive to ESD (Electrostatic Discharge), so proper ESD protection is also advised.
필요한 것
-
-
-
Facing the inside of the front case, unscrew the three 2.0 mm Phillips #0 black screws located on the back of the LED ring.
-


To reassemble your device, follow these instructions in reverse order.
To reassemble your device, follow these instructions in reverse order.
팀

Western Carolina University, Team S1-G4, Virtue Fall 2019 Western Carolina University, Team S1-G4, Virtue Fall 2019 회원
WCU-VIRTUE-F19S1G4
4 회원들
안내서 12개 작성하였습니다